Travel Tissue Holder {tutorial}
Tis the season for sniffles and runny noses around here it seems, so it's best if you always have tissues on hand. If you would like to dress up your travel tissue packages with some fun fabric, here is a super easy and quick tutorial (seriously takes about 5 minutes!).
All you will need is one scrap of fabric that measures 6 1/2" x 9 1/2" (this size fits the Kleenex brand travel tissue package, but I'm guessing they are all pretty close to the same size).
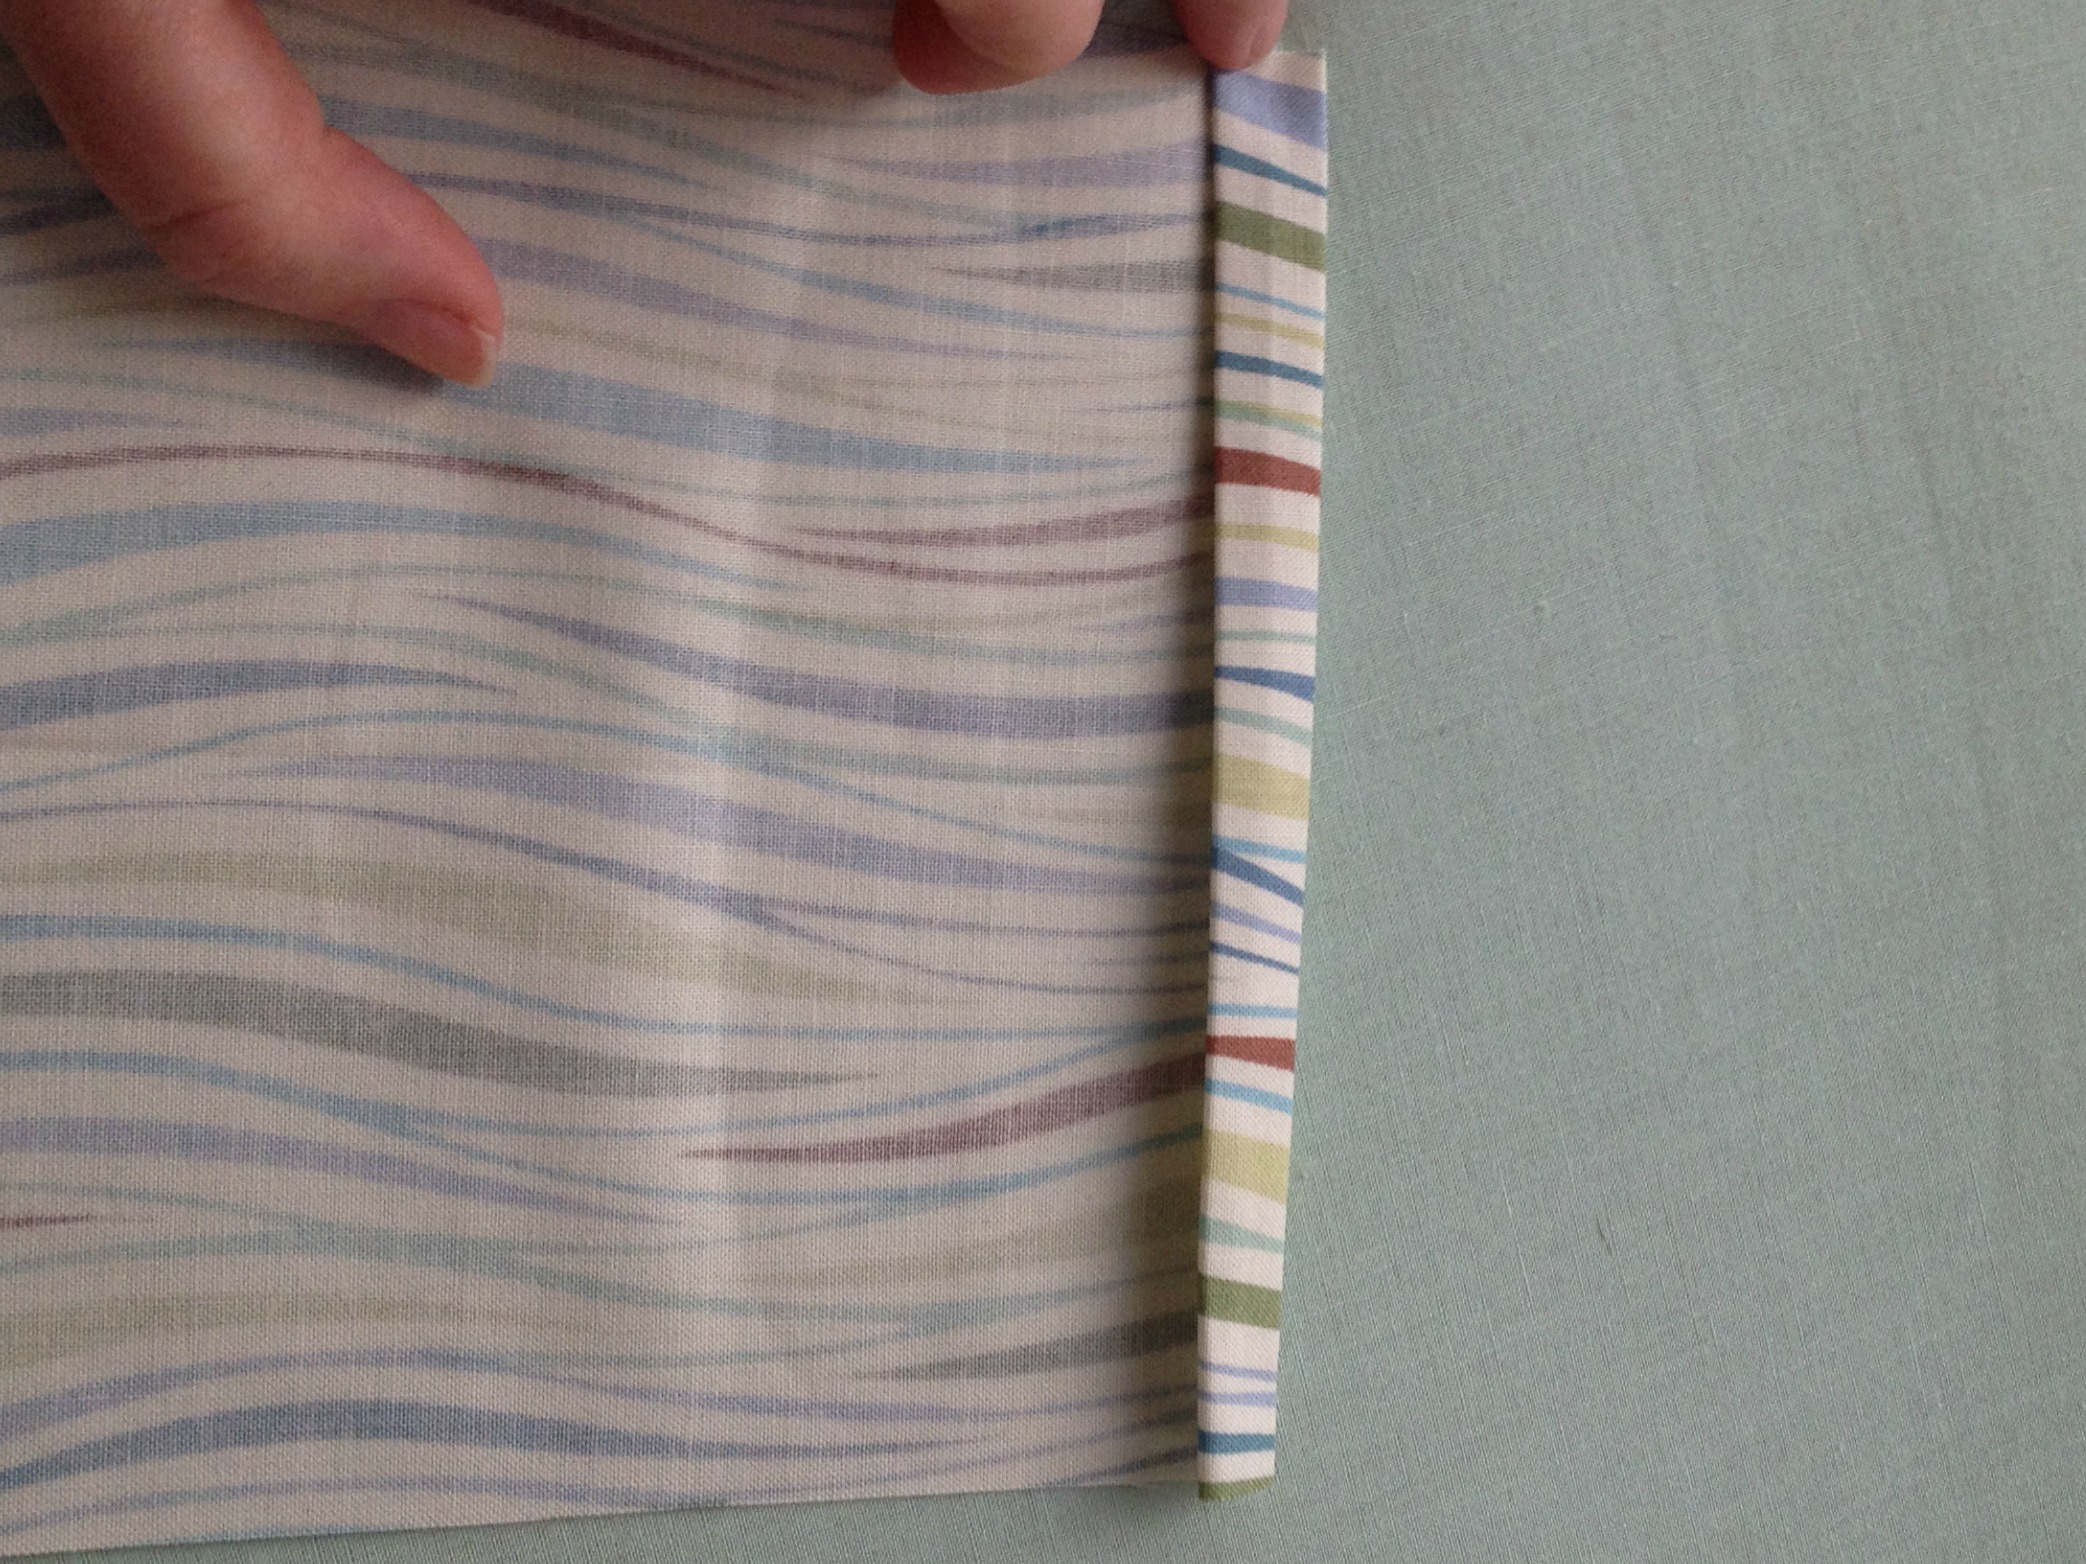
On each short end of the rectangle, you will create a double fold approximately 3/8" and press.
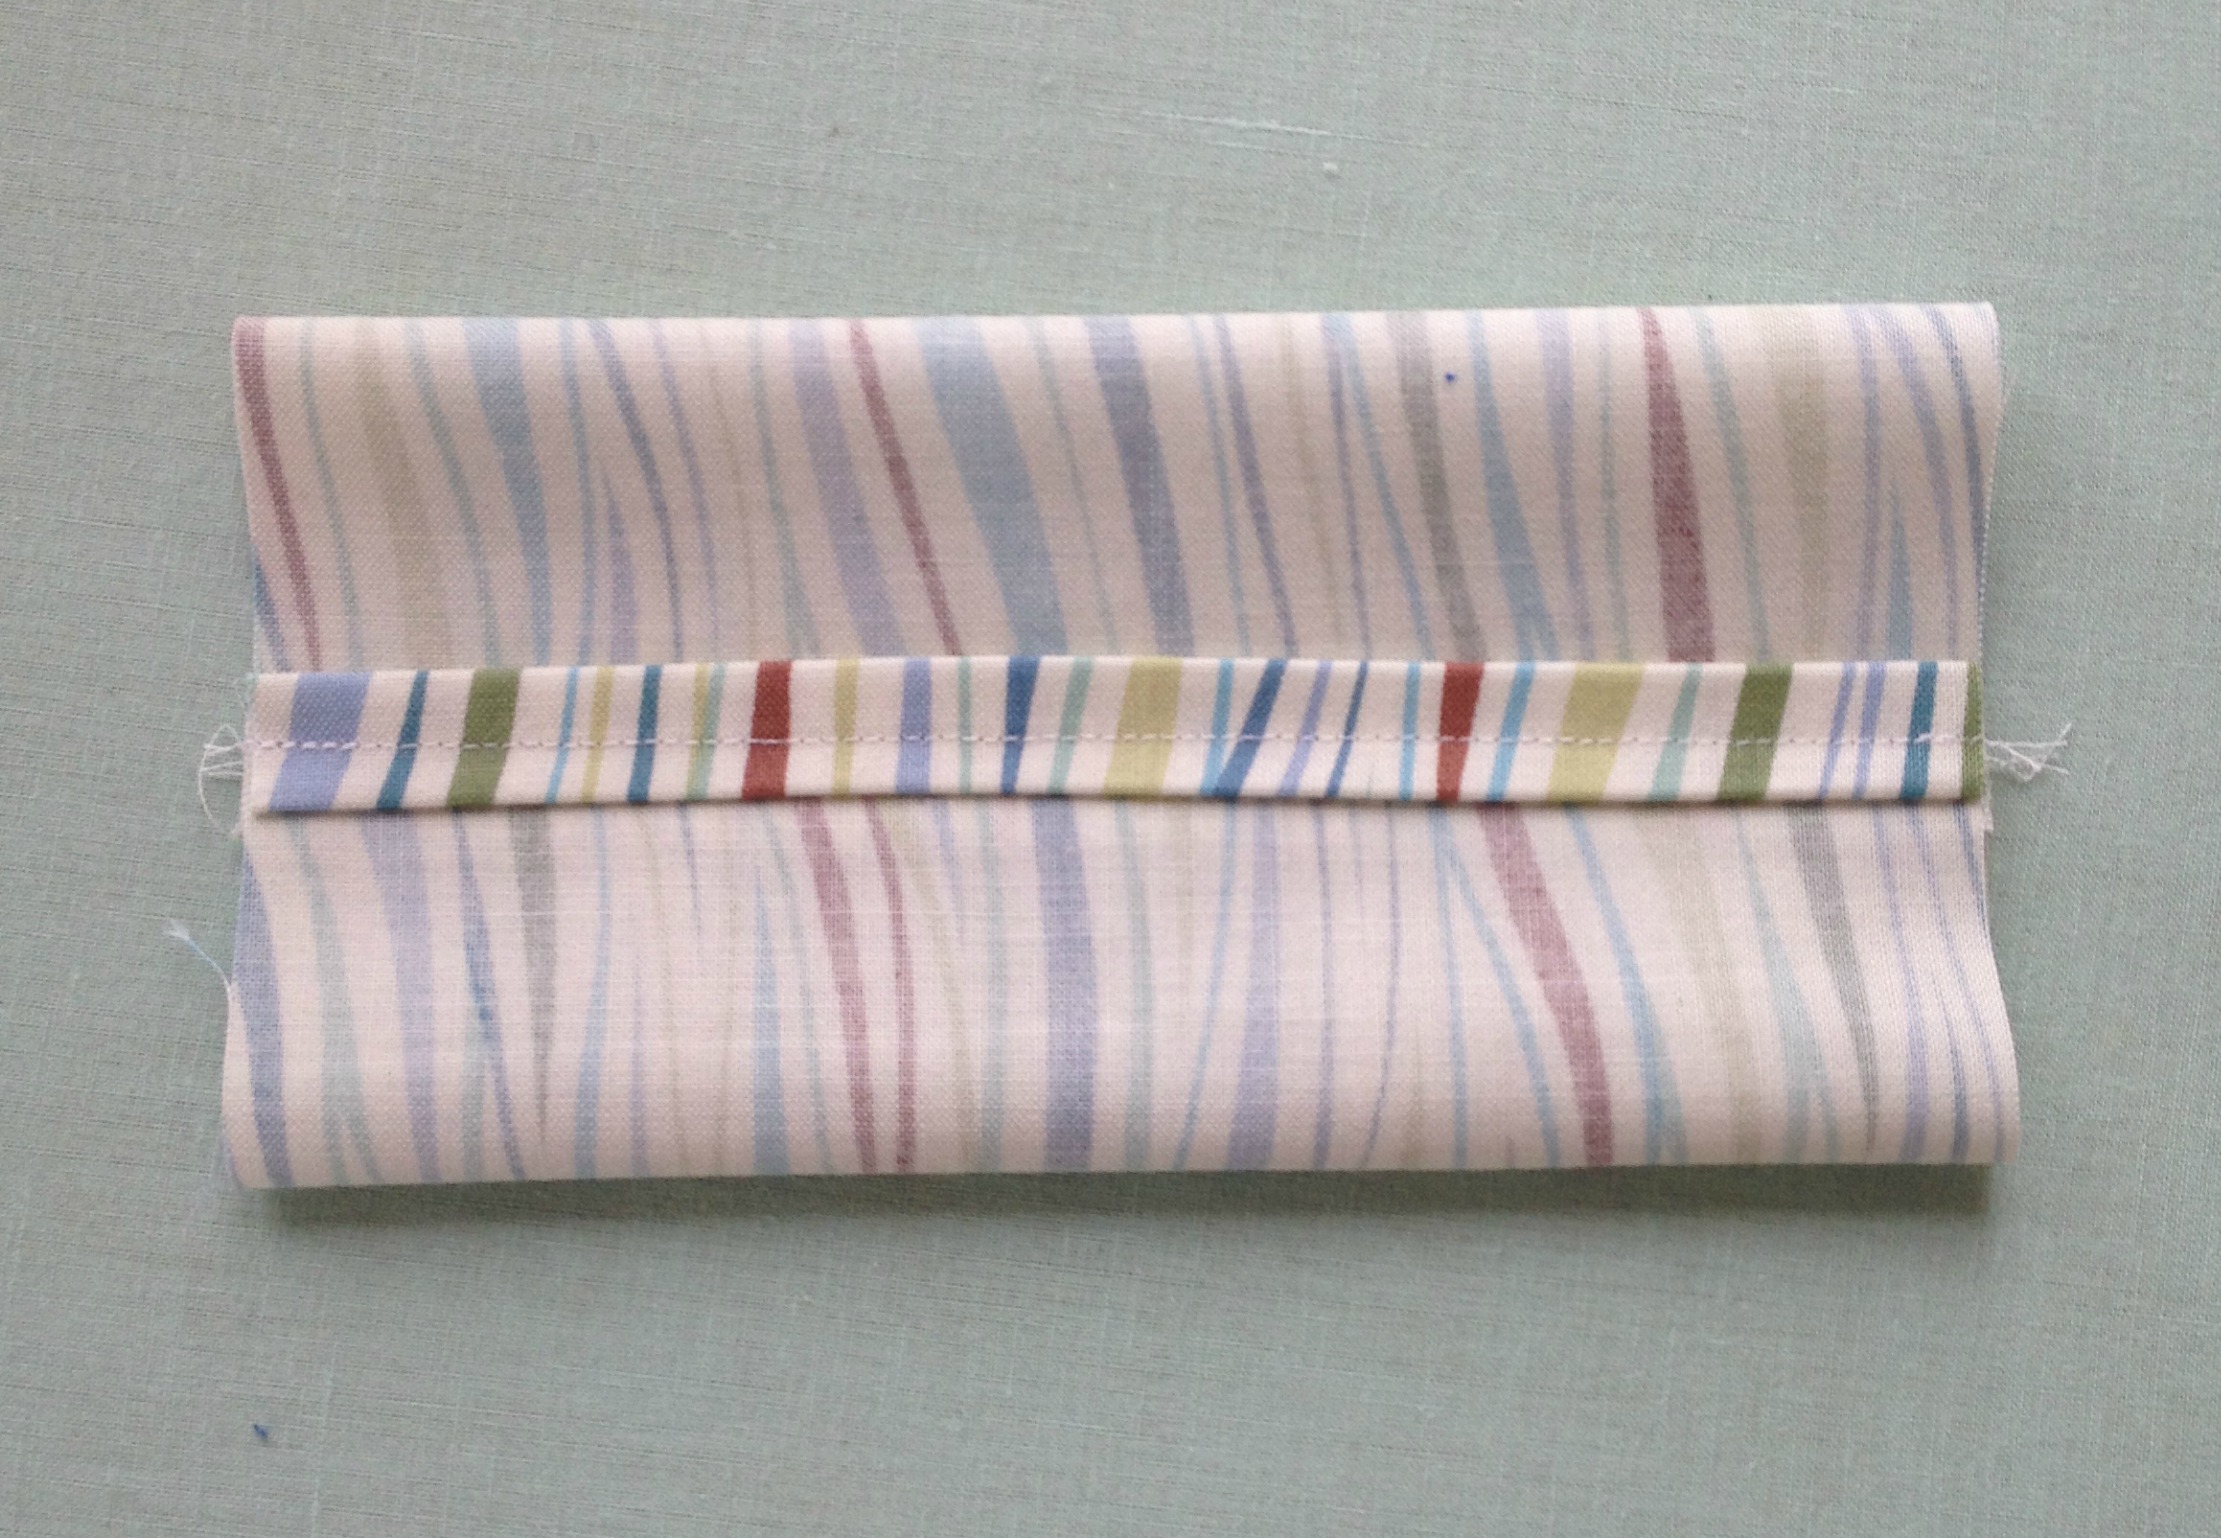
Once you have pressed down the fold (you can pin in place if you prefer), stitch each end down approx. 1/4" from the edge.
Next you will fold both stitched ends to the center and slightly overlap as shown below. Pin in place and then sew together each short end using 3/8" seam allowance.
Once the ends are sewn together, clip off a small amount of fabric outside the seam in each corner.
Finally, turn right side out and now you have a finished tissue holder.
These make great little gifts for stockings, teachers, co-workers, etc.
Let me know if you have any questions and thanks so much for stopping by,


