
Layer Cake Sampler Week 11 {quilt layout and piecing instructions}
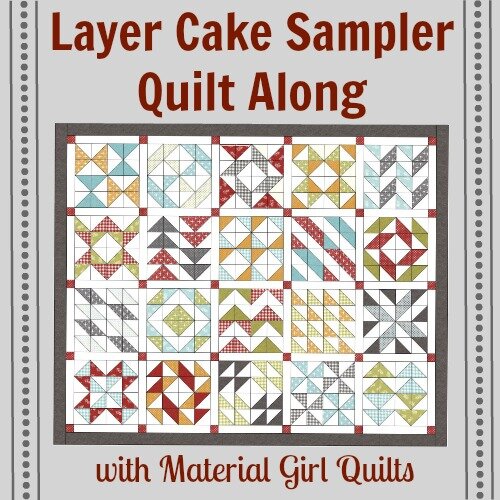
Well, you've made it!! Now that all of your blocks are pieced, it is time to put them together into a quilt top. There are a number of ways you can do this and I will show how to do two of those options. The first layout I will share uses all 20 blocks.
Layout Option #1:
- Finished Size: 80” x 98”
- Finishing Fabric Requirements:
- 1 ¾ yard solid for sashing (cut carefully, there is very little extra)
- ¼ yard or fat quarter for cornerstone squares
- 1 yard for border
- ¾ yard for binding
- 6 yards for backing
- Cutting Requirements:
- Cut sashing fabric into 49 - 2 1/2" x 16 1/2" rectangles
- Cut cornerstone fabric into 30 - 2 1/2" squares
- Cut border fabric into 10 - 3 1/2" x WOF strips
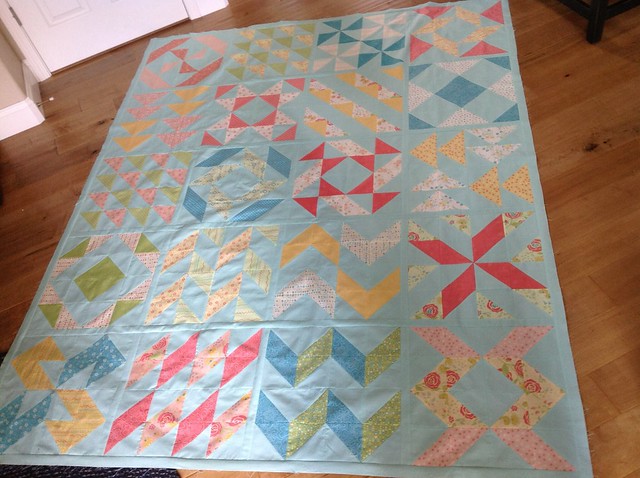
The second layout uses 16 blocks for the front.
Layout Option #2:
- Finished Size: 79 ½” x 79 ½”
- Finishing Fabric Requirements:
- 2 yards solid for sashing/borders (cut carefully, there is very little extra)
- ¾ yard for binding
- 5 yards for backing
- Cutting Requirements:
- Cut sashing/border fabric into 20 - 3 1/2" x 16 1/2" rectangles and 10 - 3 1/2" x WOF strips

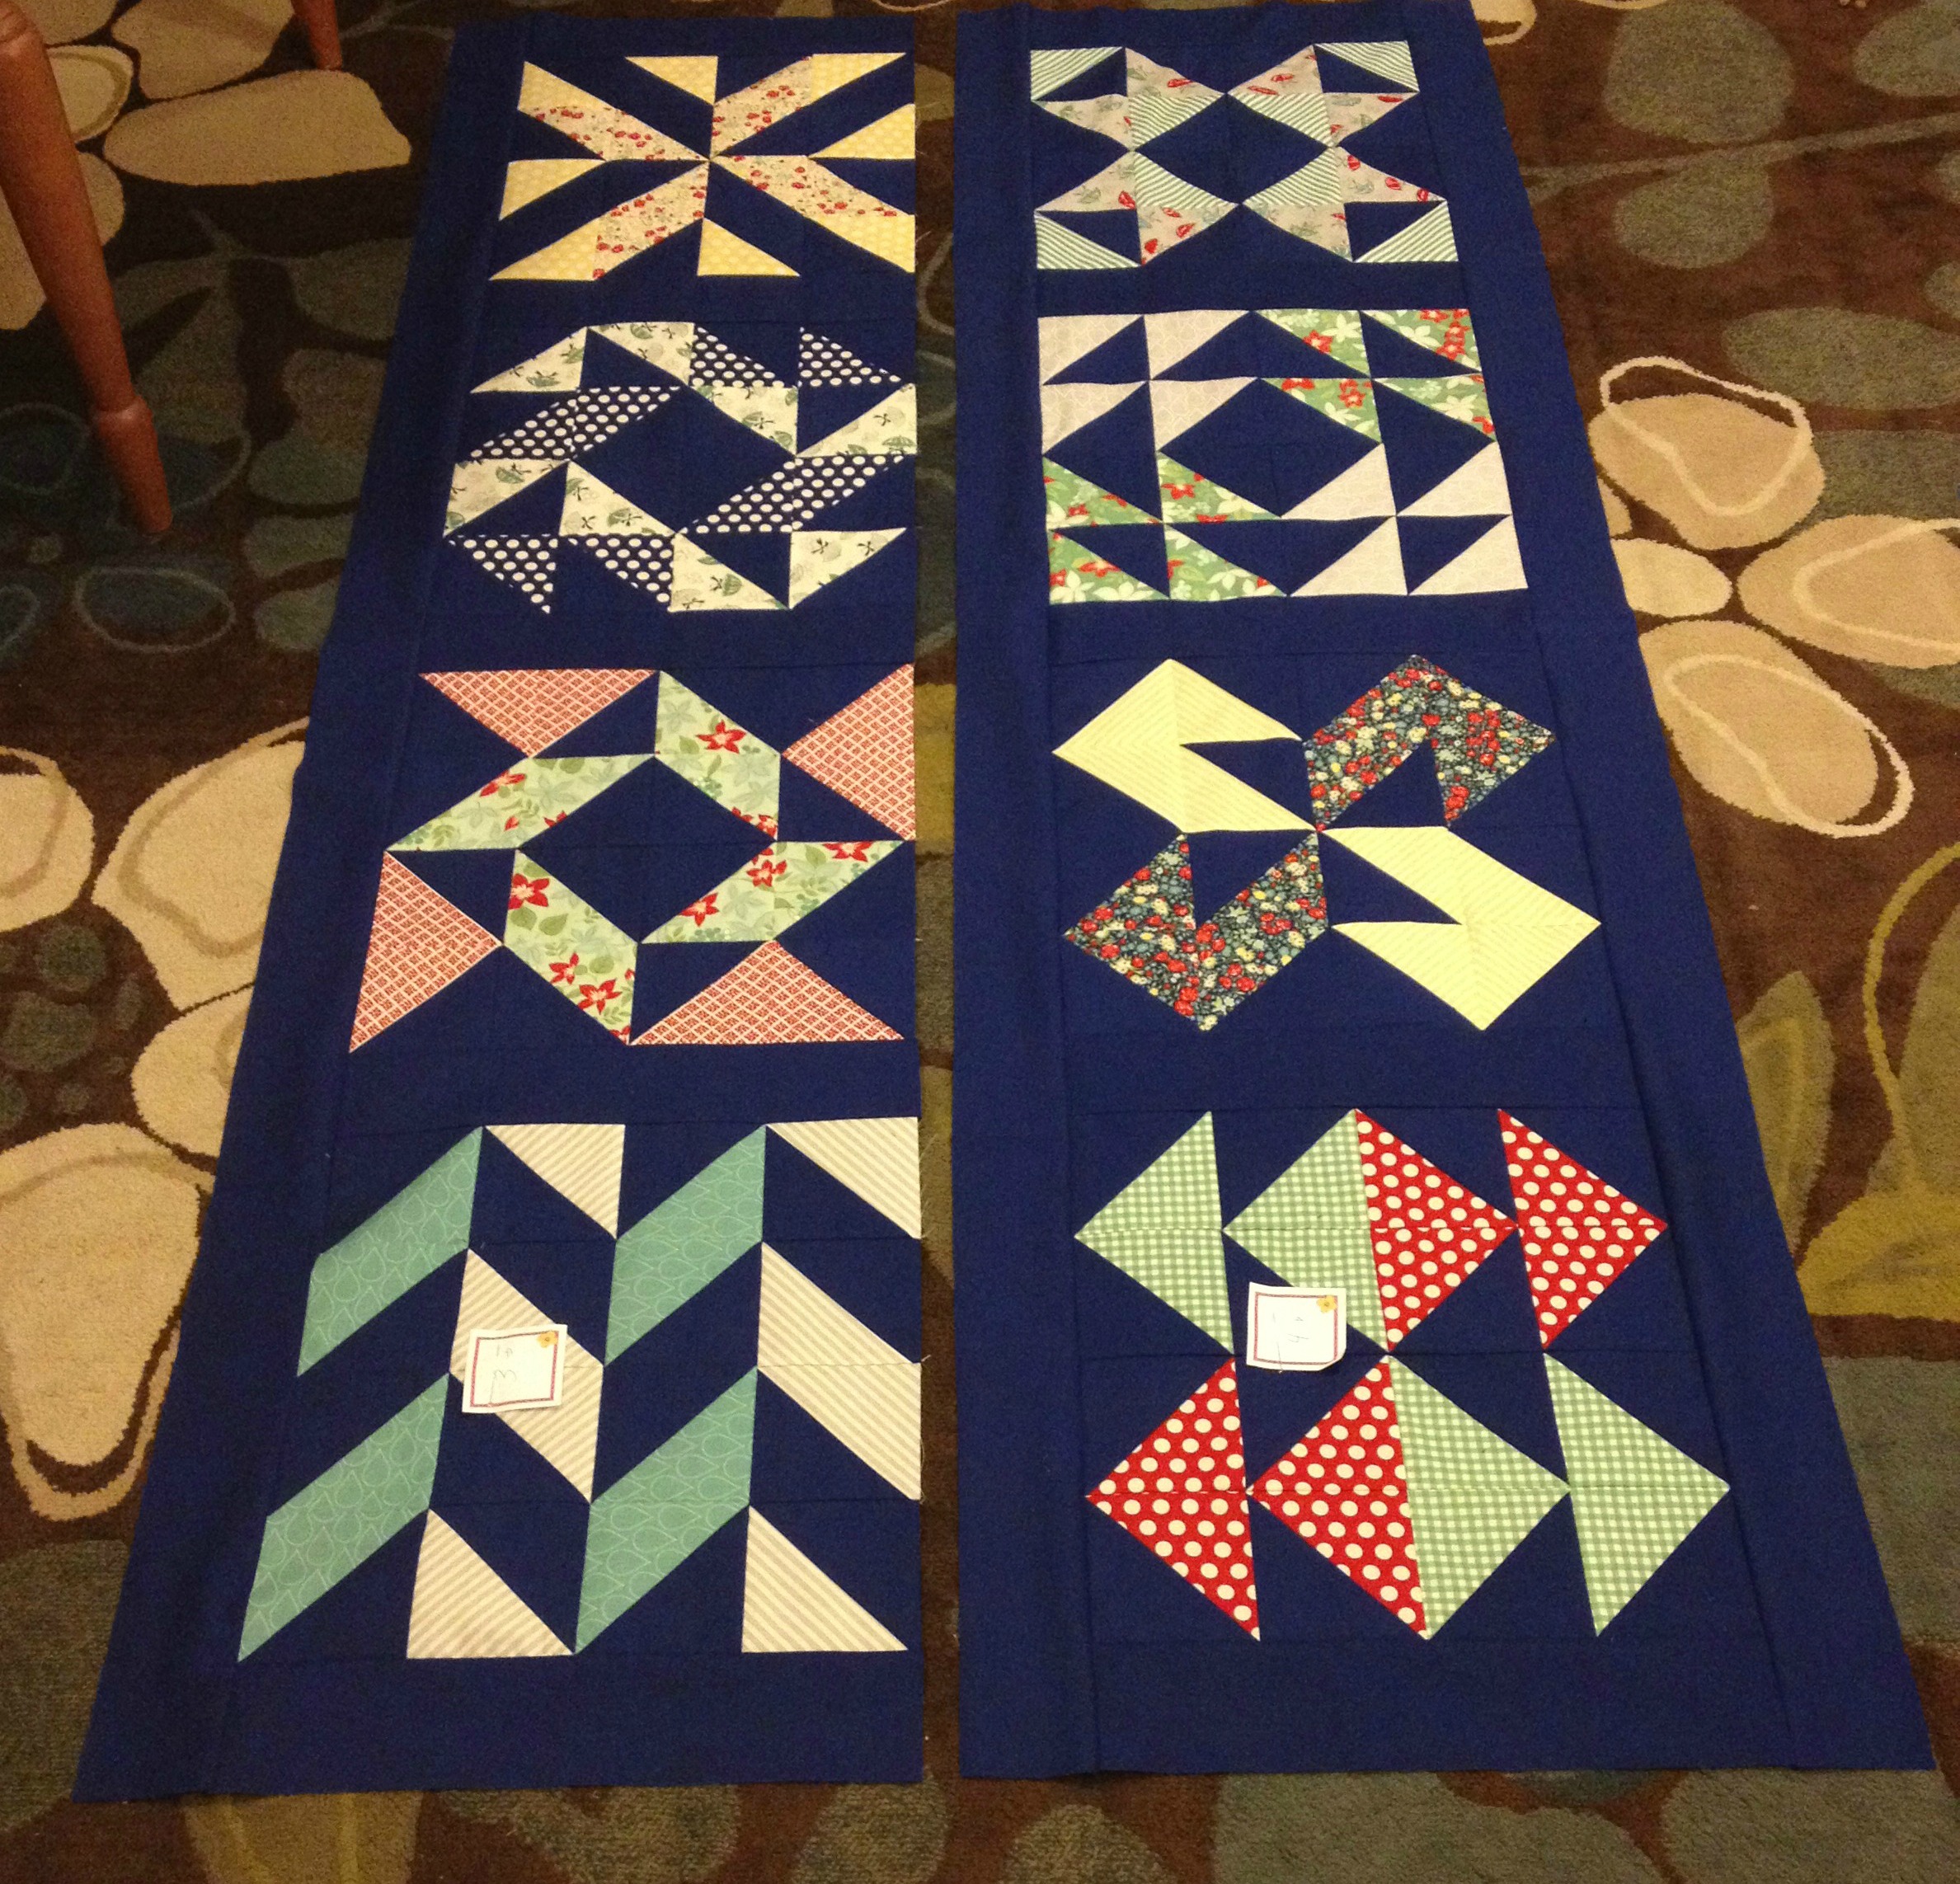
When piecing together the top, I start with the block rows and add sashing on the ends and in between each block as shown in the two pieced rows below.

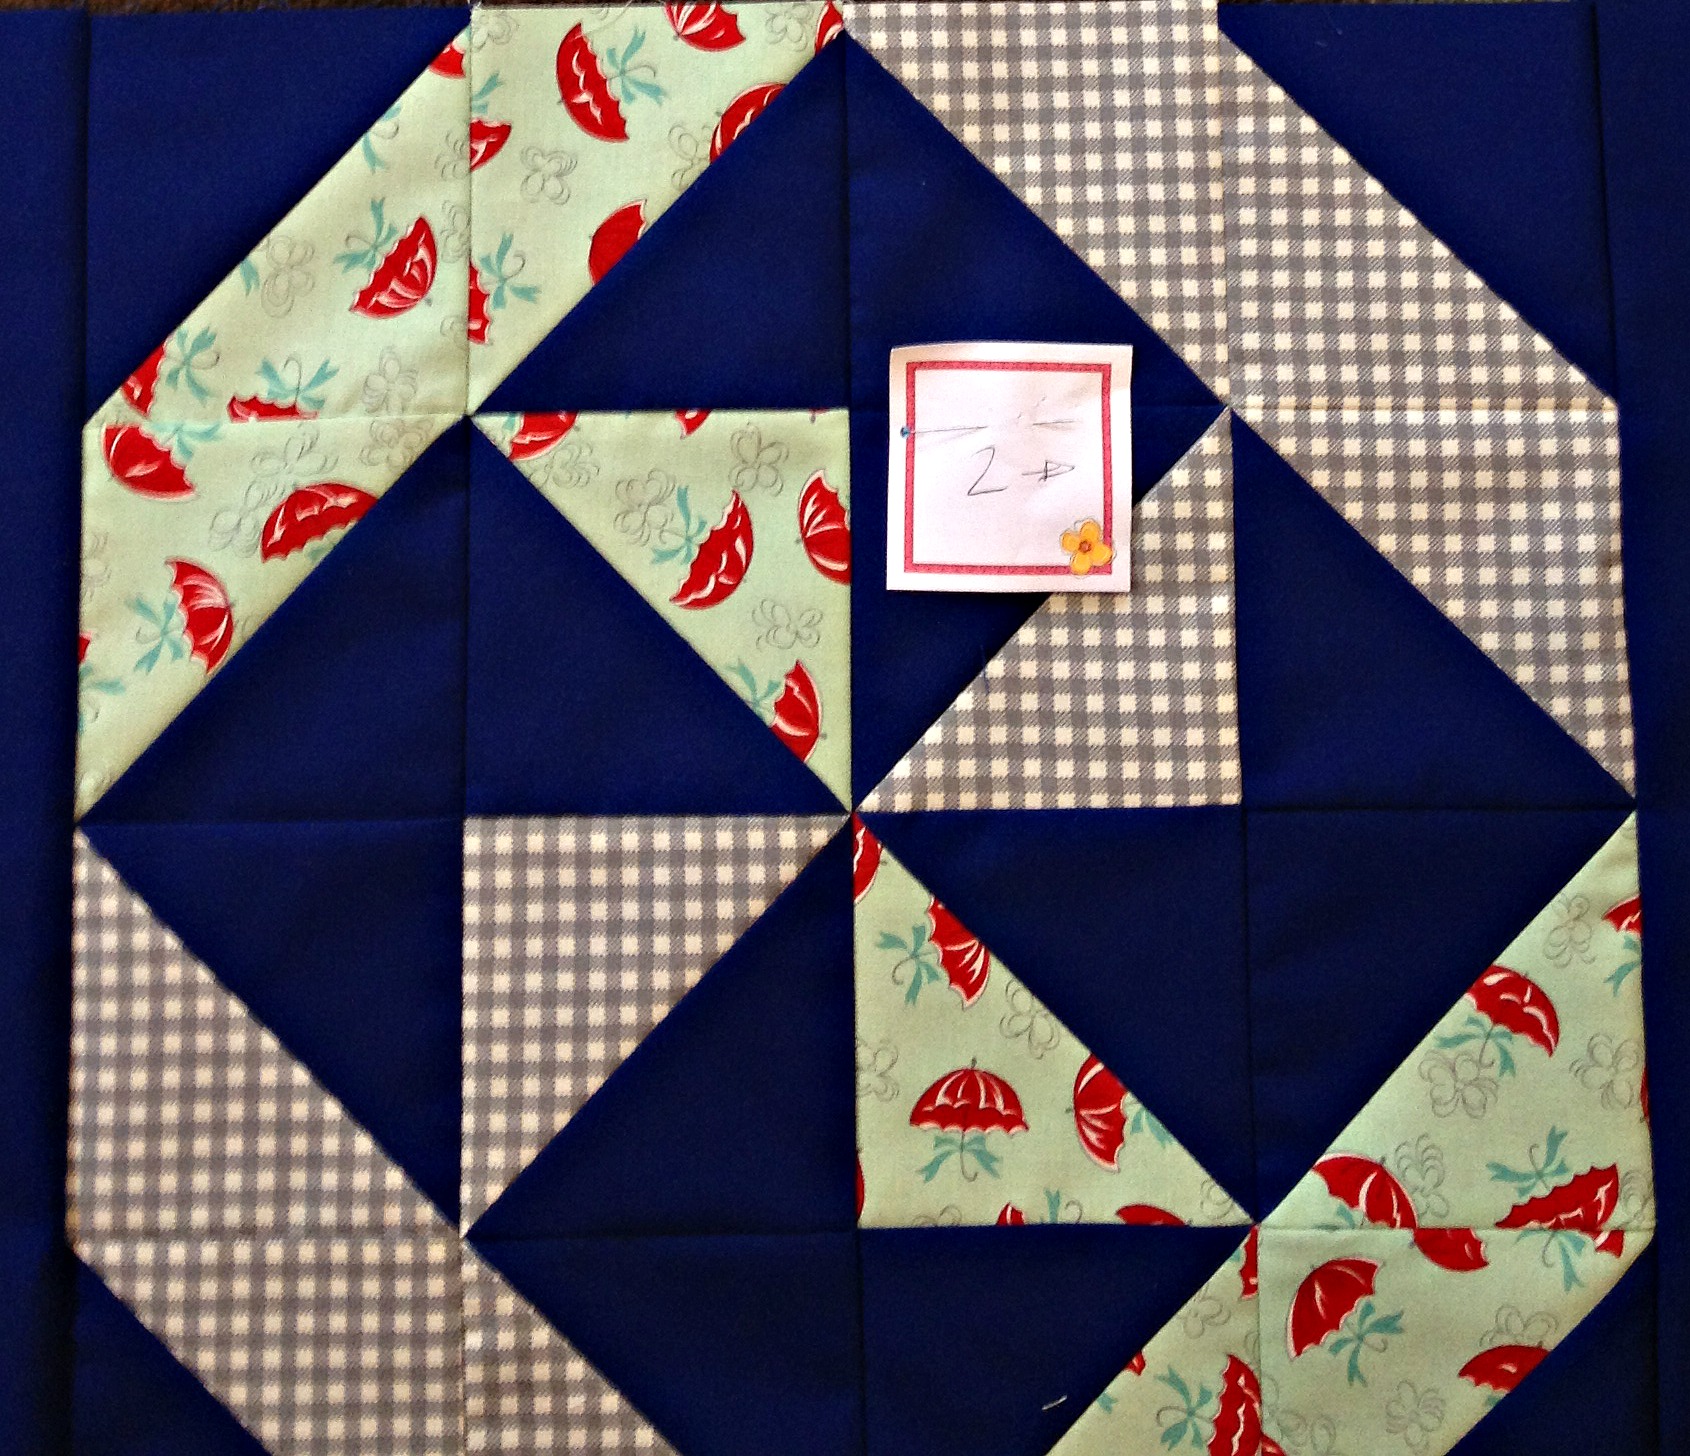
If you are wondering what those small white squares are in the above picture, here's a closer look at my super high-tech and fancy way of keeping track of my rows. :) I use post-it notes pinned to the first block in each row with an arrow pointing in the direction I need to piece the other blocks. While chain piecing, this always helps me to keep things in order.
After each block row has been sashed you will need to create your sashing rows. If you are using cornerstones, just piece these rows as you would the block rows alternating between cornerstone and sashing rectangle. If you aren't using cornerstones, piece together two WOF strips to create one long sashing piece and trim to the appropriate size (for my blue version below that would be 79 1/2").
Next I add a sashing row to the top of each block row, except the last block row will get sashing pieced to both the top and bottom (see below...and sorry I had to change the angle of the photo to be taken from the side because these rows are so big!)
To make piecing the block rows a bit more manageable, I first piece together the sashed rows 1 and 2 and then rows 3 and 4. Now I have two quilt top sections as shown below. Having these sections similar in size is much easier to deal with than just adding a row at a time to the top (especially when you are using all 20 blocks together).

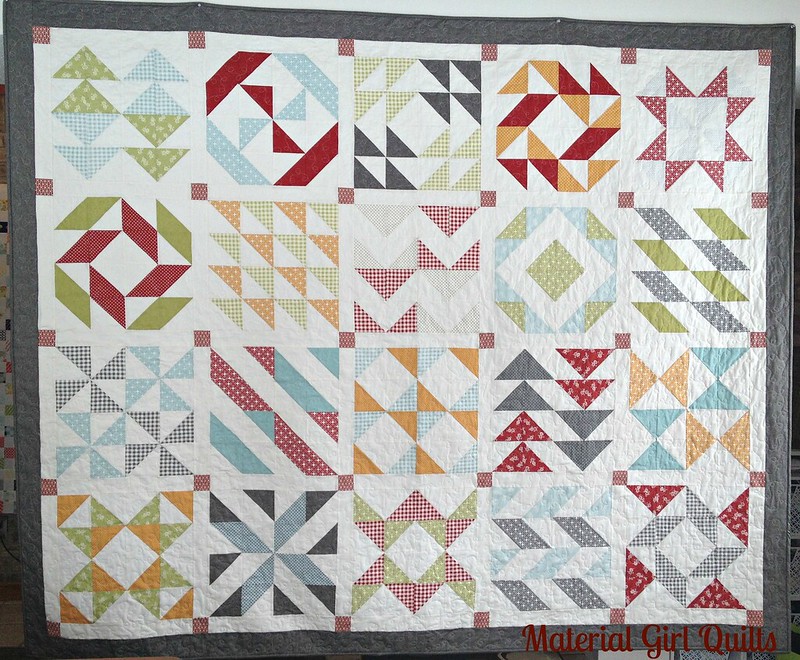
Now one last seam and you either have a complete quilt top like below or you are ready to add your borders!

I had to share this photo of my "helper" who photo bombed the quilt. Silly girl sees a quilt laid out and assumes it is for her. :)

Another possible layout option is without any sashing or borders like Deborah did in her smaller 12 block version below. Didn't it turn out great?

Or you can use skinny sashing like Terri (isn't that background color pretty?!)
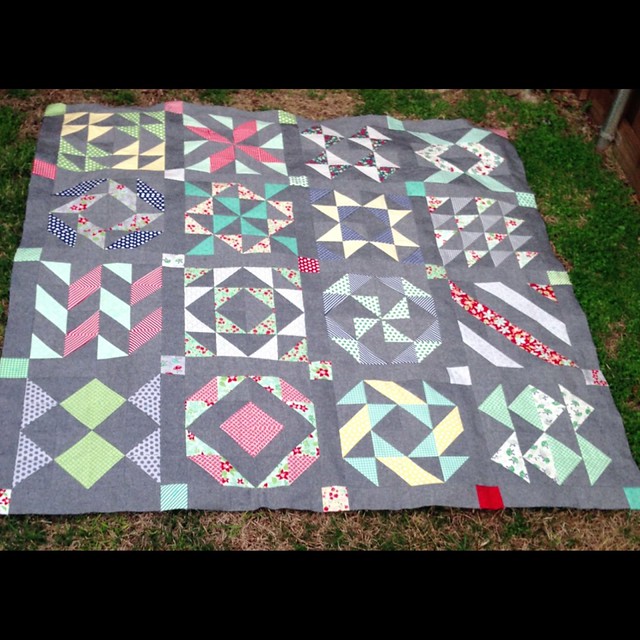
You can also use cornerstones with a wider sashing like Three Owls did in one of my favorite quilt tops so far...check out that Essex yarn-dyed linen!
I can't wait to see how you all decide to put your quilt tops together! You have 2 weeks until my next QAL post when you can link up a photo of your completed quilt top (top only is required...it doesn't have to be quilted and bound!!) and prizes from Moda Fabrics, Aurifil thread, Crimson Tate and Material Girl Quilts.
Thanks again for quilting along with me, it's been so much fun!
Amanda