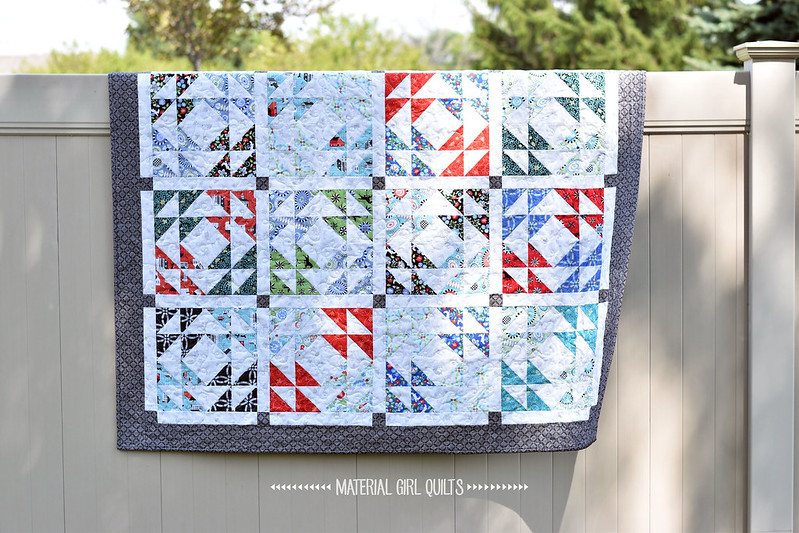
Folk Art Fantasy Blog Hop - Kaleidoscope Windows {a finished quilt, tutorial and giveaway!}
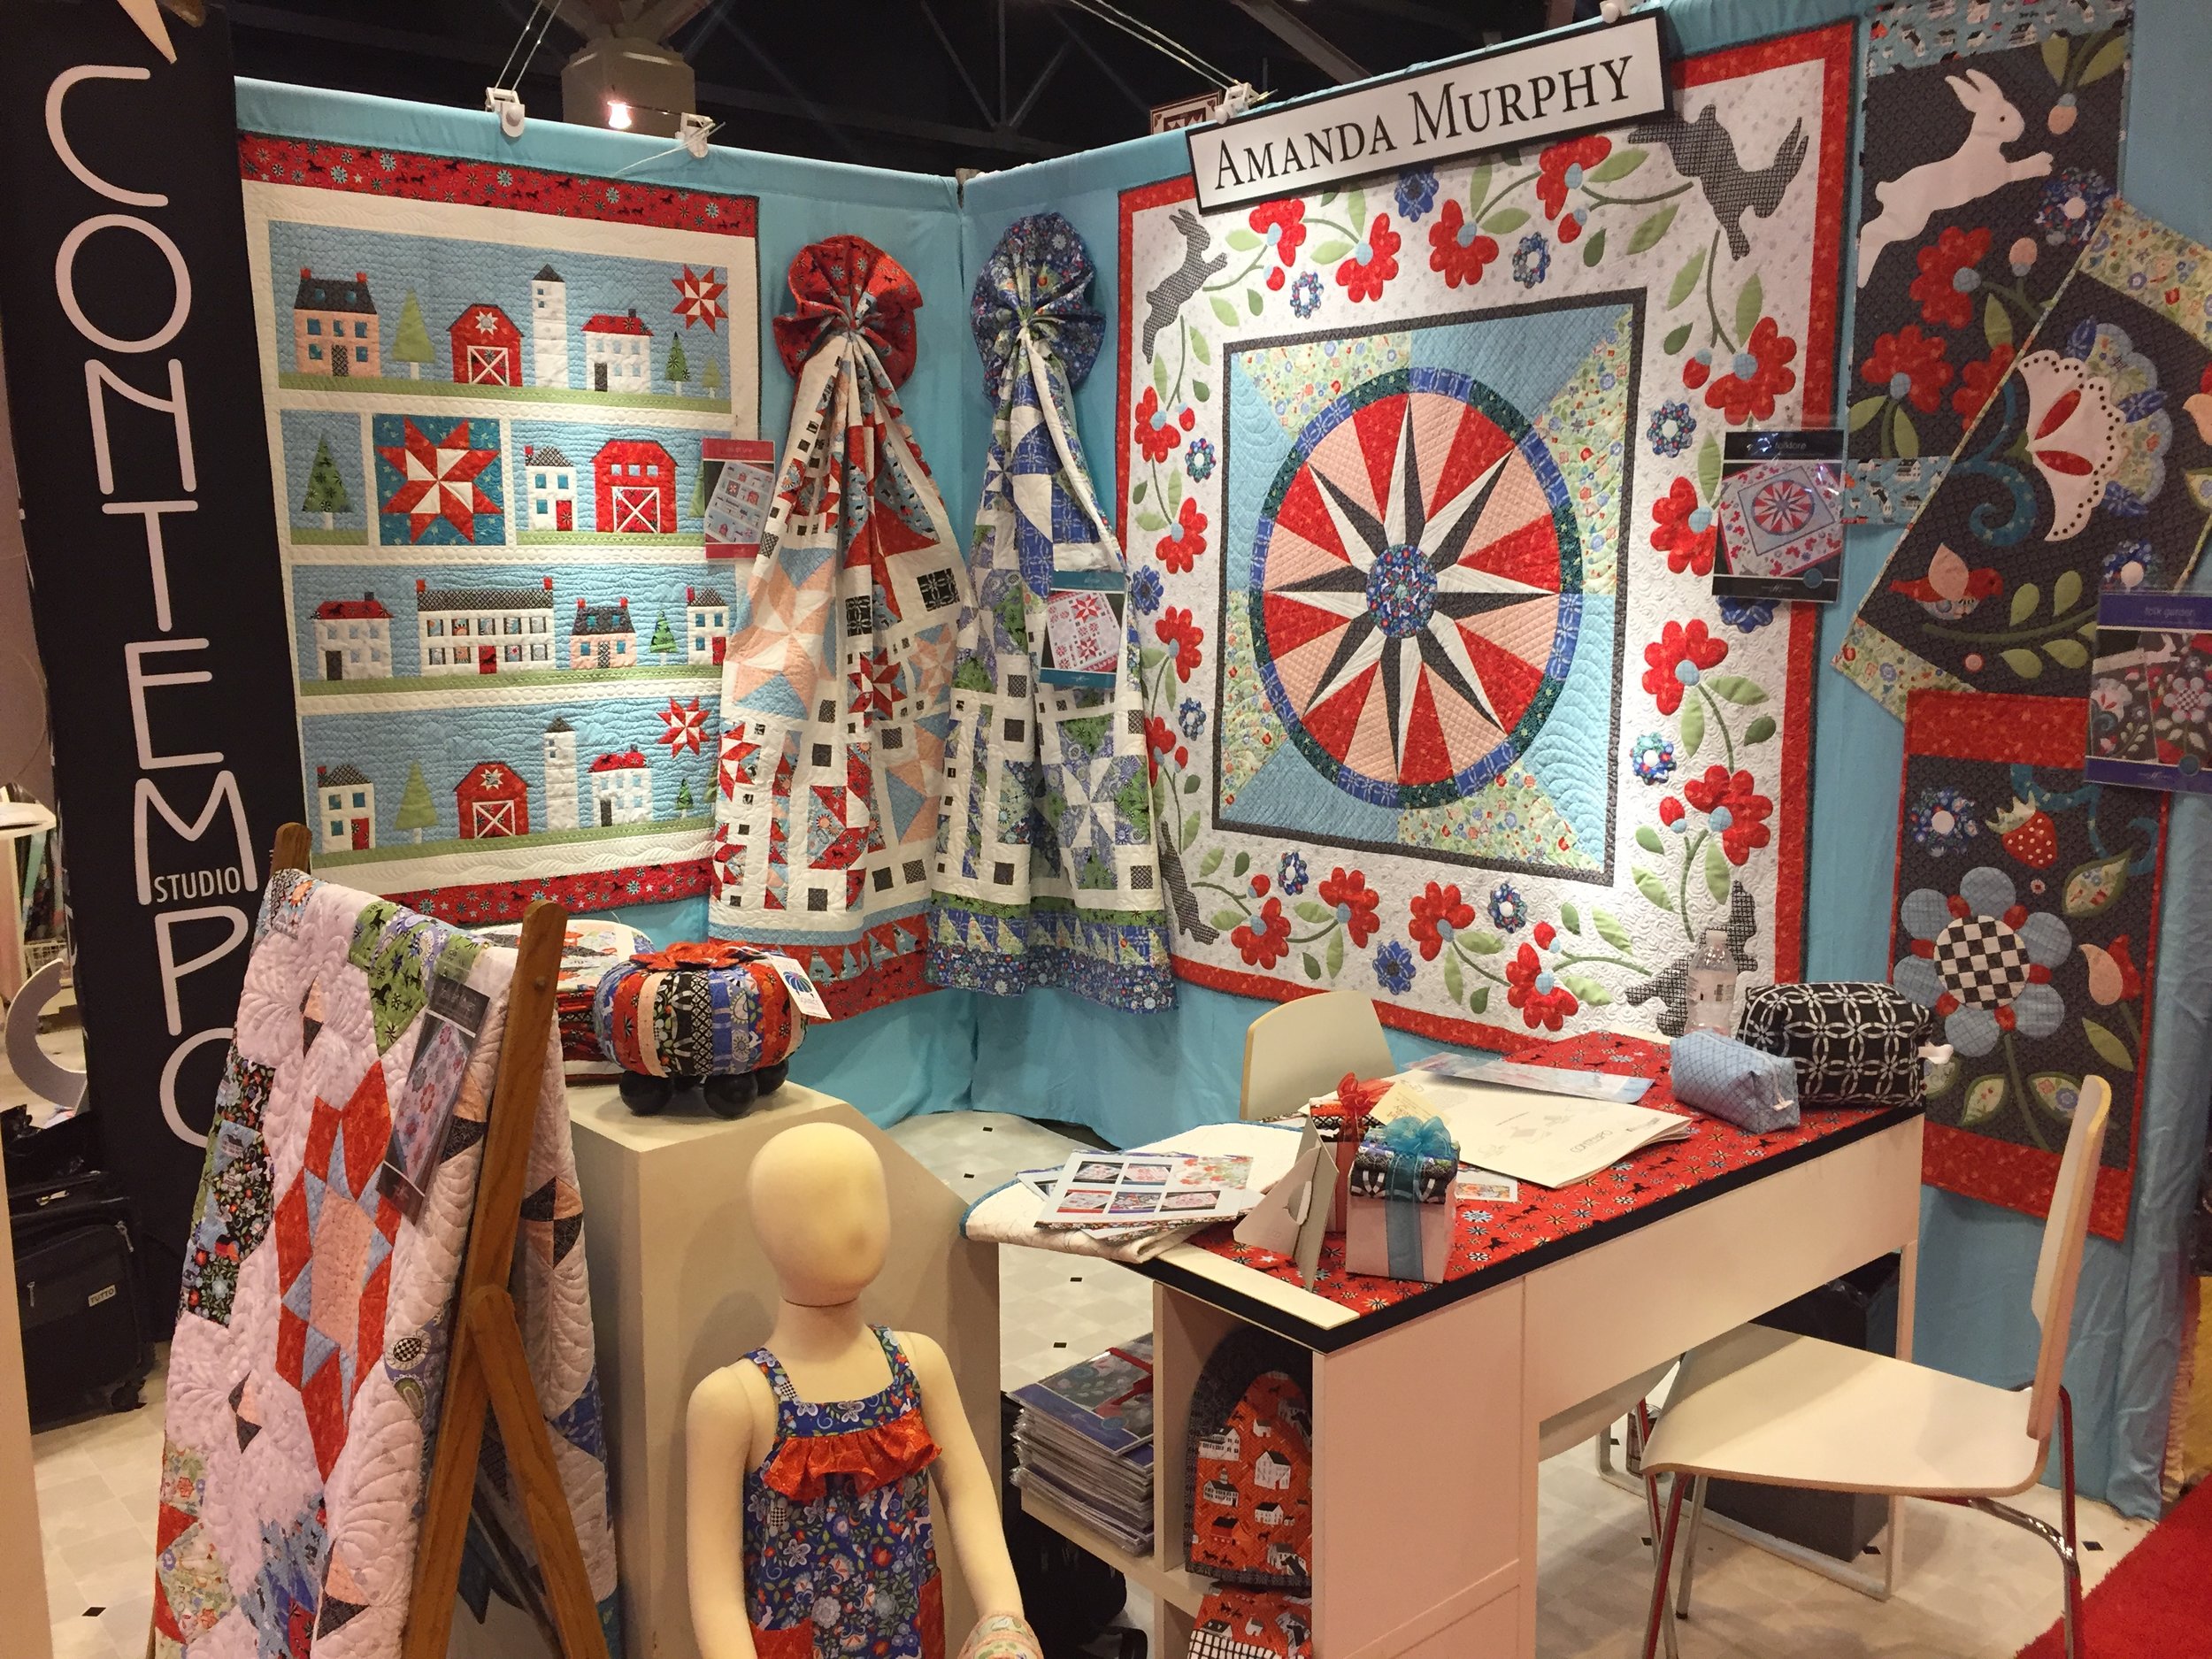
 Hi all! Today is my stop on the Folk Art Fantasy Blog Hop featuring Amanda Murphy's latest line for Benartex Fabrics. I was immediately drawn to Amanda's booth at quilt market in May. Below is a photo I snapped. I think it was the colors that drew me in (and probably that amazing medallion quilt!). I also adore the quilt hanging on the left with the cute houses and red barns (another weakness of mine).
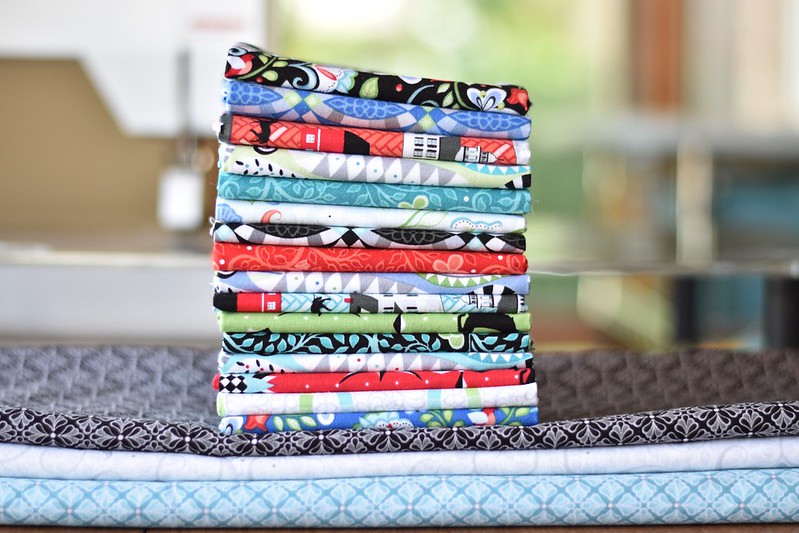
So, when this pretty stack arrived two weeks ago, I couldn't wait to cut into it.
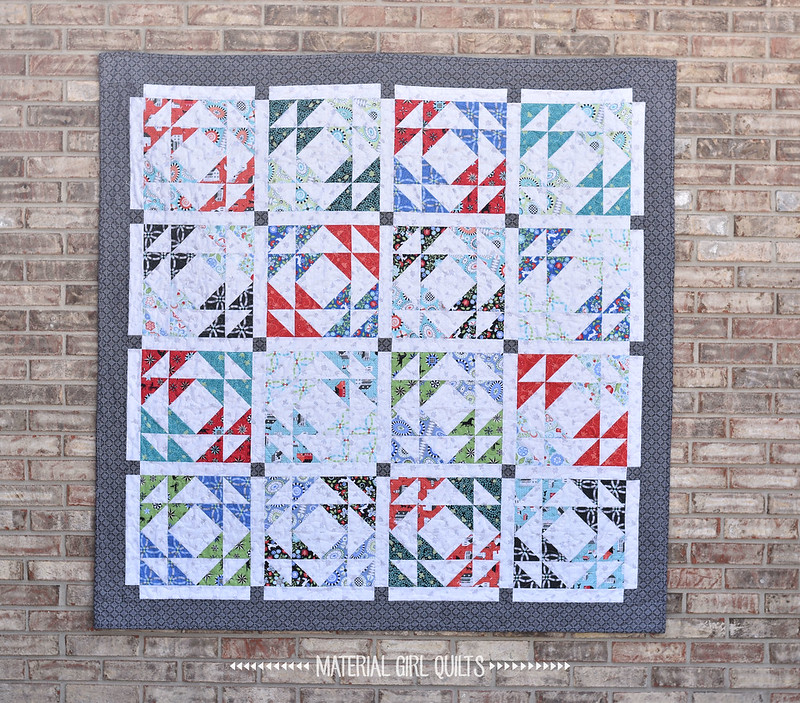
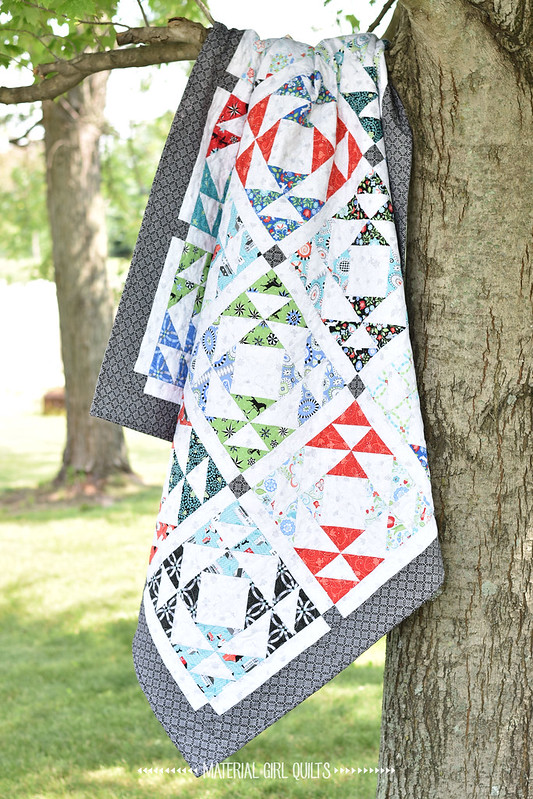
The end result is my latest quilt design, Kaleidoscope Windows.
I've had this quilt design sketched up for a couple of years and it was fun to finally put it into fabric. Isn't it pretty hanging in the tree?
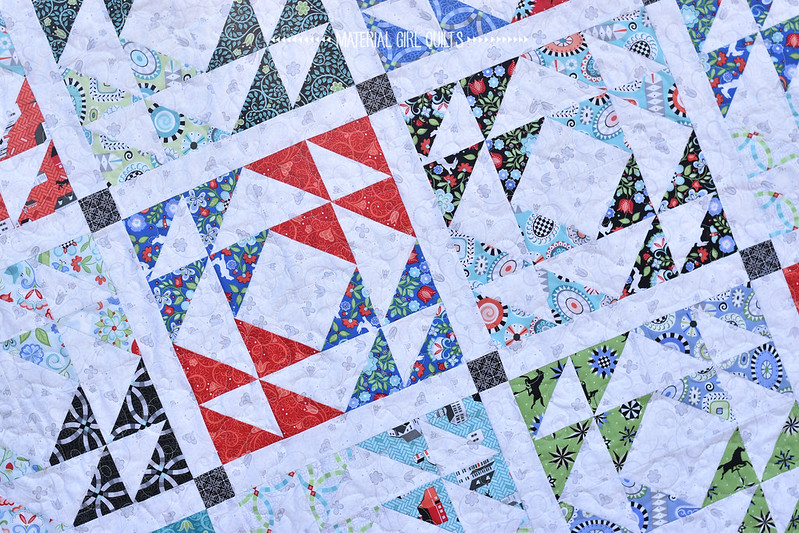
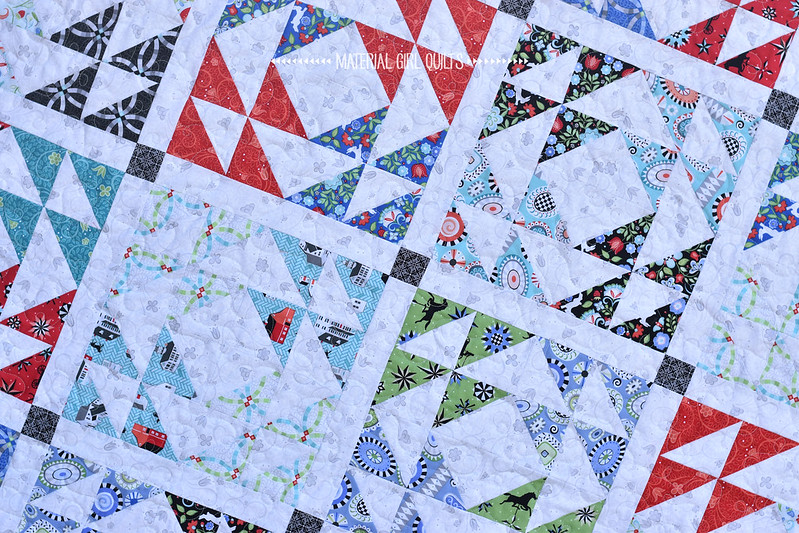
The below photo shows off the pretty Folk Art Fantasy fabrics.
This line even includes a fantastic low volume print that works perfectly as a background.
The quilt finishes at 62" square and below is all of the information you need to make your own.
Fabric Requirements:
- 16 Fat Eighths (9" x 22") for blocks
- 2 1/2 yards background fabric
- 1 yard cornerstones and border fabric
- 1/2 yard binding fabric
- 4 yards backing fabric
Cutting Instructions:
- From each Fat Eighth
- cut two 8" squares
- From background fabric
- cut seven 8" x WOF strips and subcut into thirty-two 8" squares
- cut fourteen 2" x WOF strips and subcut into forty 12 1/2" x 2" rectangles
- From border fabric
- cut two 2" x WOF strips and subcut into twenty-five 2" squares
- cut seven 3 1/2" x WOF strips for borders
Block Assembly:
1. Layer one print 8" square and one background 8" square RST.
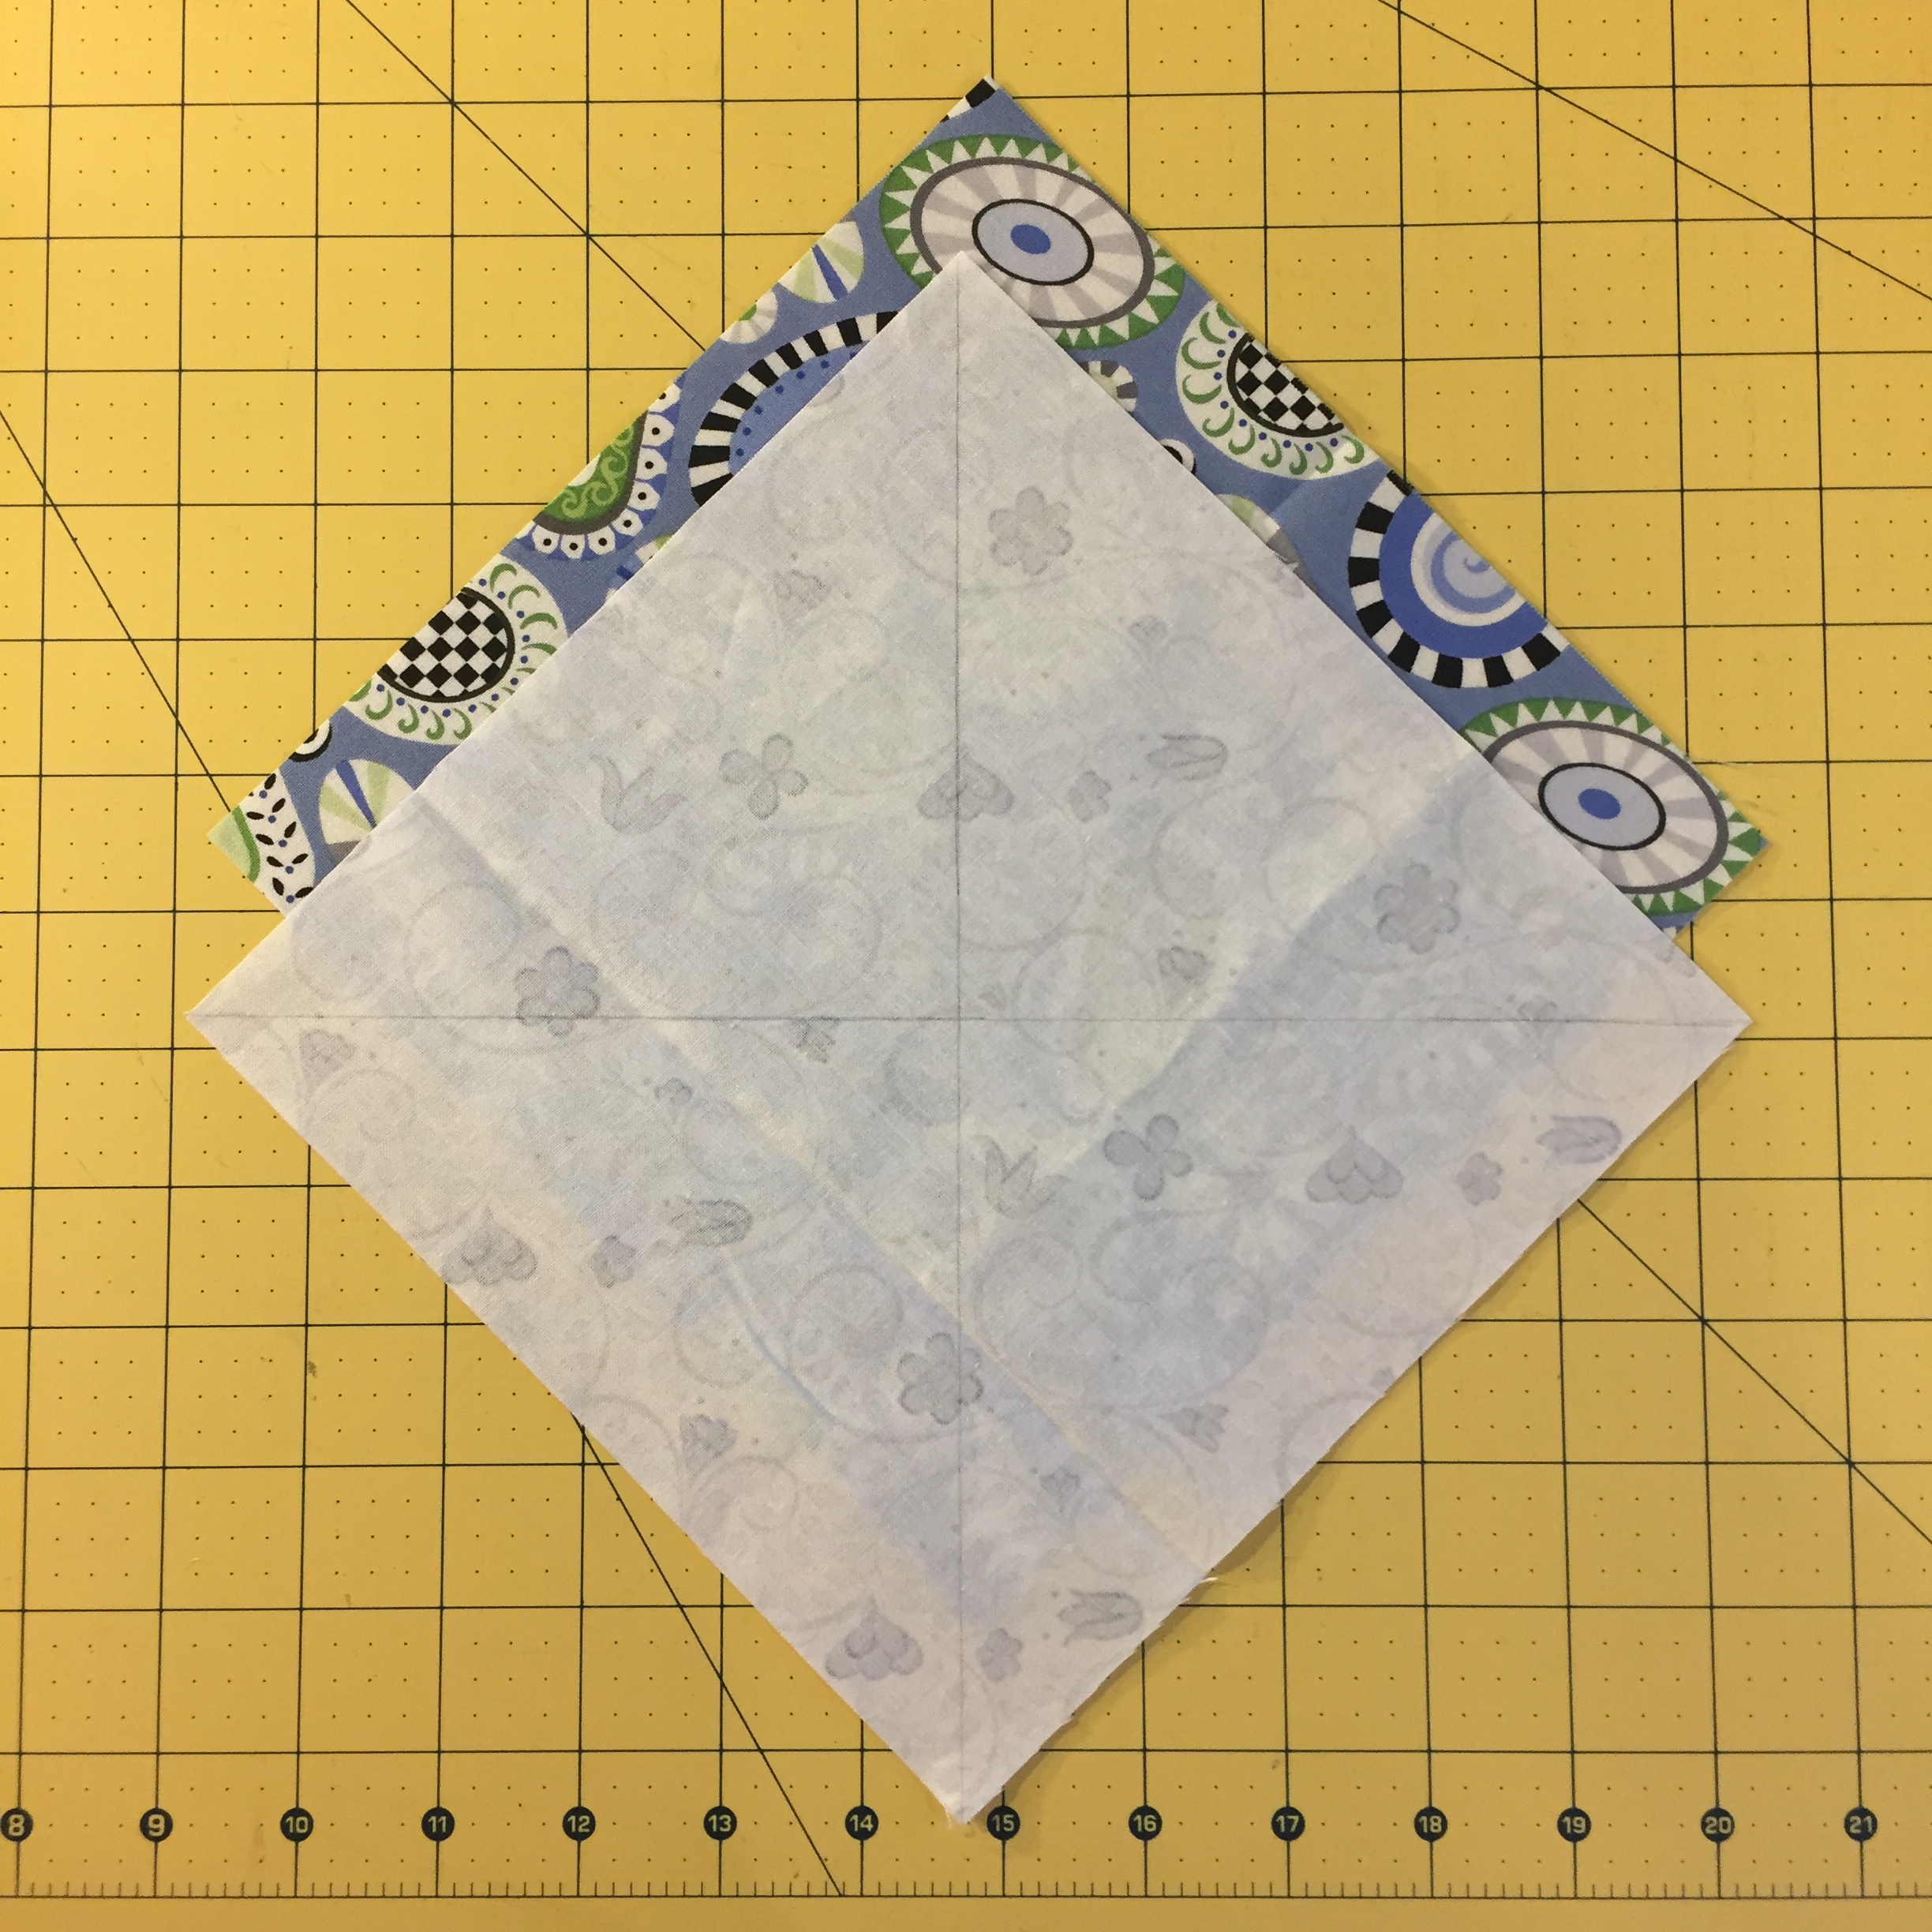
2. Pin in place and draw two diagonal lines from corner to corner on the back of the background square.
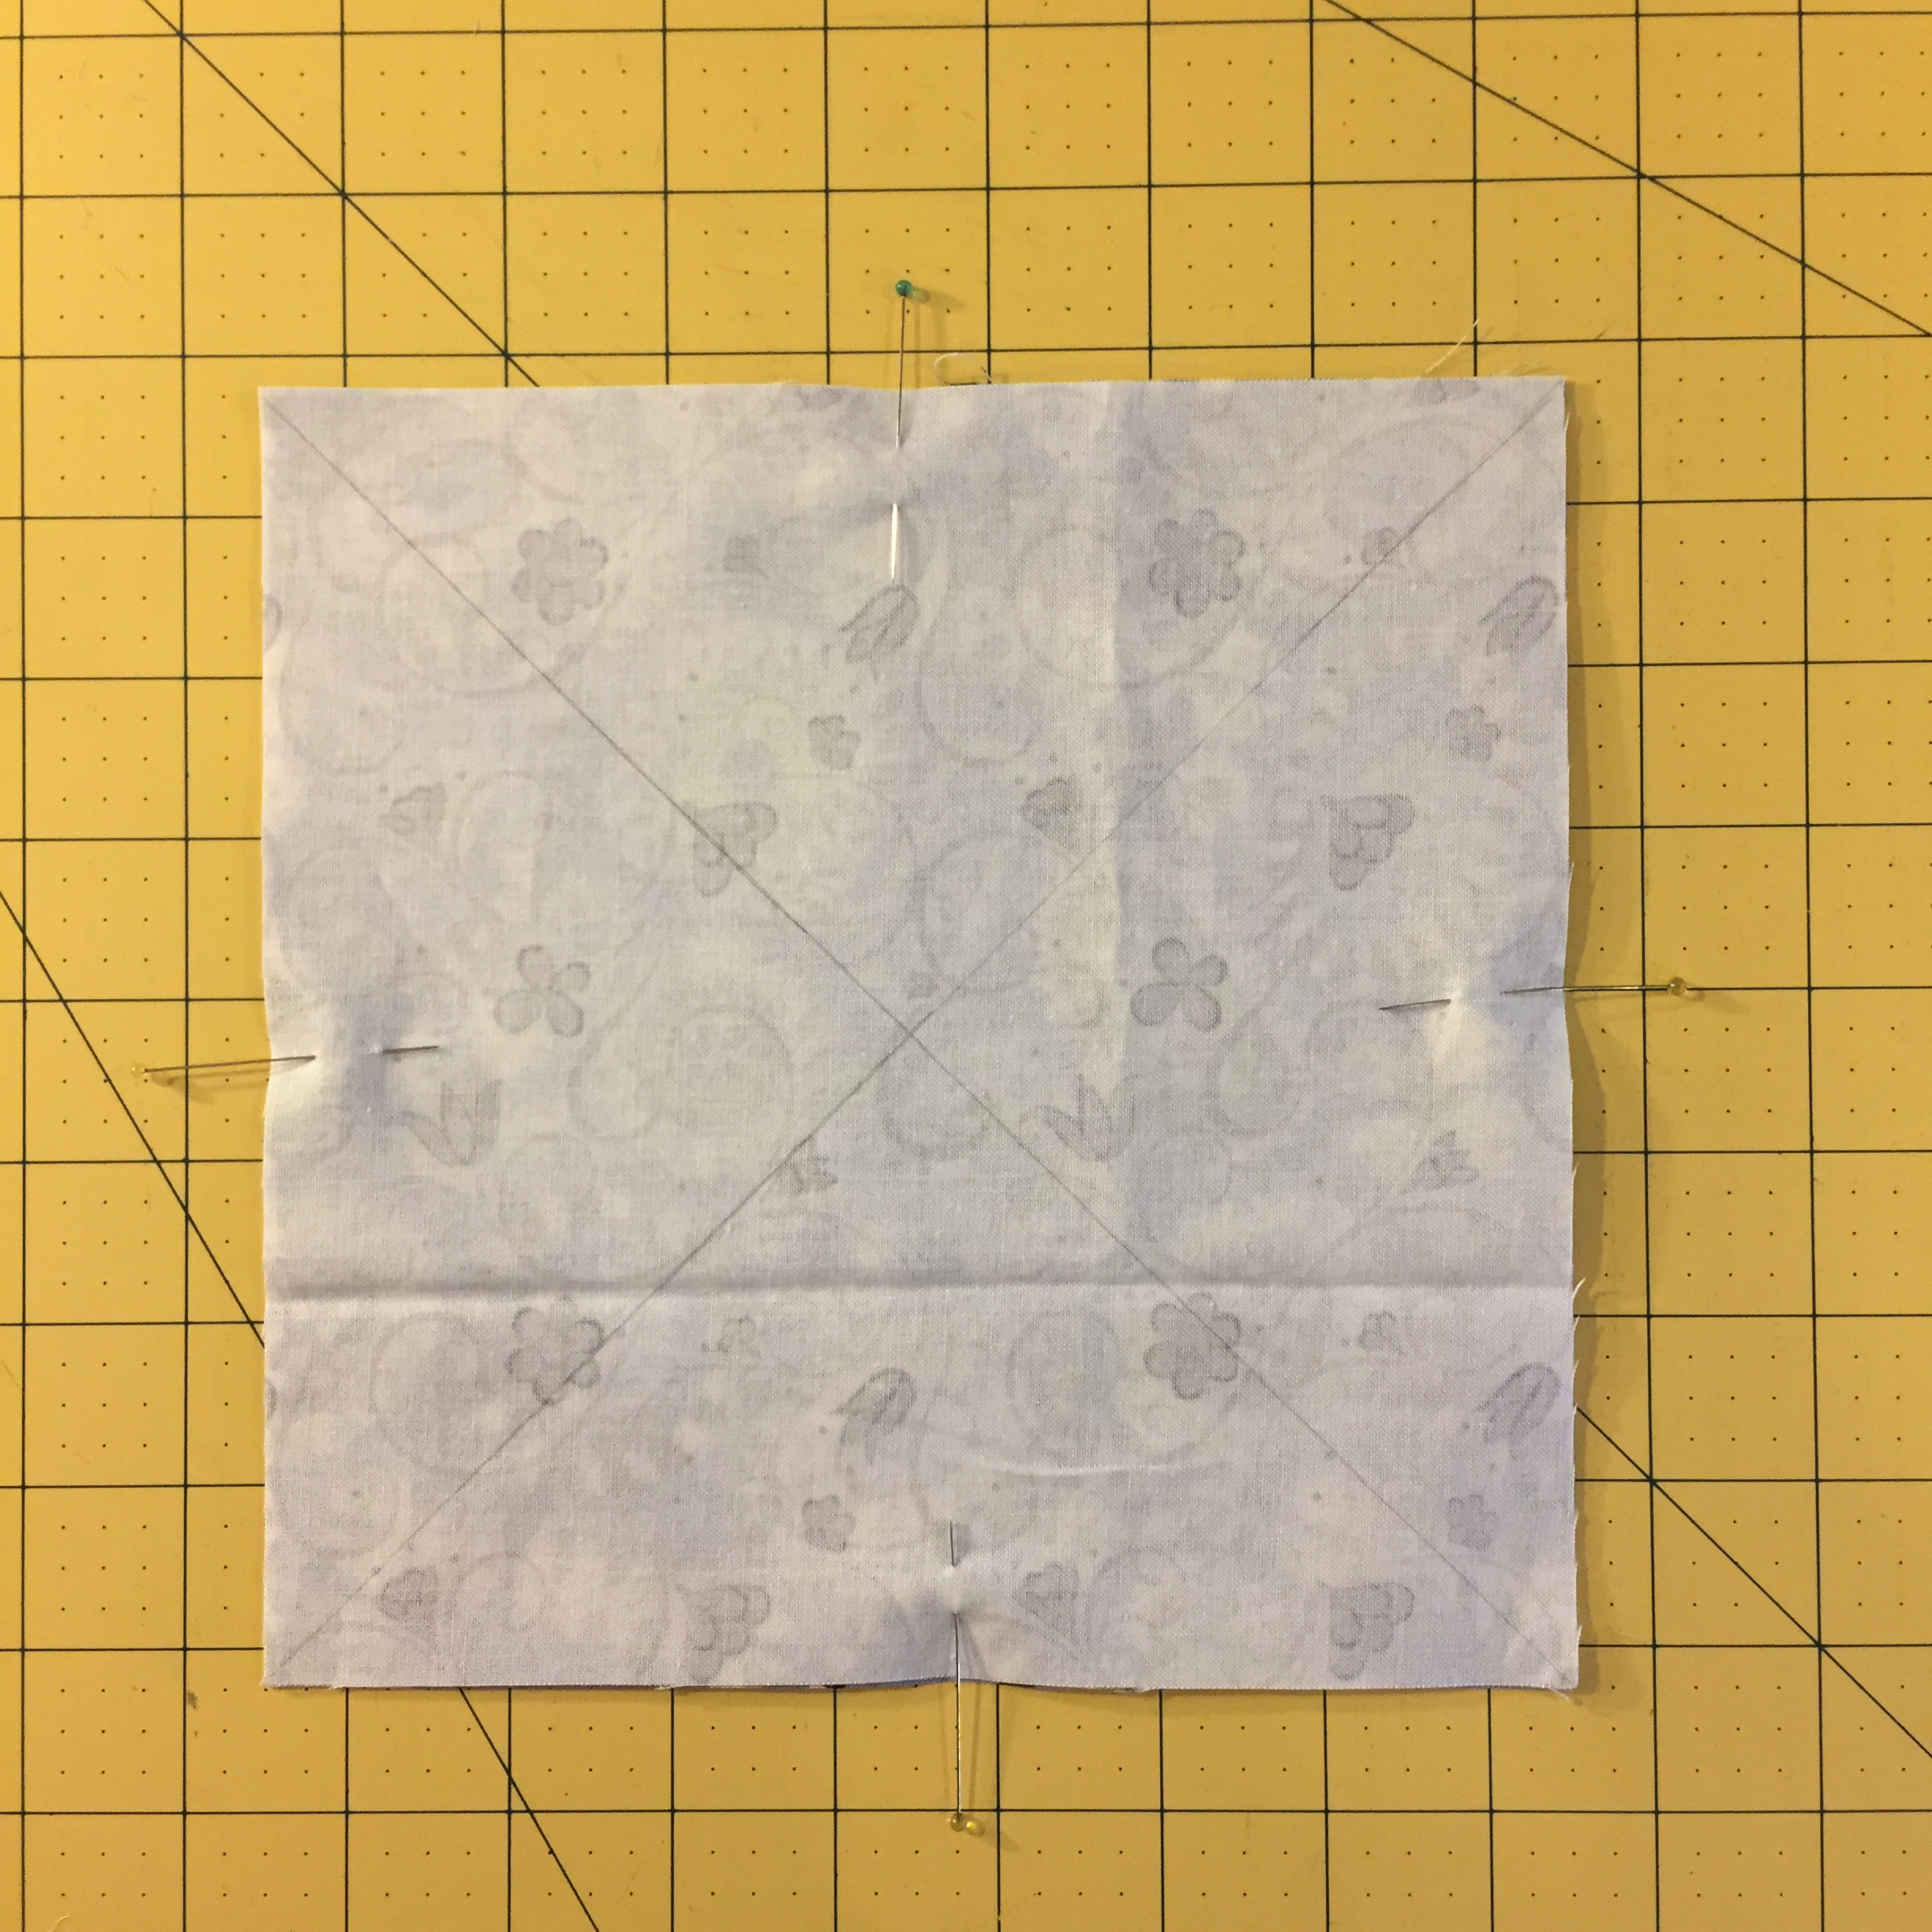
3. Stitch 1/4" on each side of the diagonal lines.
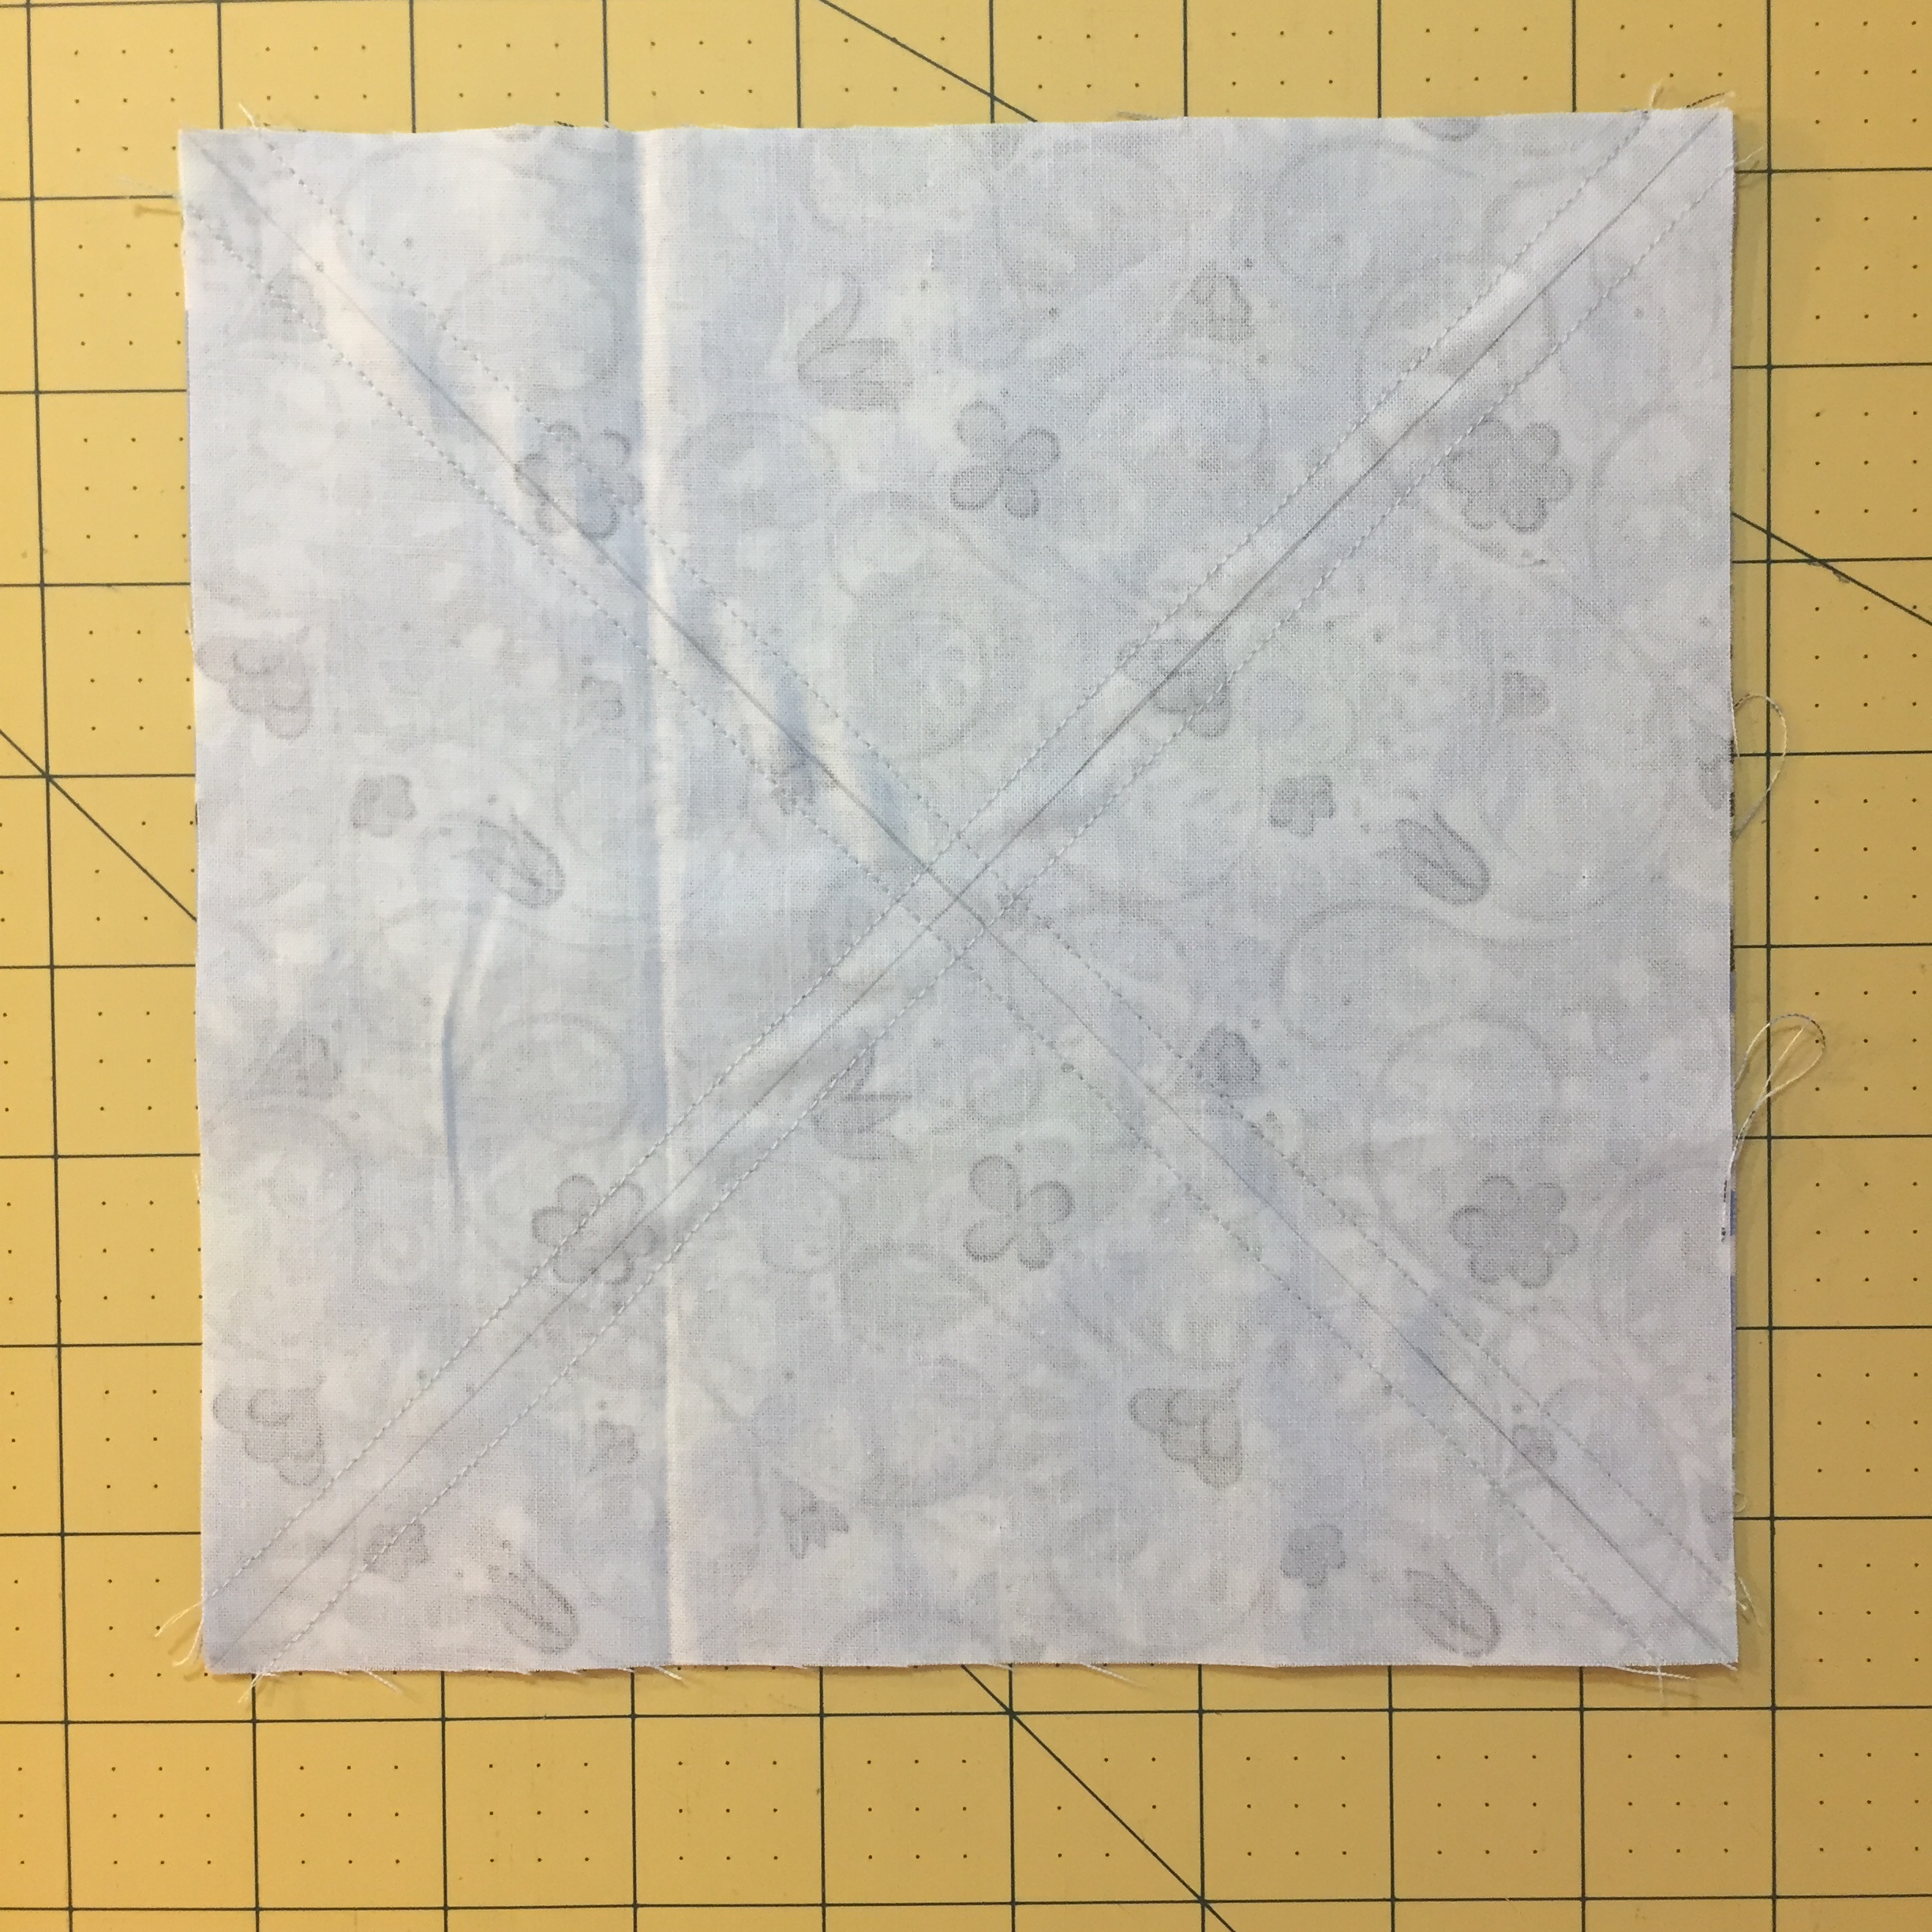
4. Using your ruler, cut a vertical line at 4" through the center.

5. Without moving the fabric, move the ruler and cut a horizontal line at 4" through the center.
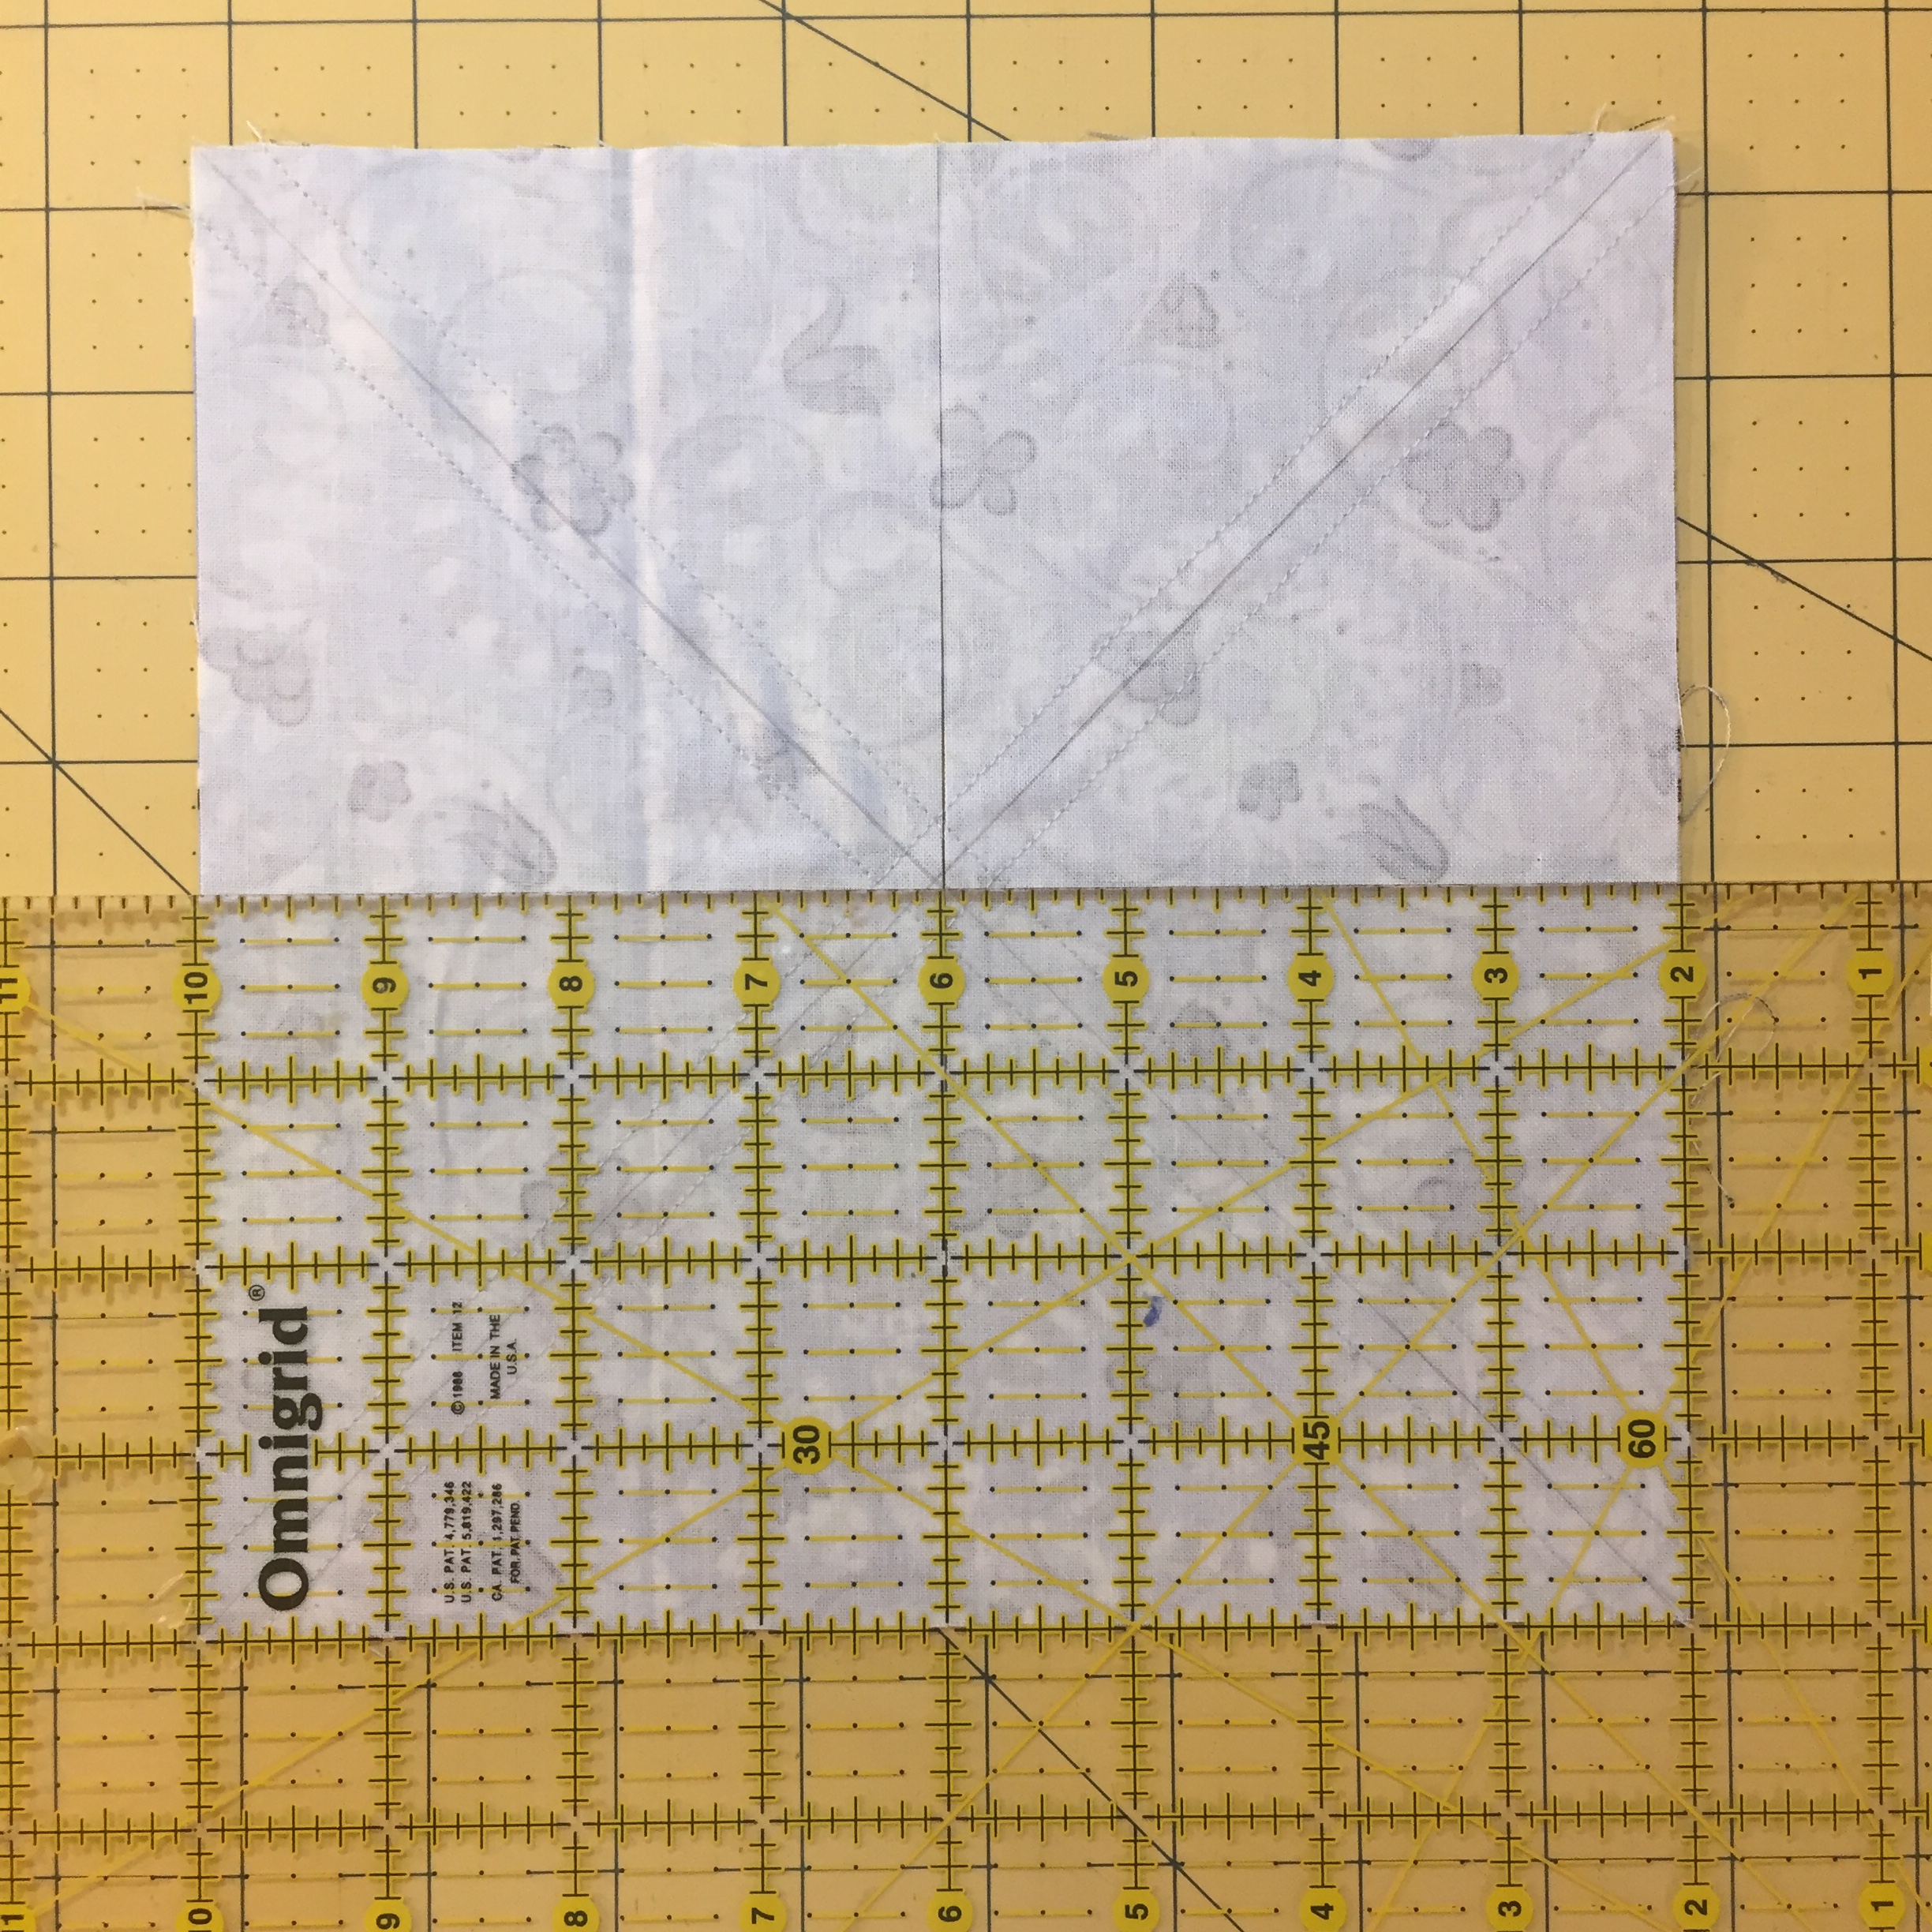
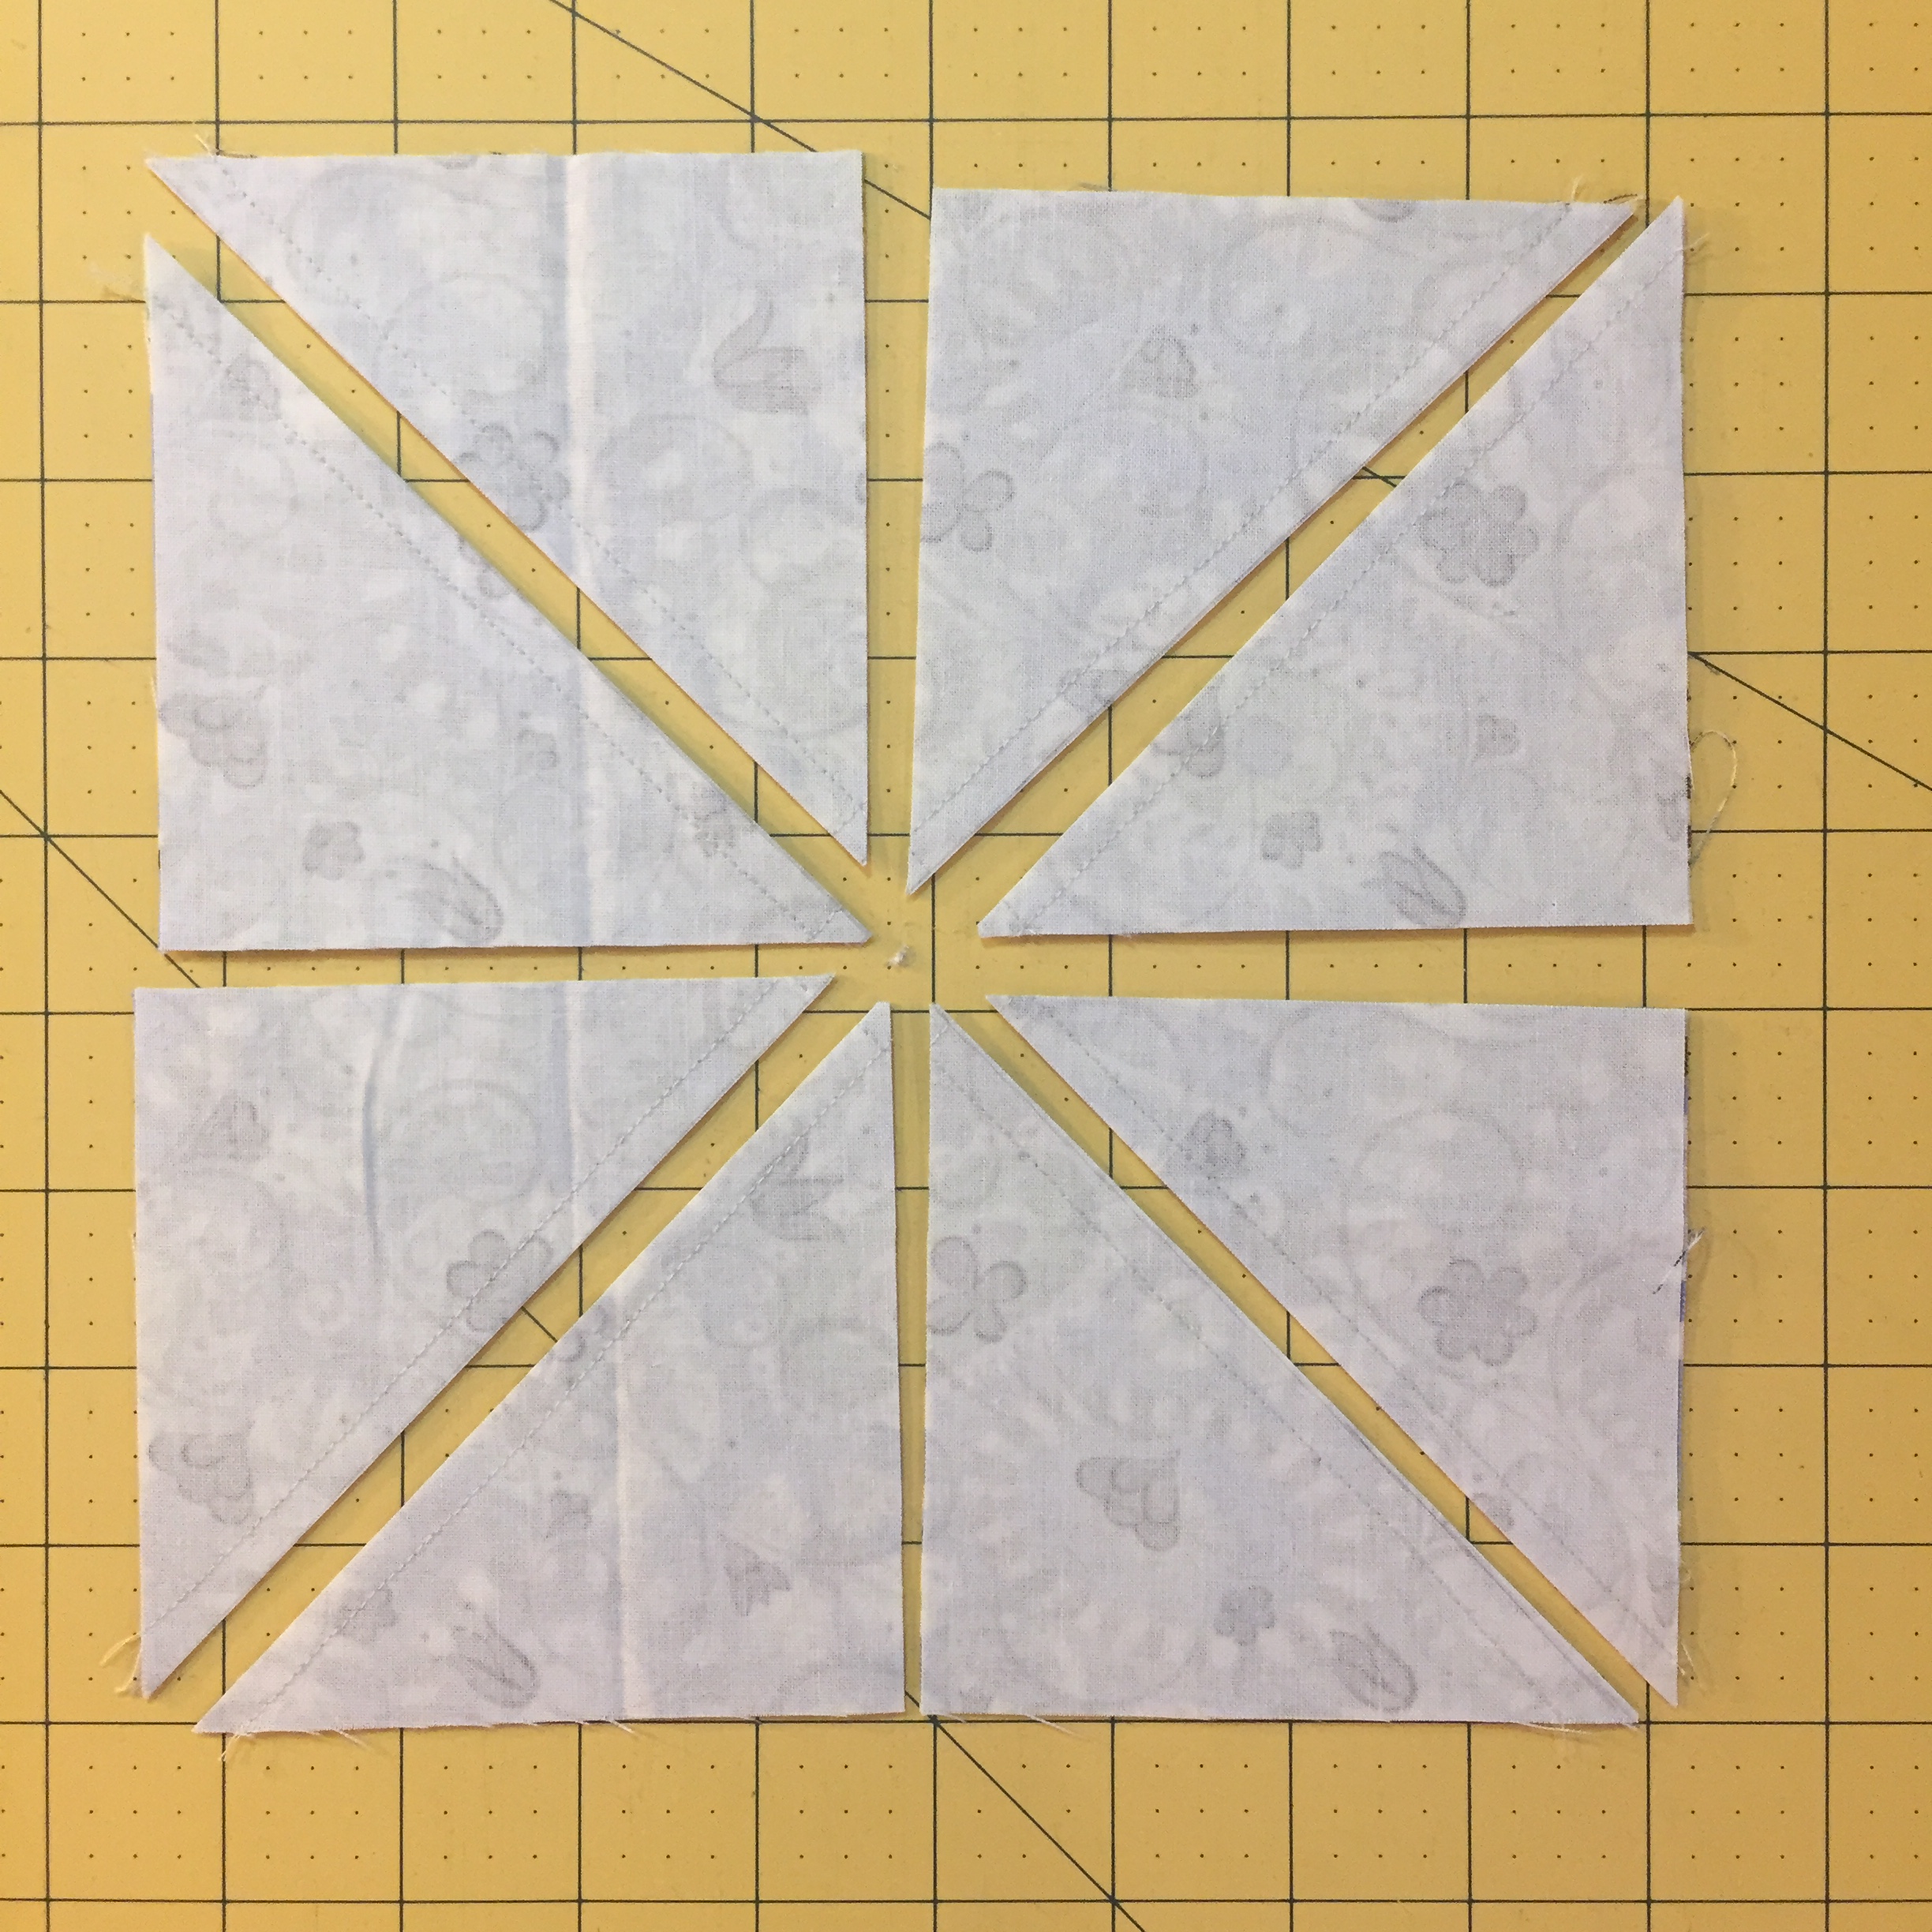
6. Again, without moving the fabric, move the ruler and cut directly on each of the diagonal lines.


7. Once all cuts are made, you will have a total of 8 matching half square triangles (HSTs). Press away from the background fabric and trim each HST to measure 3 1/2" square.
8. Select 8 HSTs of two different prints for a total of 16 HSTs. Lay them out according to the block diagram below and sew them into rows pressing the seams open. Then sew the rows together into a block. The completed block will measure 12 1/2".
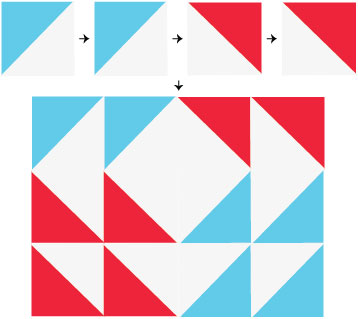
9. Repeat to create a total of 16 completed blocks.
10. Lay out your blocks, sashing and cornerstones as shown in the quilt layout diagram below. Sew the sashing rows and block rows together and press the seams open. Sew all of the rows together.
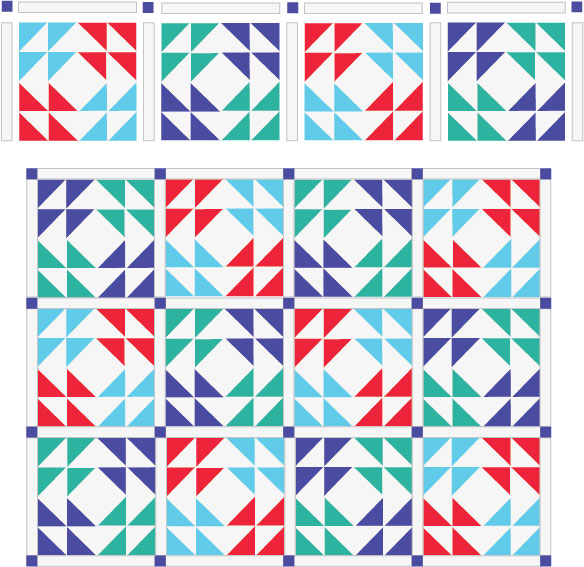
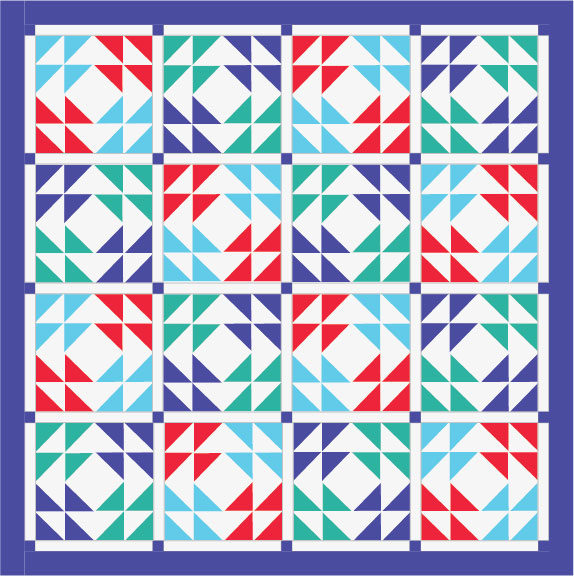
11. After the center of the quilt top is pieced, use your 3 1/2" x WOF strips to piece together two 56" x 3 1/2" border strips for the top and bottom and two 62" x 3 1/2" border strips together for the sides. Sew the top and bottom borders onto the quilt followed by the side borders.
12. Once quilted, piece together seven 2 1/2" x WOF strips end to end to create your binding.
Now that I see the completed quilt diagram above, I really want to make one with only 4 fabrics!
Here's the best part - Benartex is giving away a fat quarter bundle of Folk Art Fantasy to one of my lucky readers!! Leave a comment for a chance to win and I'll pick a winner by July 4th.
To see some more super cute items made with Folk Art Fantasy (and additional chances to win!) check out the line up below.
Tuesday: Mandy of Mandalei Quilts Wednesday: Benartex Blog Design Team Thursday: Alison of Little Bunny Quilts Friday: Me!
Thanks so much for stopping by and if you make your own Kaleidoscope Windows quilt, I'd love to see it!
Amanda


