
Quiet Flight {a finished quilt and tutorial!}

Hi all! Today I'm back to share a quilt made with Heather Givan's additional line coming out this spring for Windham Fabrics. It is a new paper themed Basics line called Jot that is filled with some amazing low volume prints I know you will want to add to your stash. I am a huge fan of paper and office supplies in general, so of course this line makes me smile :)
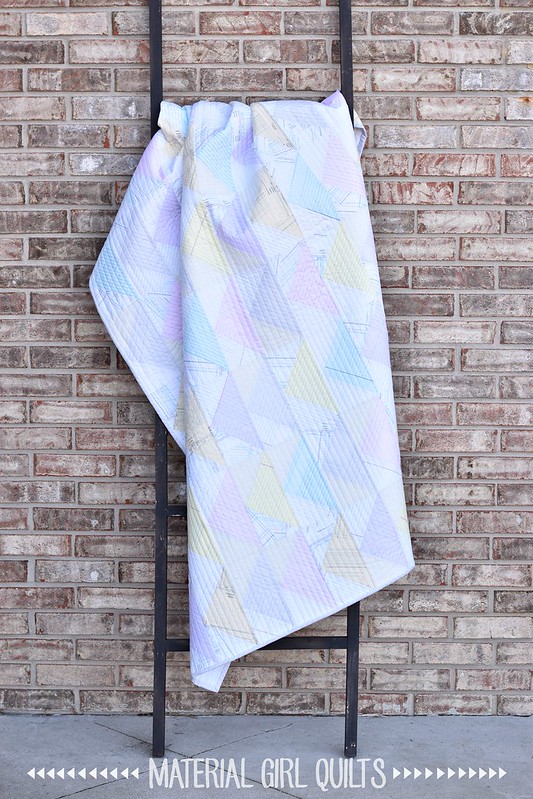
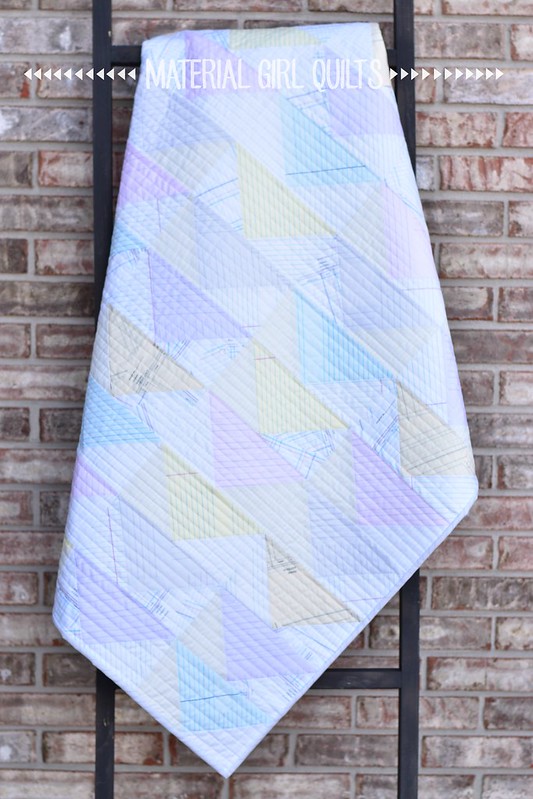
All of these low volume prints together make such a soft and sweet quilt. When I finished the quilting, I just couldn't stop staring at it - it's so pretty!!

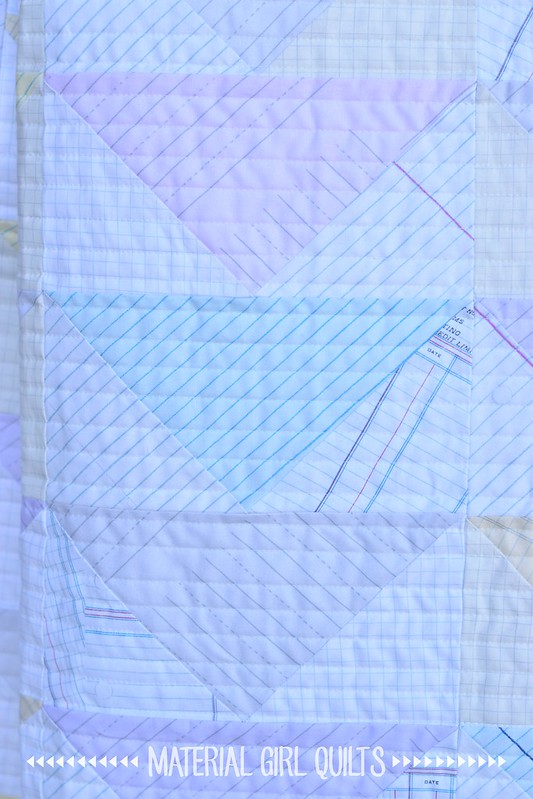
Below is a little closer look at some of the prints. I opted to go scrappy on these flying geese blocks, so none of them have matching background triangles. I love the movement it creates in the quilt.
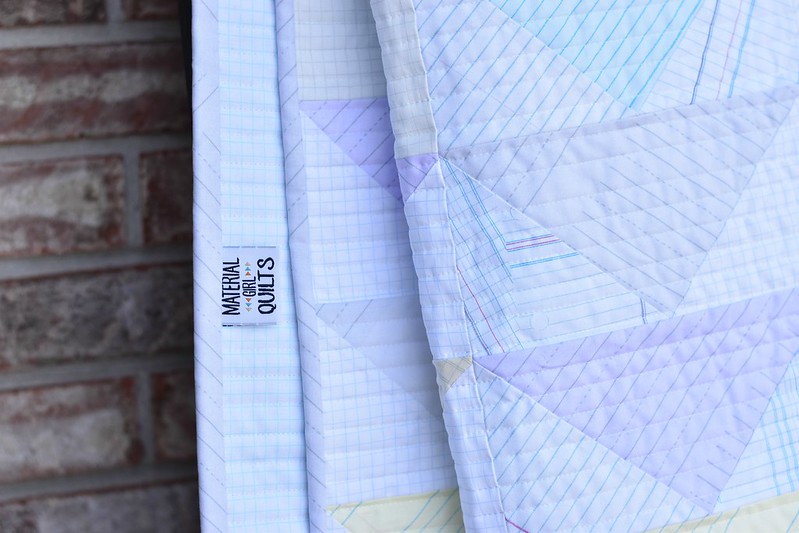
For the backing, I pieced together two of the graph paper prints and finished off the binding with the lovely gray paper print that is reminiscent of what I used in elementary school while learning how to write my letters. It was not easy to photograph this quilt and get the colors/shades accurate. I took a stupid amount of photos trying to get it correct, but I think these represent the true tone/color of the fabrics well. Also, check out how cute my quilt label looks on this one - LOVE IT!
Now I can't stop staring at the photos! It's just so sweet. I think I need to make more low volume only quilts.
Below is everything you need to know to make a 48" x 64" Quiet Flight quilt of your own.
Fabric Requirements:
- 1 3/4 yards total for the background fabric (I used 1/2 yard each of 4 different white prints)
- 1 3/4 yards total for the geese fabric (I used 1/3 yard each of 6 different low volume prints)
- 3 yards backing fabric
- 1/2 yard binding fabric
Cutting Instructions:
- From the background fabric, cut twelve (12) 4 7/8" x WOF strips and sub-cut into ninety six (96) 4 7/8" squares.
- From the geese fabric, cut six (6) 9 1/4" x WOF strips and sub-cut into twenty four (24) 9 1/4" squares.
Block Assembly:
- Select one 9 1/4” geese fabric square and four 4 7/8” background squares.
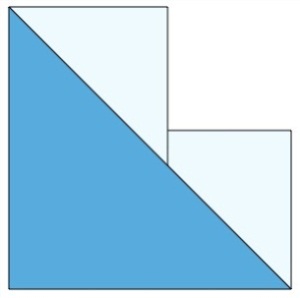
- With RST, place two of the background squares on the larger geese fabric square as shown. Using a ruler, draw a diagonal line from the top left corner to the bottom right corner.

- Stitch 1/4” on each side of the drawn line.

- Cut apart directly on the drawn diagonal line.

- Press seams toward your background fabric.
- With RST, place one 4 7/8” background square on the sewn unit as shown below and using a ruler, draw a diagonal line on the back of the background square. Stitch 1/4" on each side of the drawn line.

- Cut apart directly on the drawn diagonal line. Press open.
- Repeat steps 7 through 10 with the remaining unit and background square. This will result in 4 completed flying geese blocks.
- Press your 4 completed geese toward the background fabric.

- Repeat to make a total of ninety six (96) 4 1/2” x 8 1/2” large flying geese blocks.
Quilt Top Assembly:
- Using the diagram below, sew together your geese into 12 rows of 8 blocks each. Press the seams open between each block and row to help the quilt top lay flat.

Finish the Quilt:
- Cut backing fabric into two 54” x WOF lengths and sew together to make a quilt backing approximately 54” x 80”.
- Make a quilt sandwich with the quilt top, batting and backing and baste.
- Machine or hand quilt as desired.
- Bind using 5 strips of fabric cut 2 1/2” x WOF stitched end to end.
If you end up making your own version, please tag me on social media and use the hashtag #quietflightquilt (I'd love to see what you make!).
Amanda