Joey Blog Tour {and Simple Stripe Baby Quilt tutorial}

When a close friend found out he and his wife were expecting their first child, and then that it was a boy, I knew what fabric I wanted to use for a baby quilt. This Joey collection by Deena Rutter for Riley Blake is so sweet! I love the koalas and sloths hanging in the trees.
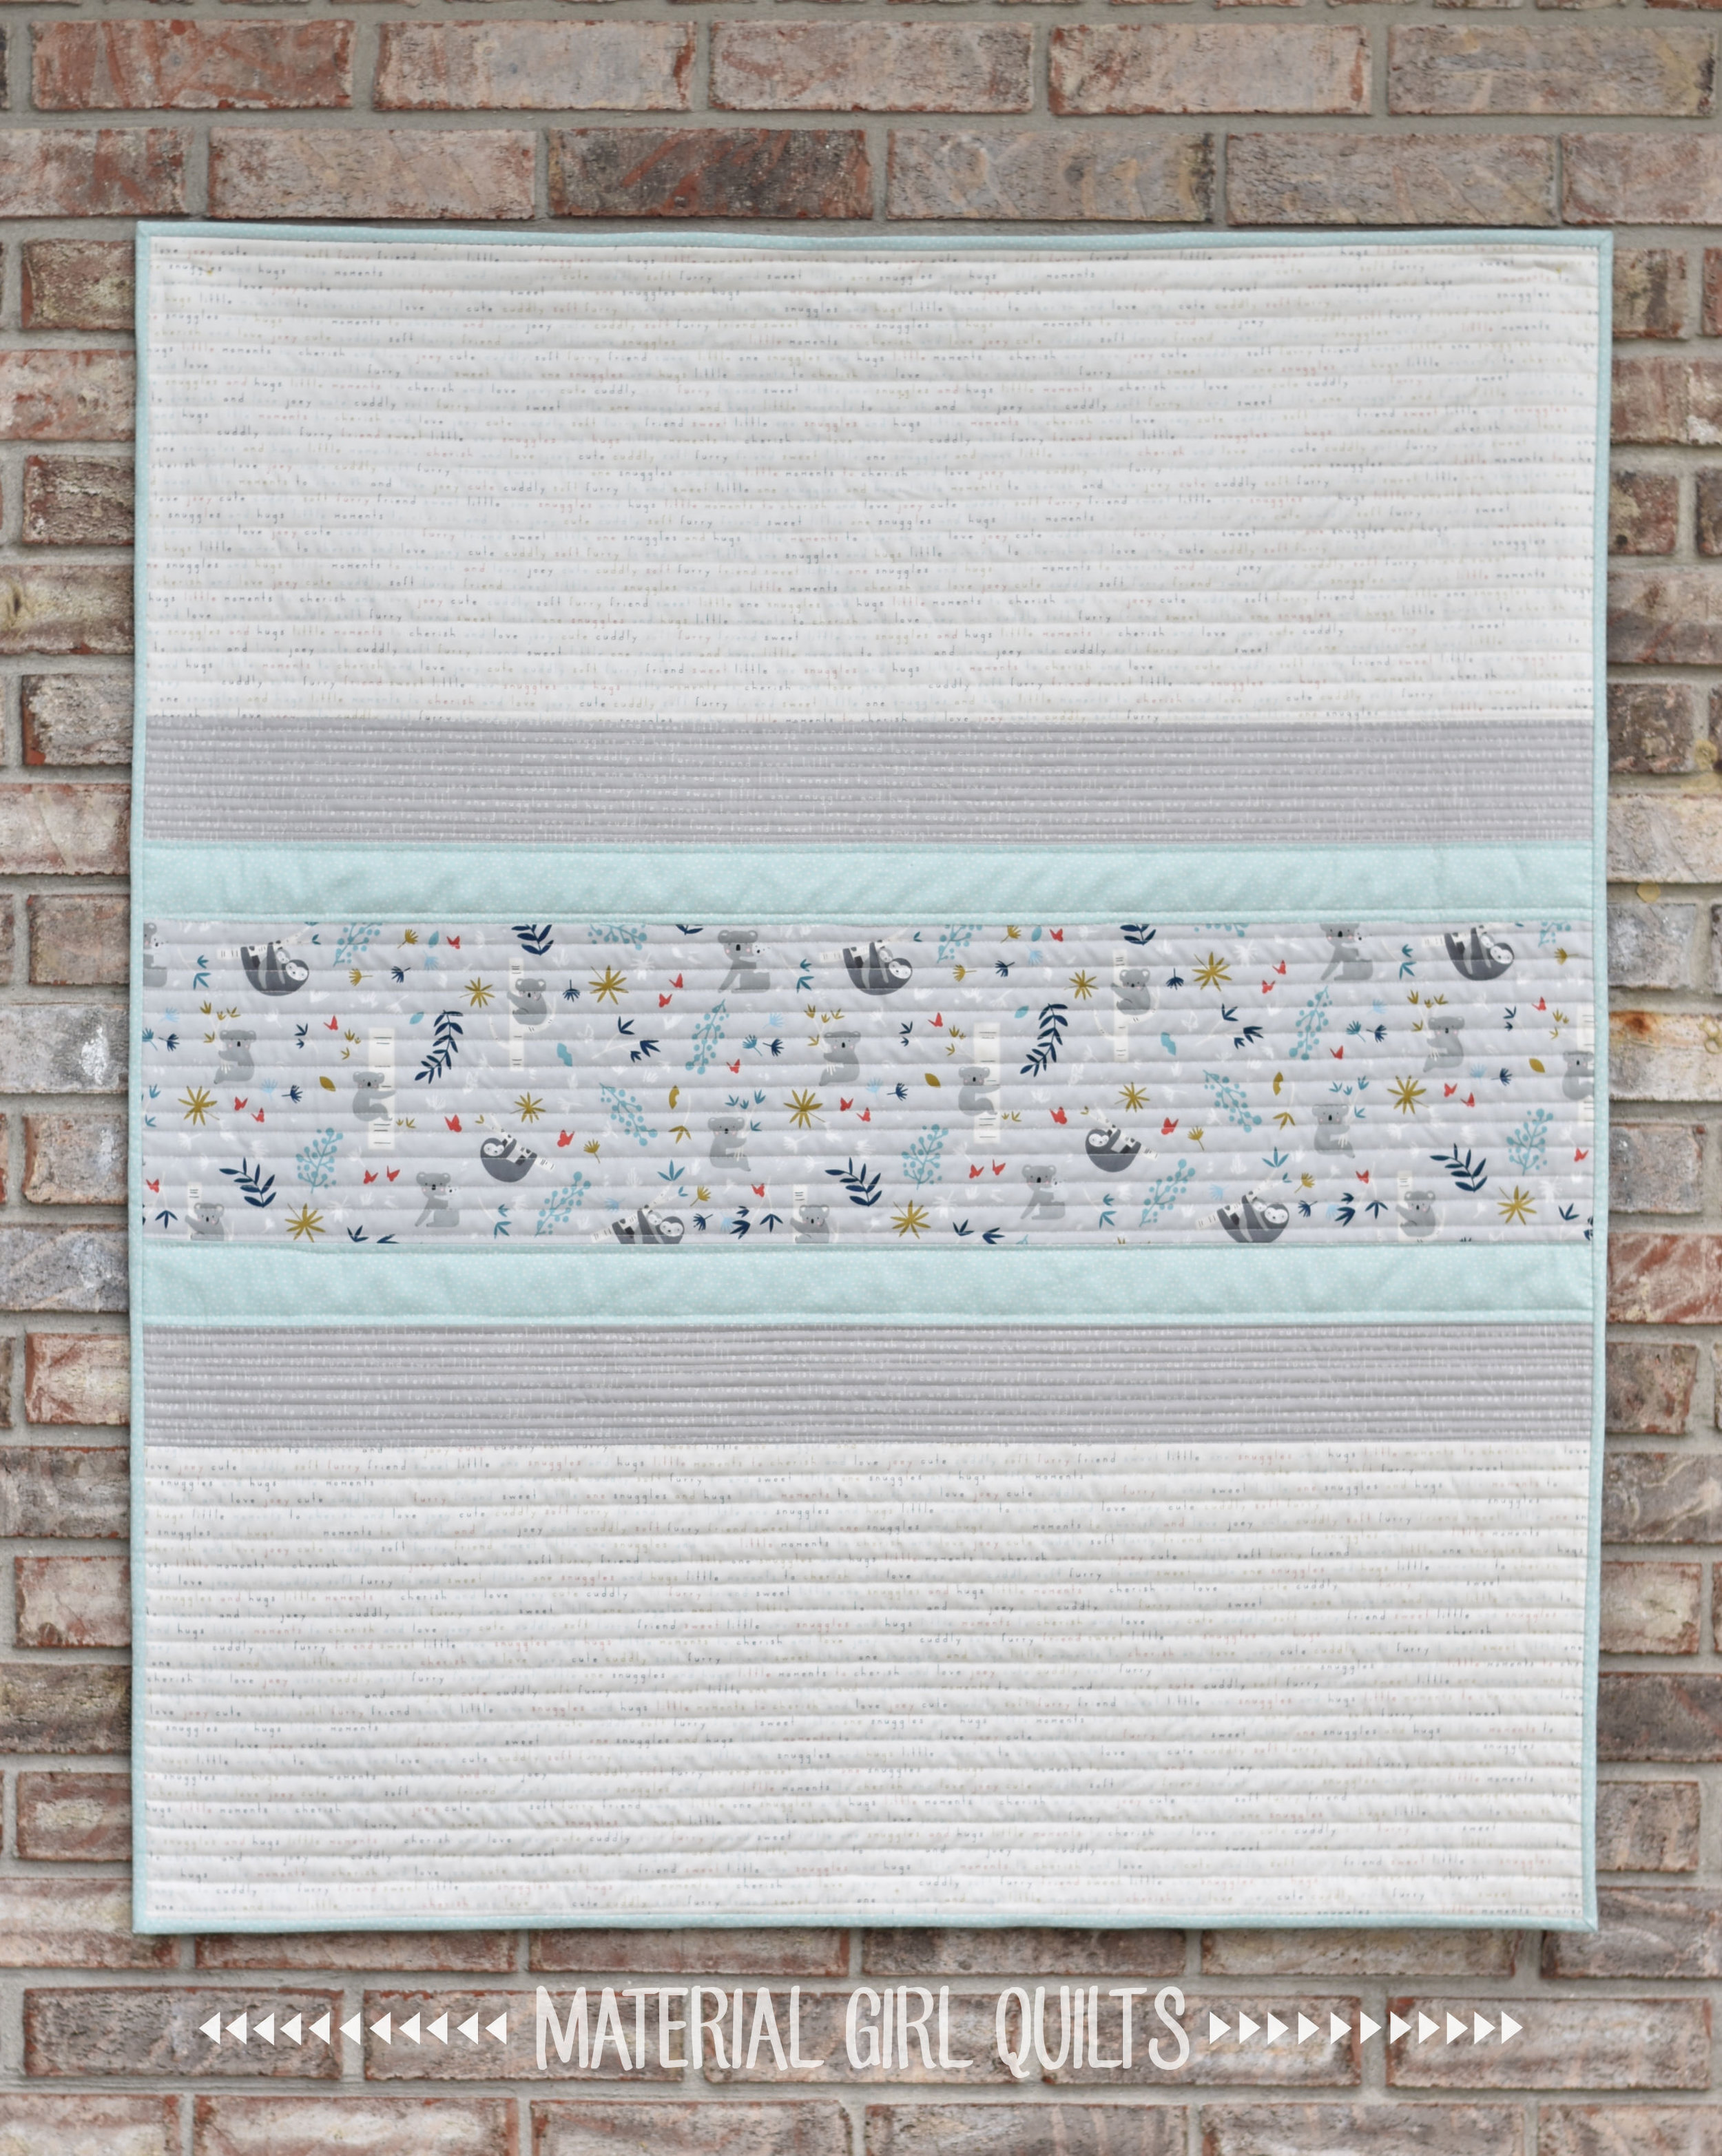
I just love the simplicity of some quilts. Sometimes less is more when it comes to design and the soft shades I used for this quilt play well together in simple “stripes” across the quilt top.

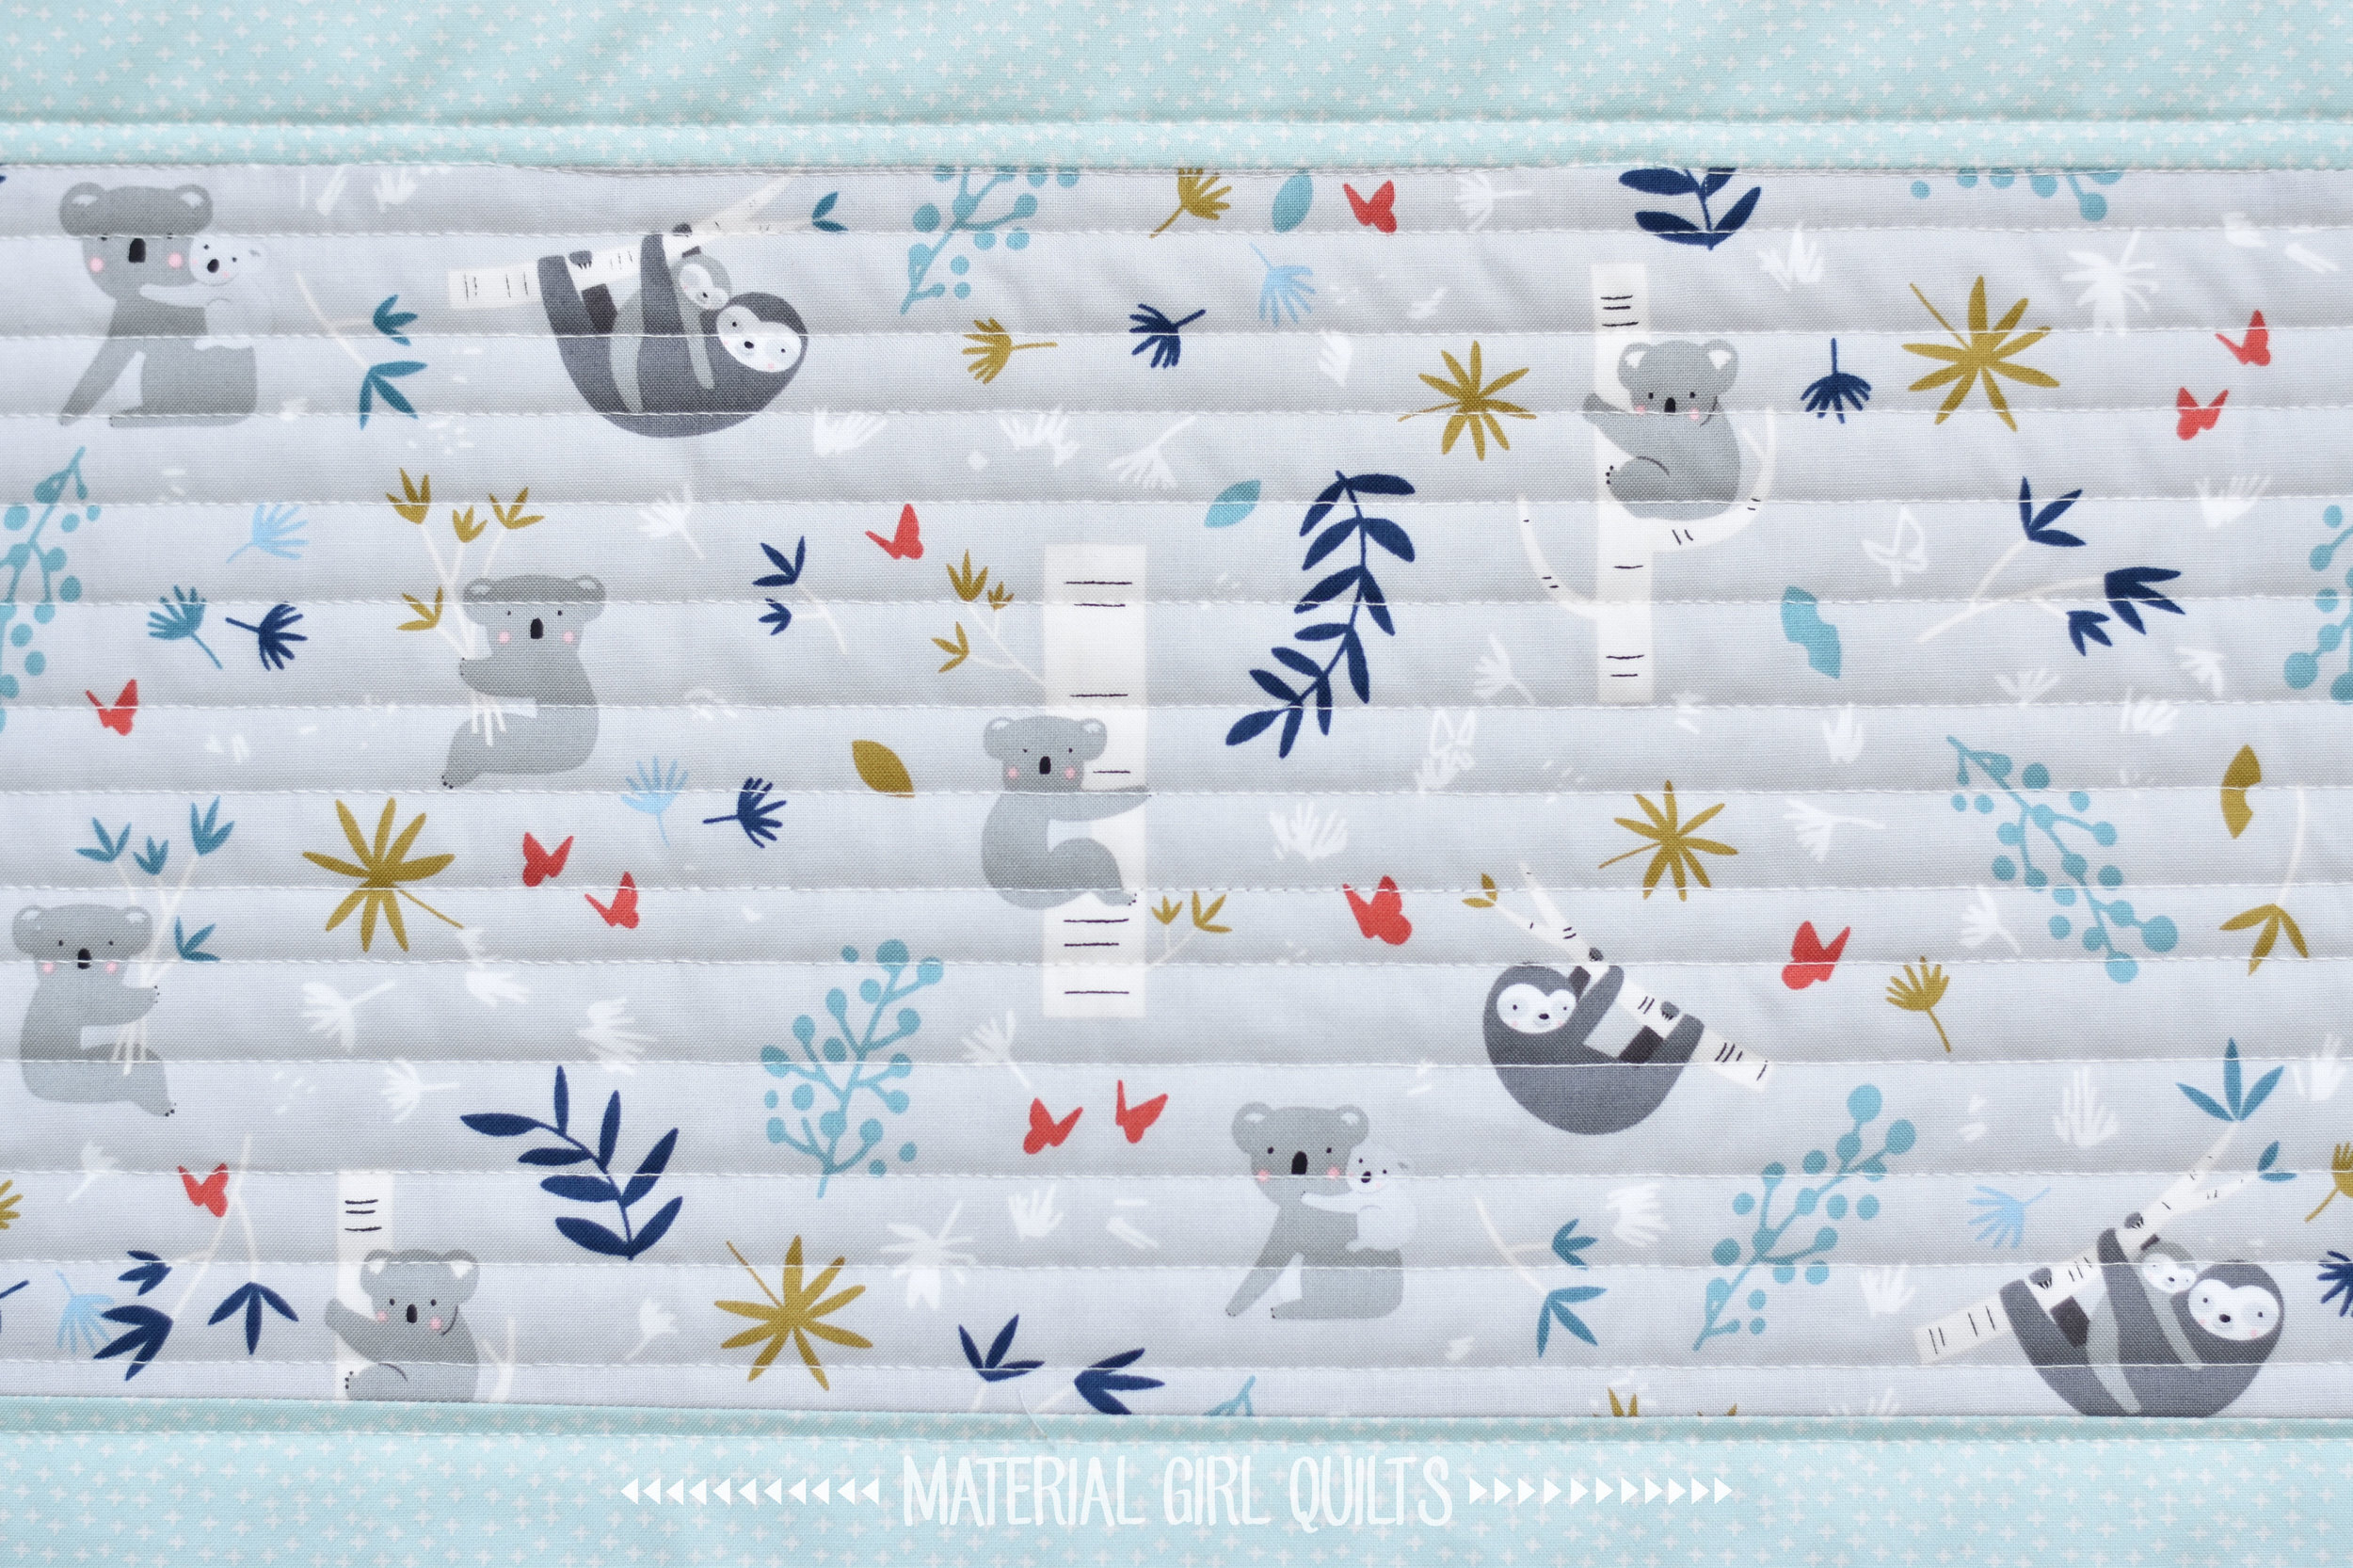
Here is a close up of the main print. So cute, right?!?
I also love these text prints. The sweet, simple words in a hand printed type font work so well! I can imagine using this text print in numerous quilts (not just baby quilts).

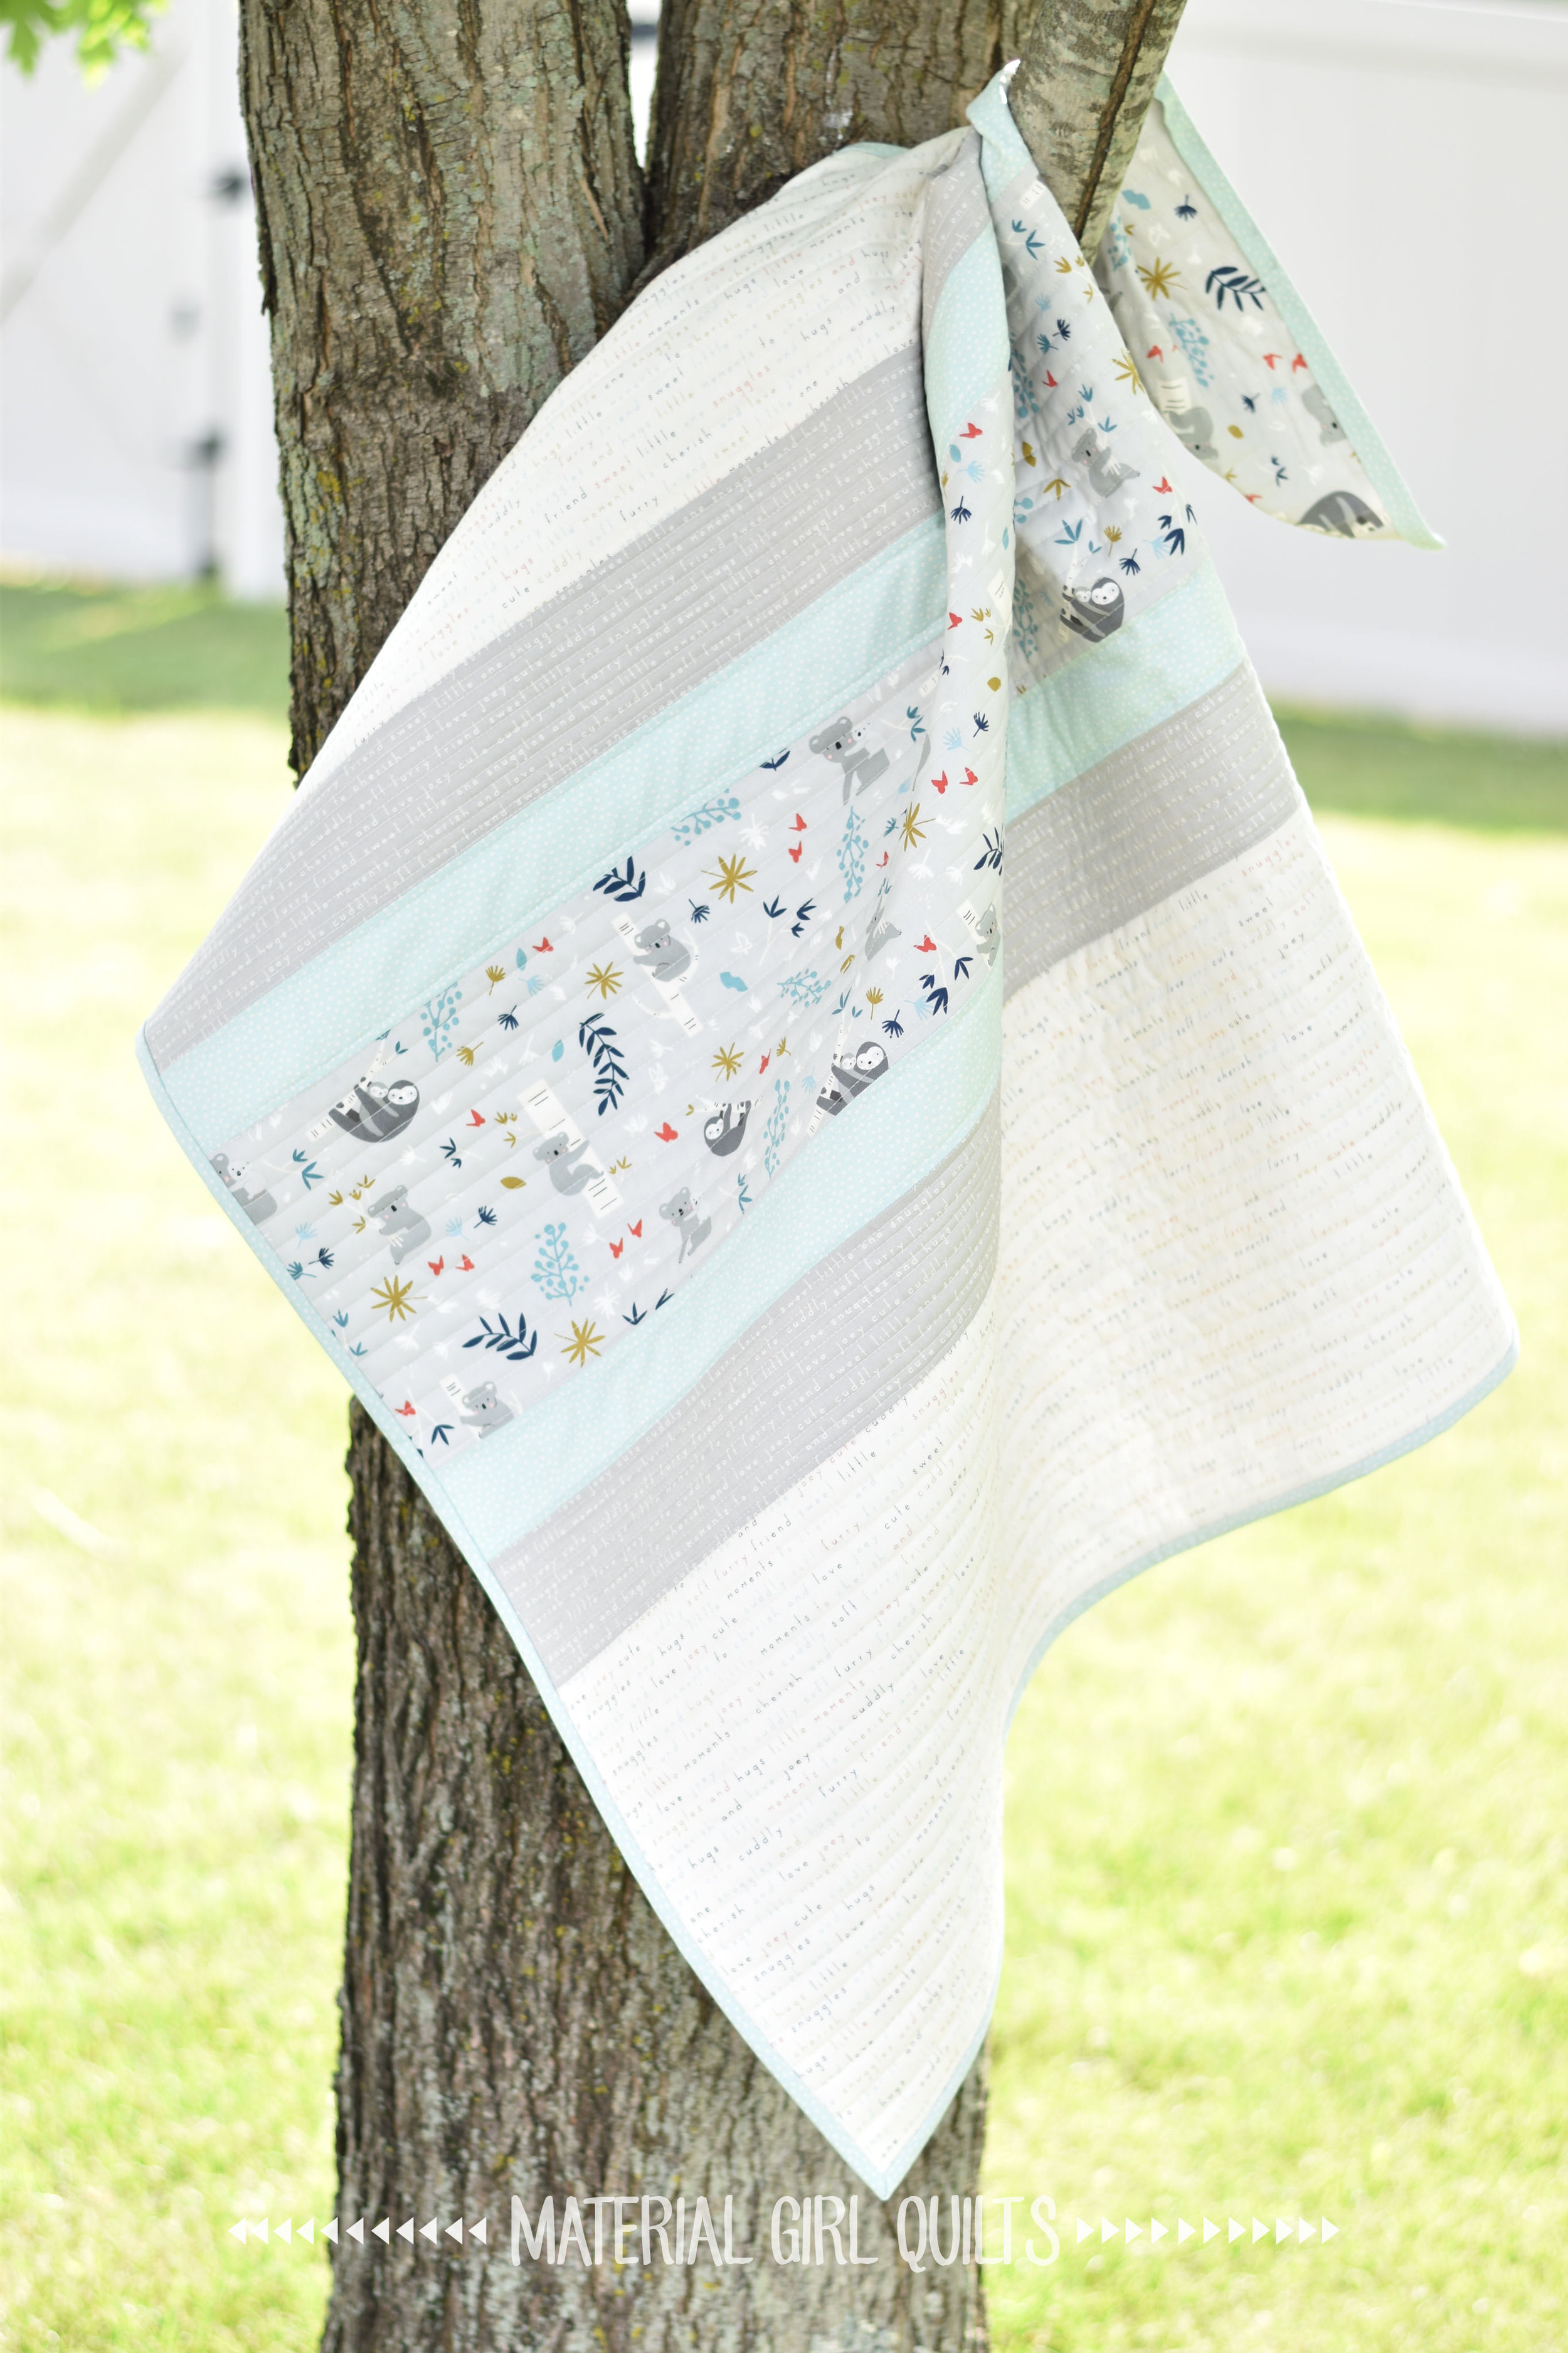
While taking photos of this quilt, I decided maybe it should hang in the tree like the critters in the fabric. :) The lighting was much better in this spot, so they turned out well. Yay trees!!
For the quilting, I mixed up my standard straight lines by varying the density for each stripe. I love the overall texture it created and I hope baby does as well.

If you’d like to make a Simple Stripe Baby Quilt, below are all of the details.
FABRIC REQUIREMENTS:
3/4 yard cream text print
1/4 yard gray text print
3/4 yard mint green print (for stripes and binding)
1/4 yard main critter print
1 1/4 yard backing
CUTTING INSTRUCTIONS:
From the cream text print, cut two 12 1/2” x 36 1/2” rectangles
From the gray text print, cut two 3 1/2” x 36 1/2” rectangles
From the mint green print, cut two 2 1/2” x 36 1/2” rectangles for the stripes and four 2 1/2” x WOF strips for the binding
From the main critter print, cut one 8 1/2” x 36 1/2” rectangle

QUILT ASSEMBLY:
Sew your stripe rectangles together as shown in the quilt layout diagram.
Press your seams open - your finished quilt will measure 36 1/2” x 42”
Layer your quilt top, batting and backing and quilt as desired.
Bind using the four 2 1/2” x WOF strips stitched end to end.
When you are finished, don’t forget to add a quilt label!! You can see how I label my quilts in the photo below. There are many similar options on Etsy.

Thanks for stopping by!
Amanda