
Windmill {a finished quilt and new tutorial!!}
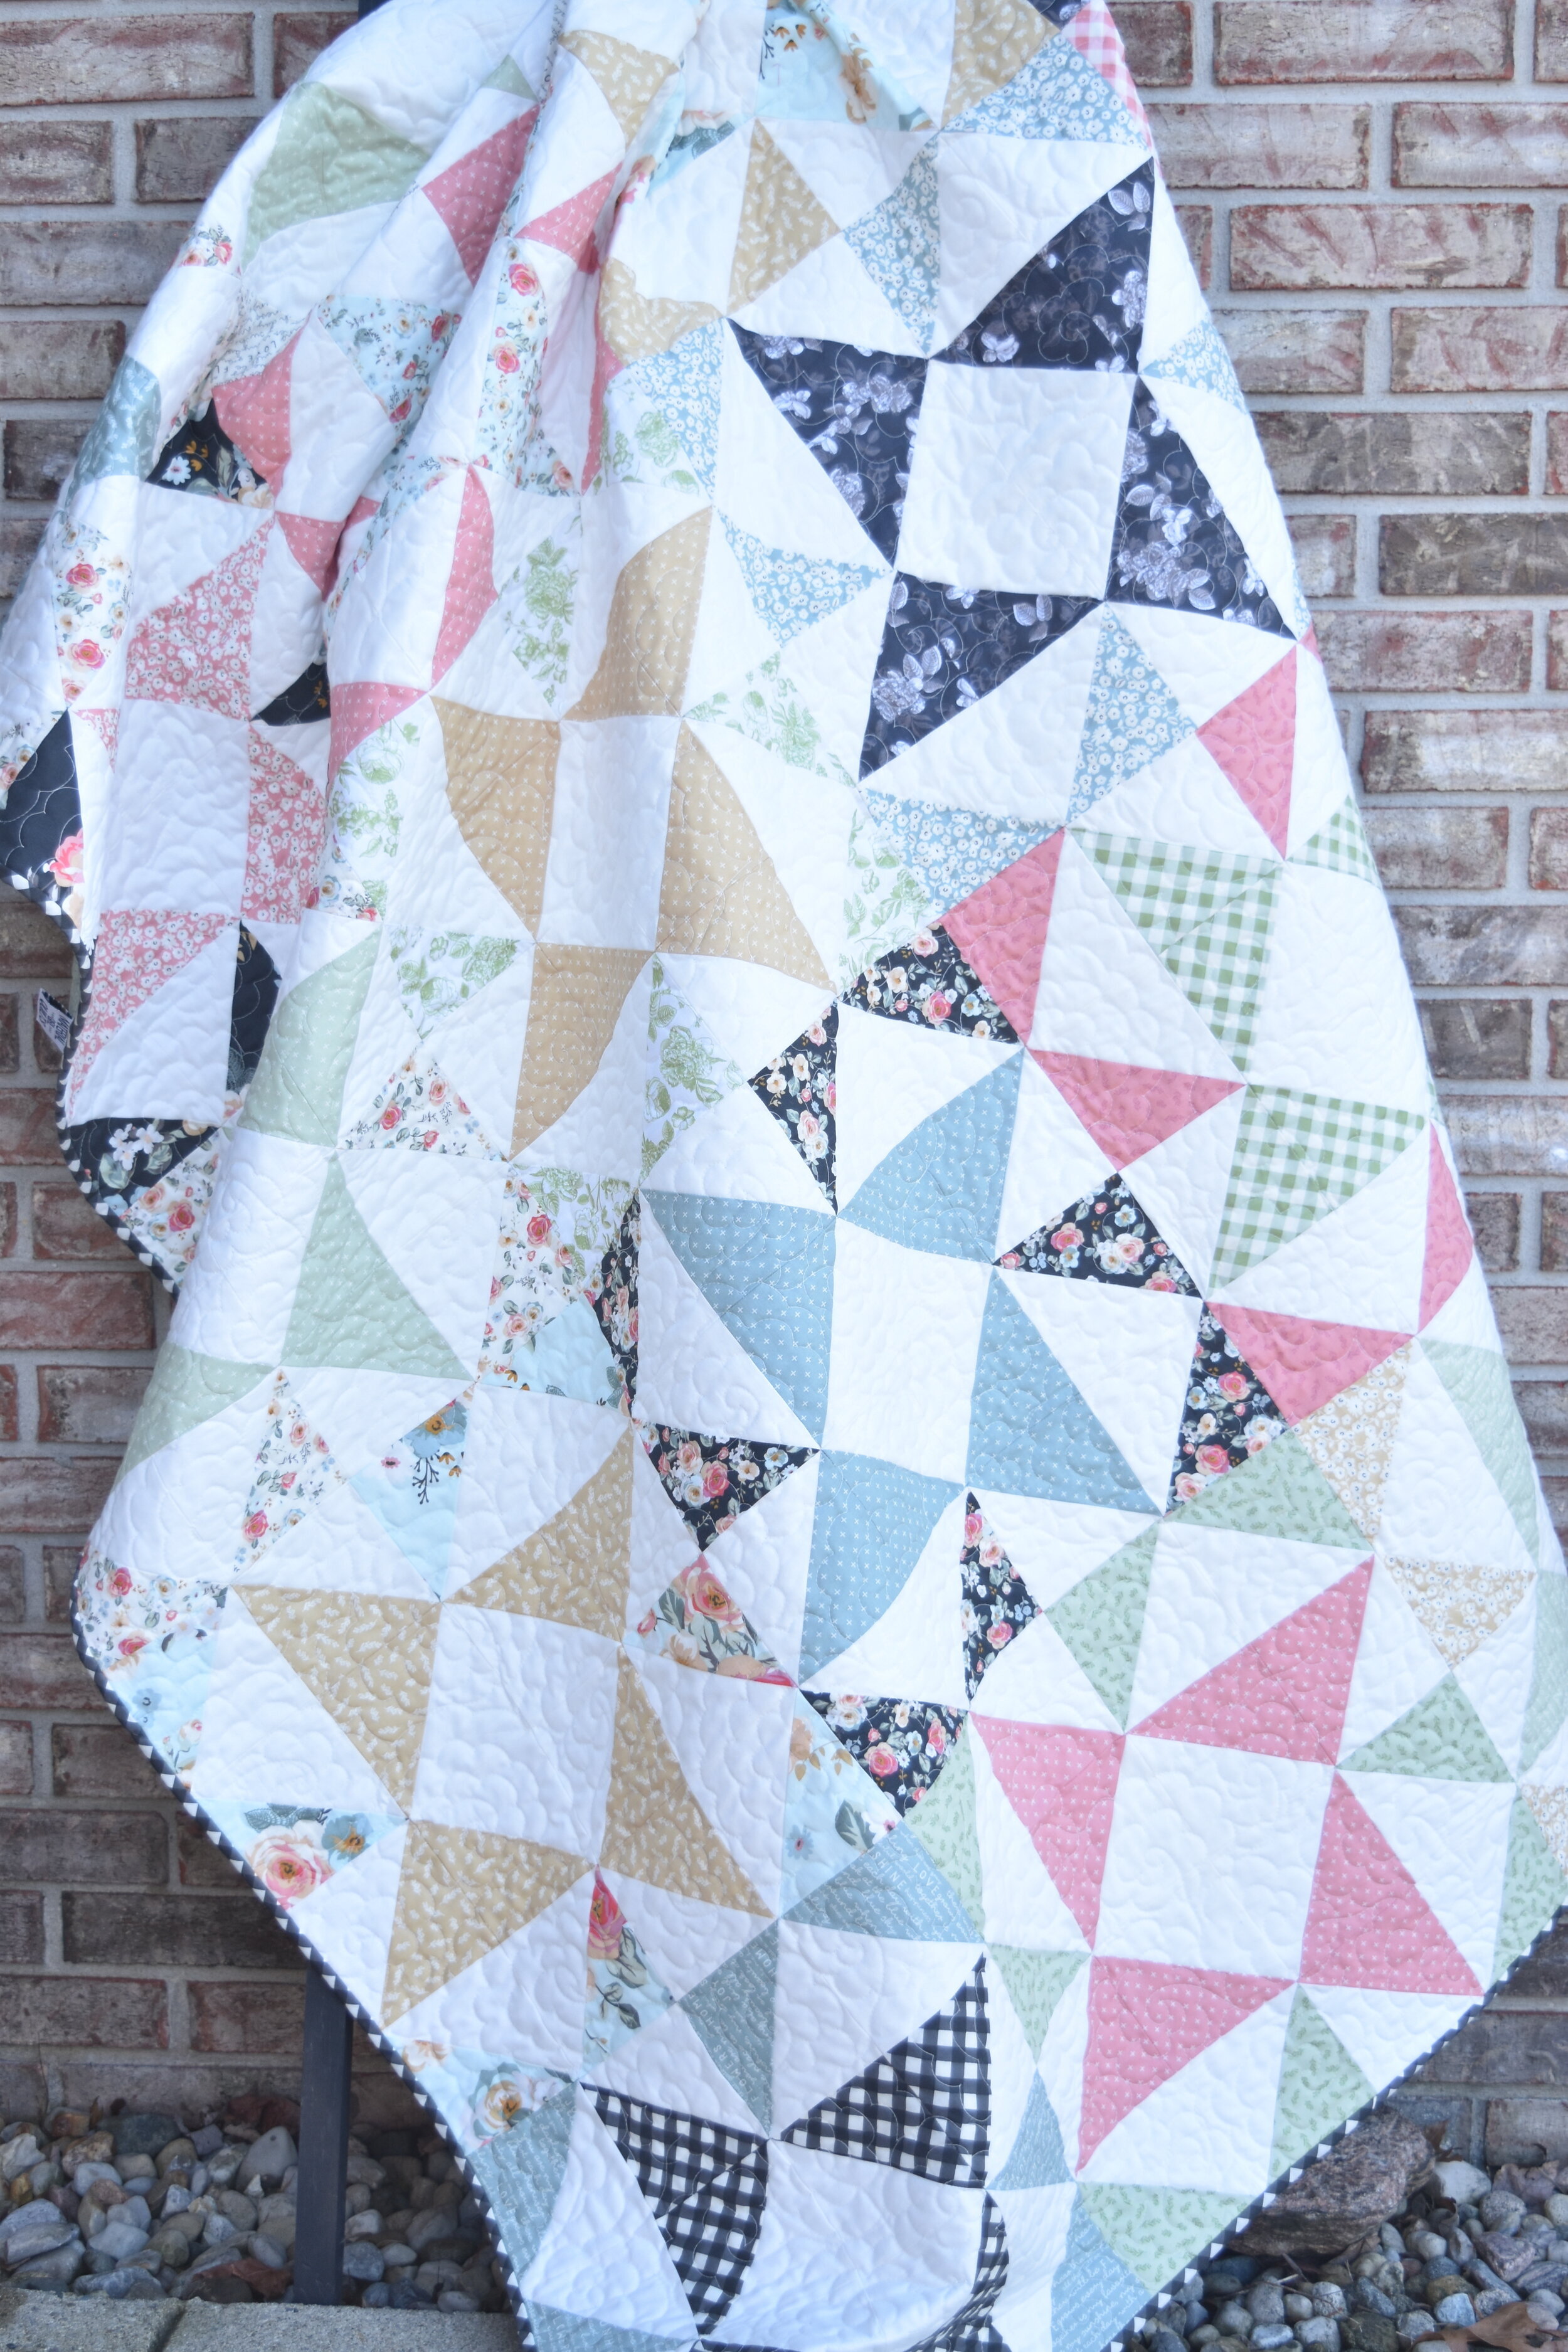
This month’s quilt tutorial uses pre-cut 10” squares (or layer cakes) to create my favorite half square triangles. By placing the HSTs just so, it creates a fun Windmill shape, hence the clever name ;-)

If you use 40 of the 10” squares in your pack (along with background fabric), you can create this quilt that measures 64” x 80” (a nice twin size). If that is larger than you prefer, you can select 32 of the 10” squares from the pack and make a 64” square throw size.

The fabric I used is from a new collection called Gingham Gardens. I think it has a wonderful “modern farmhouse” feel and looks so pretty when you use the entire collection together like this.

And what farmhouse is complete without a windmill?!?

I strayed from my usual straight line quilting and instead quilted large florals. It’s still a beautiful texture and one of the free motion quilting techniques that I feel comfortable doing.

One of my favorite things about this quilt is the bias black and white gingham print I used for the binding. It finishes this quilt off perfectly!
If you have a pre-cut 10” square pack sitting in your stash waiting for the right project, pull it out and watch my video for a quick tutorial on how to make the Windmill block. You can also download the free printable pattern here.
