
Herring Quilt Tutorial
I’ve always loved the herringbone design (on floors, walls and quilts!). When I was planning ahead to come up with a fun design to showcase my Secret Garden fabric, this one popped into my head.
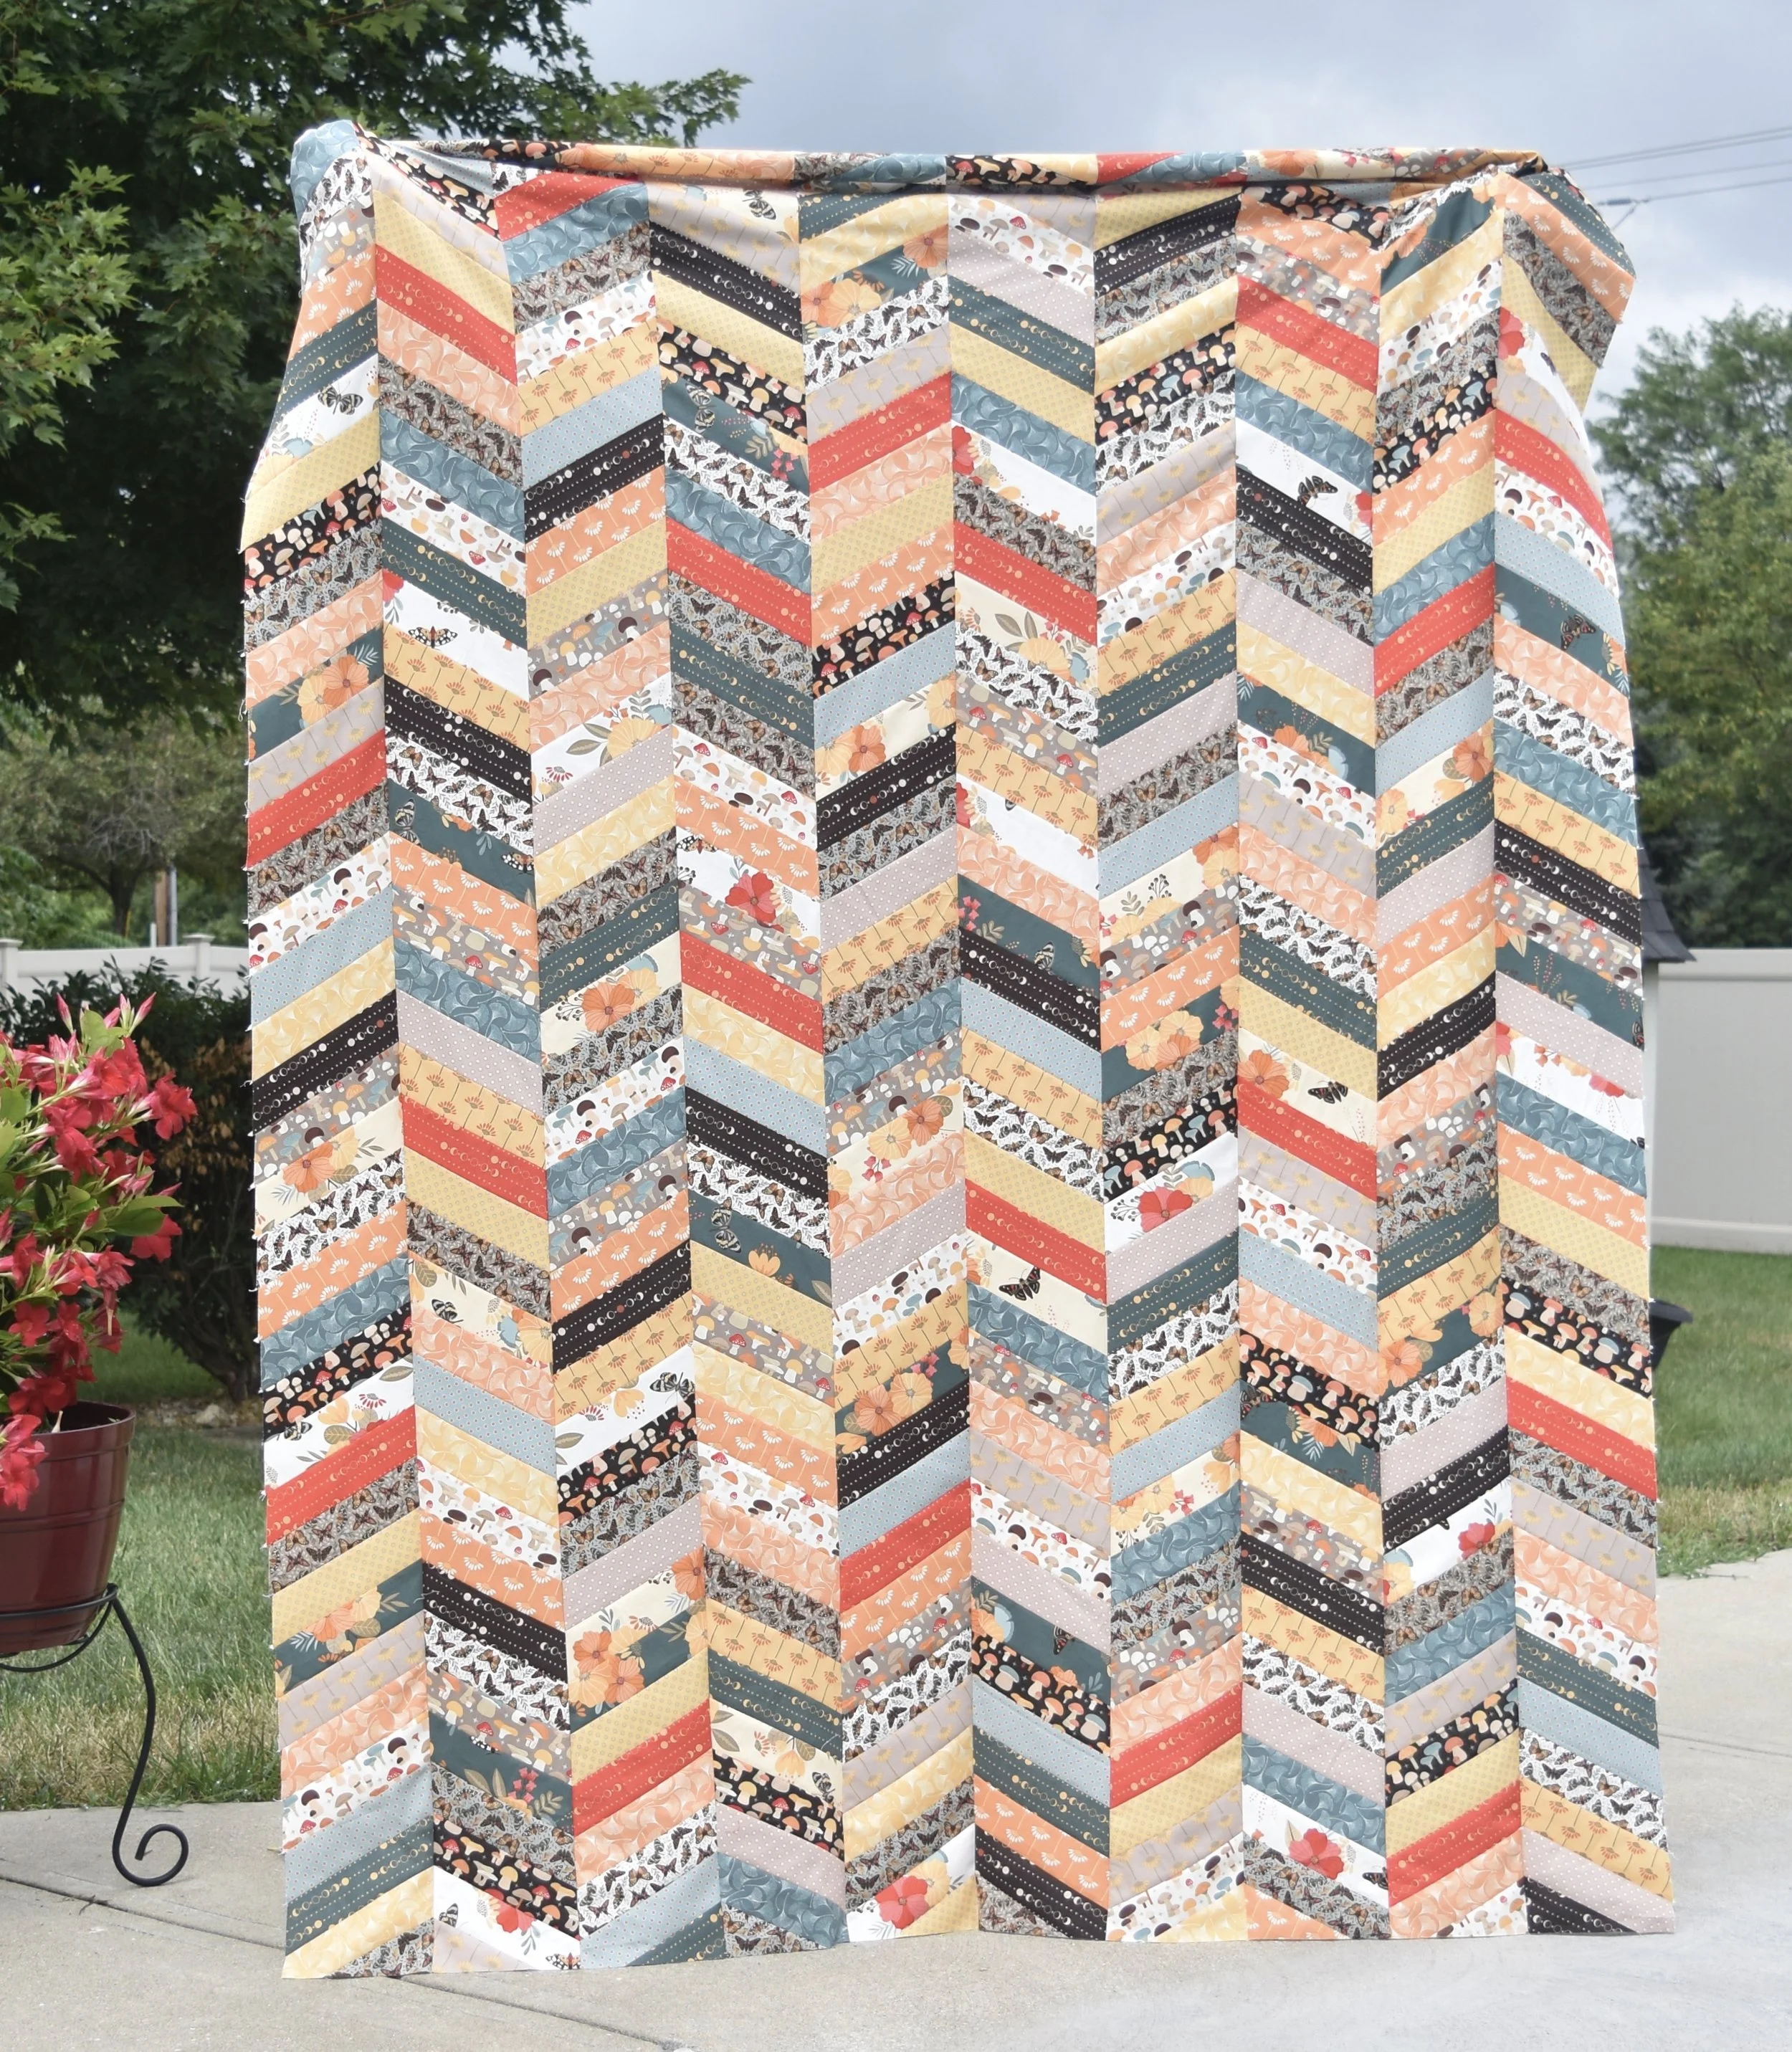
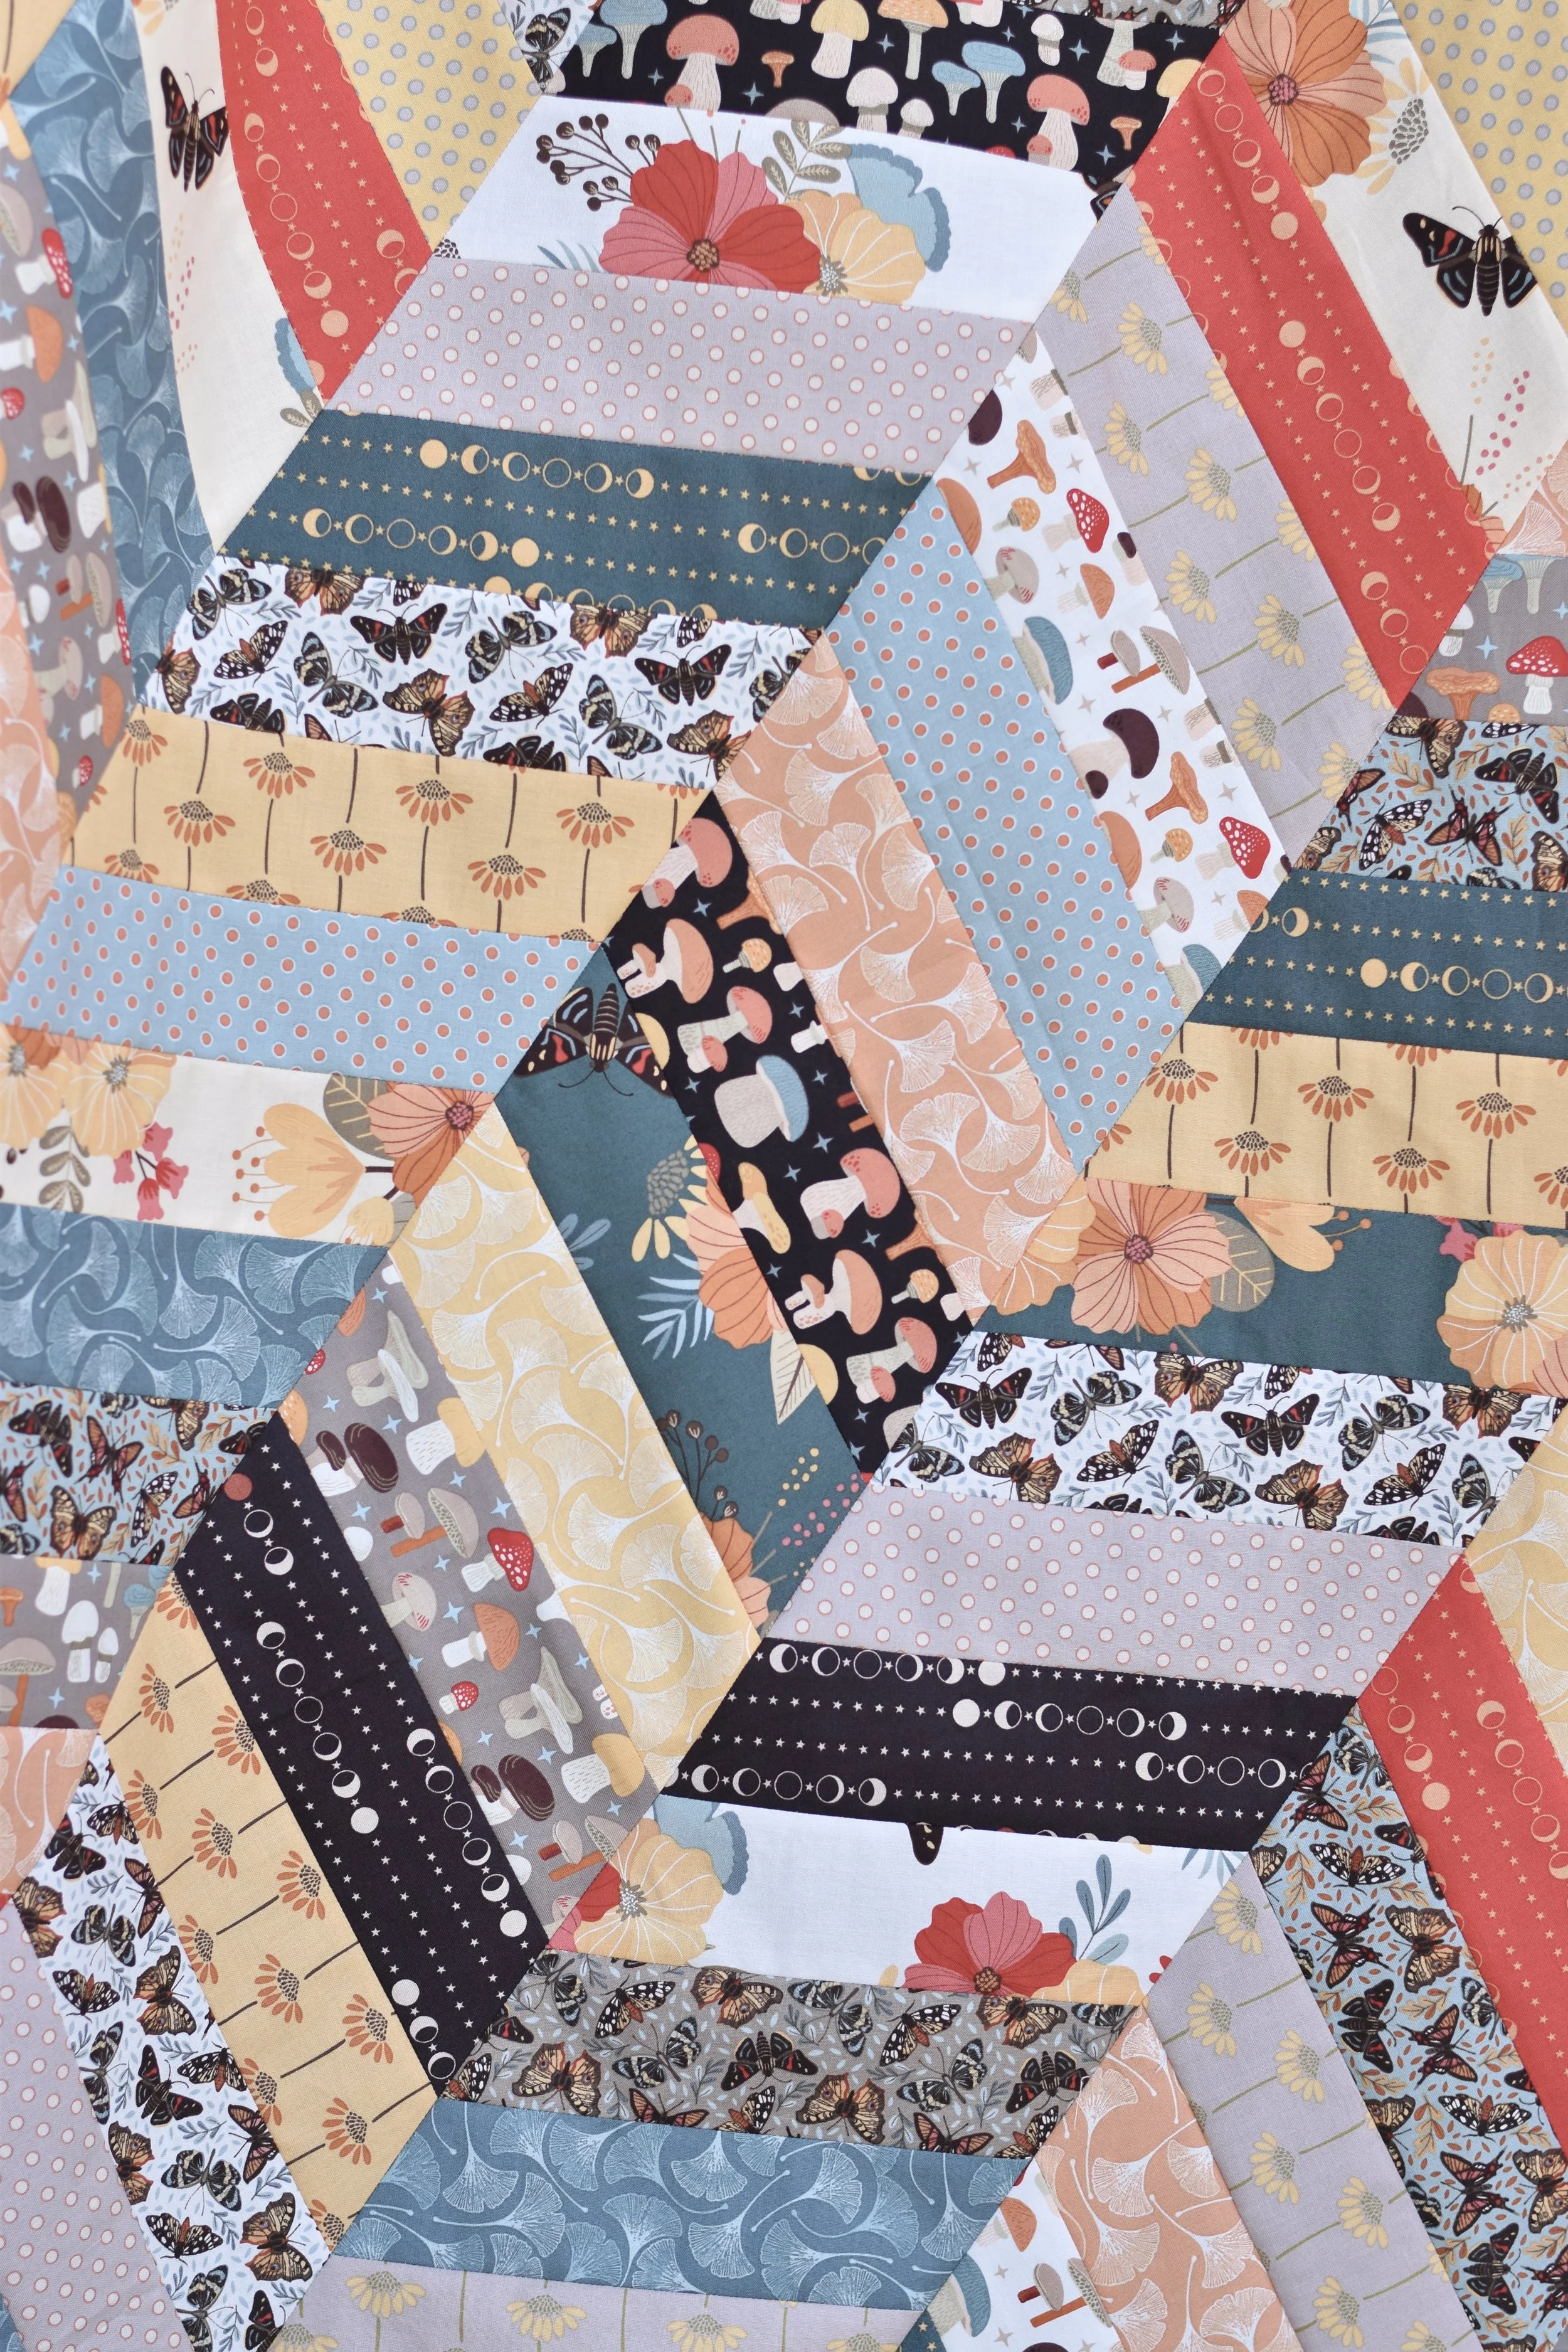
The Herring quilt is such a fun and scrappy looking quilt. It can be made with jelly rolls, or pre-cut 2 1/2” strips. This quilt was made using 80 strips (or two jelly rolls) and finishes at 65” x 89”. I opted to trim off the points at the top and bottom after piecing together my columns so that I would have straight edges. You could always leave them and quilt as is!
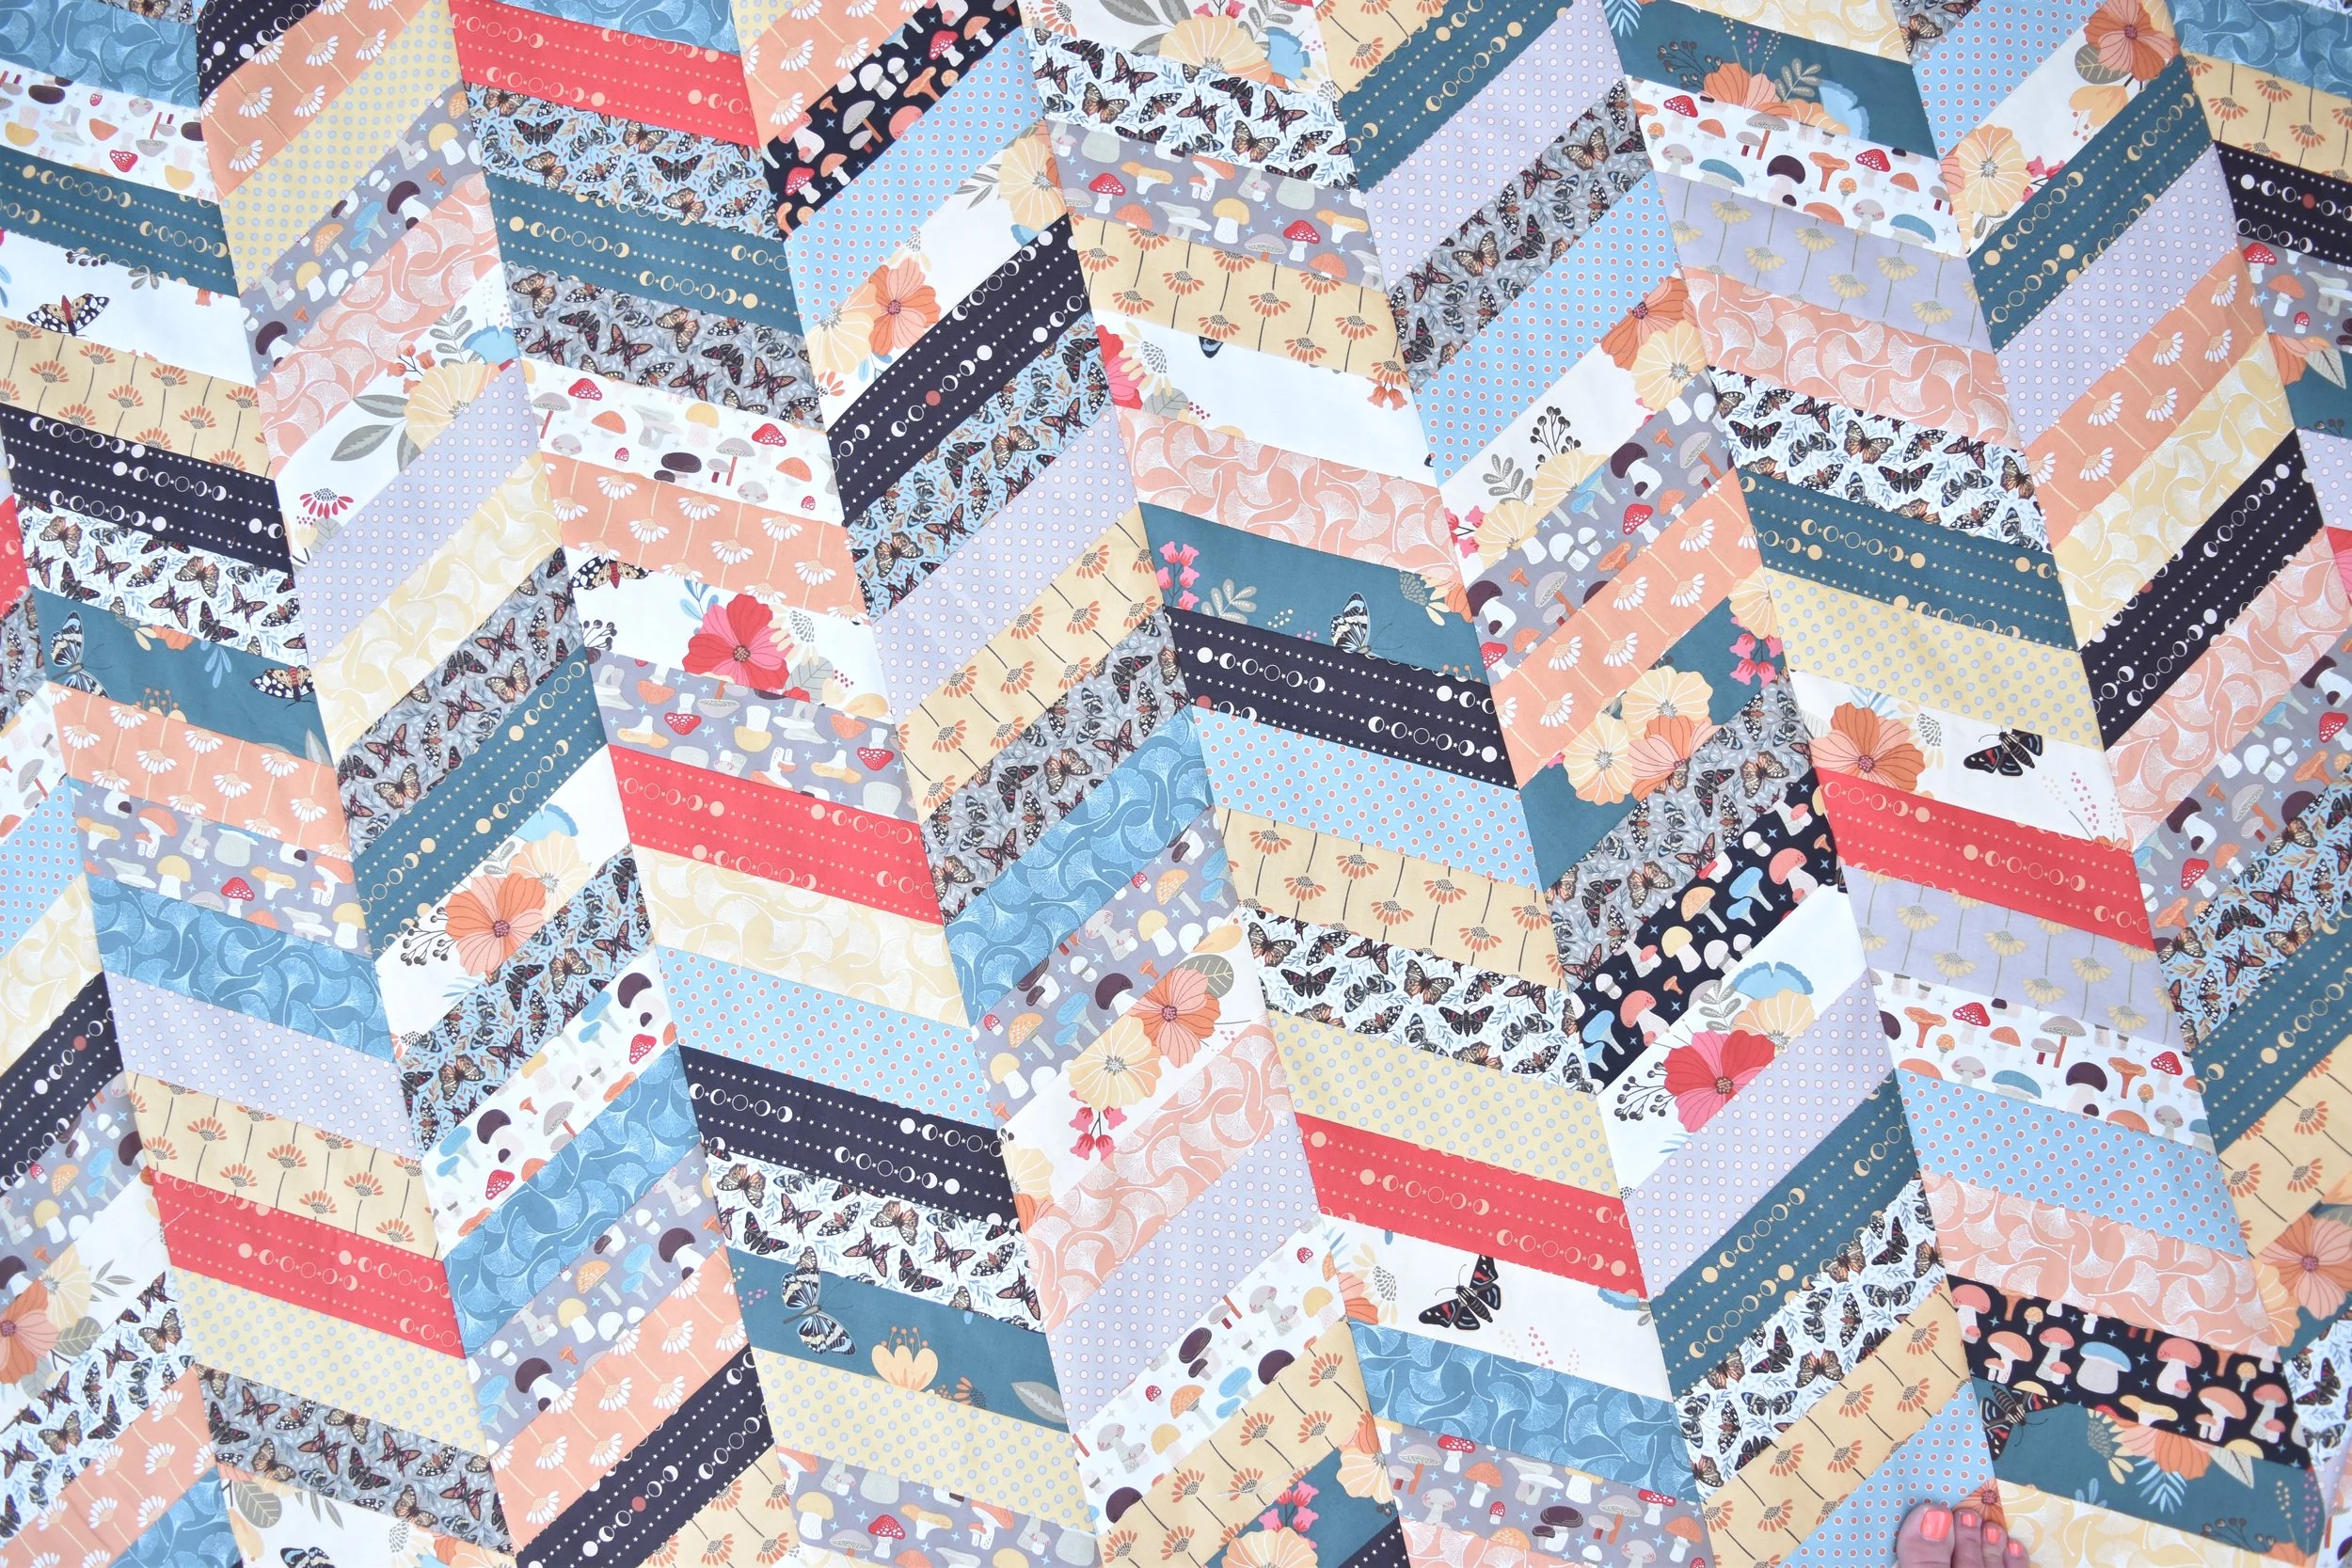
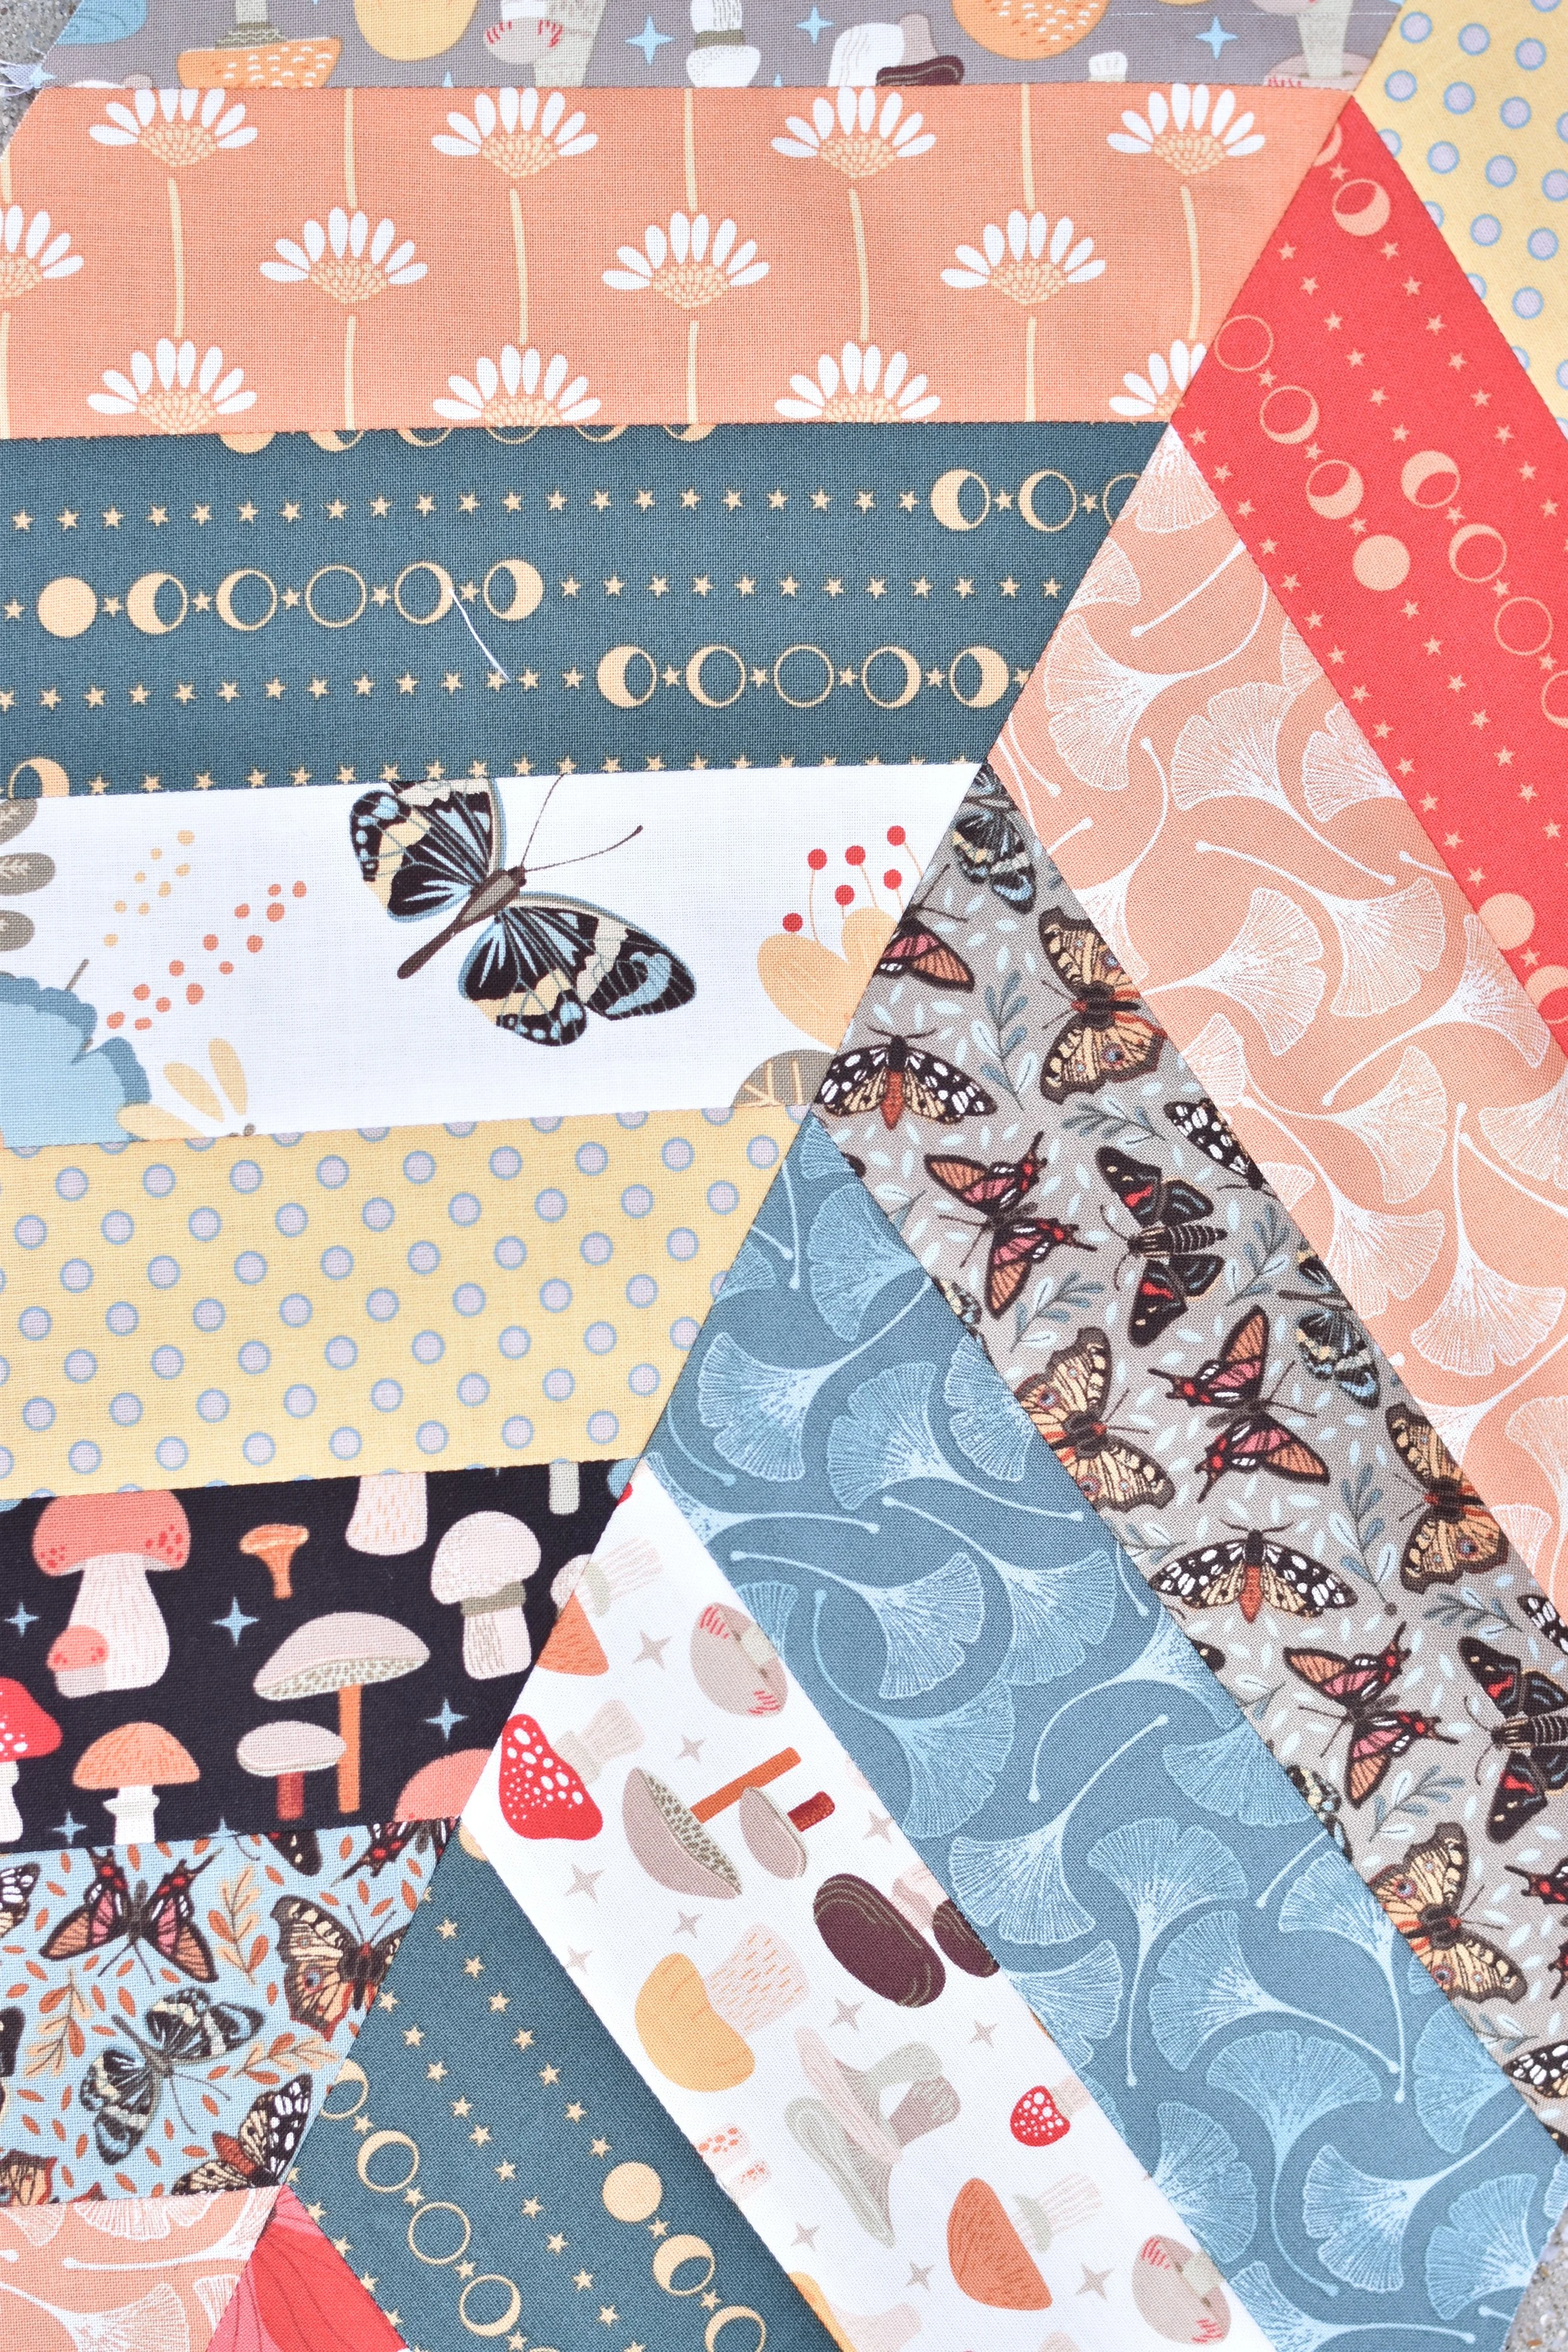
If you want to only use one jelly roll (or 40 strips), your quilt would finish at a nice throw size of 52” x 55”. Below is a close up of the fabrics, and perfect points!!! I love it when that happens 🥰
I think this quilt would also look great in tonal shades of the same color. What do you think?
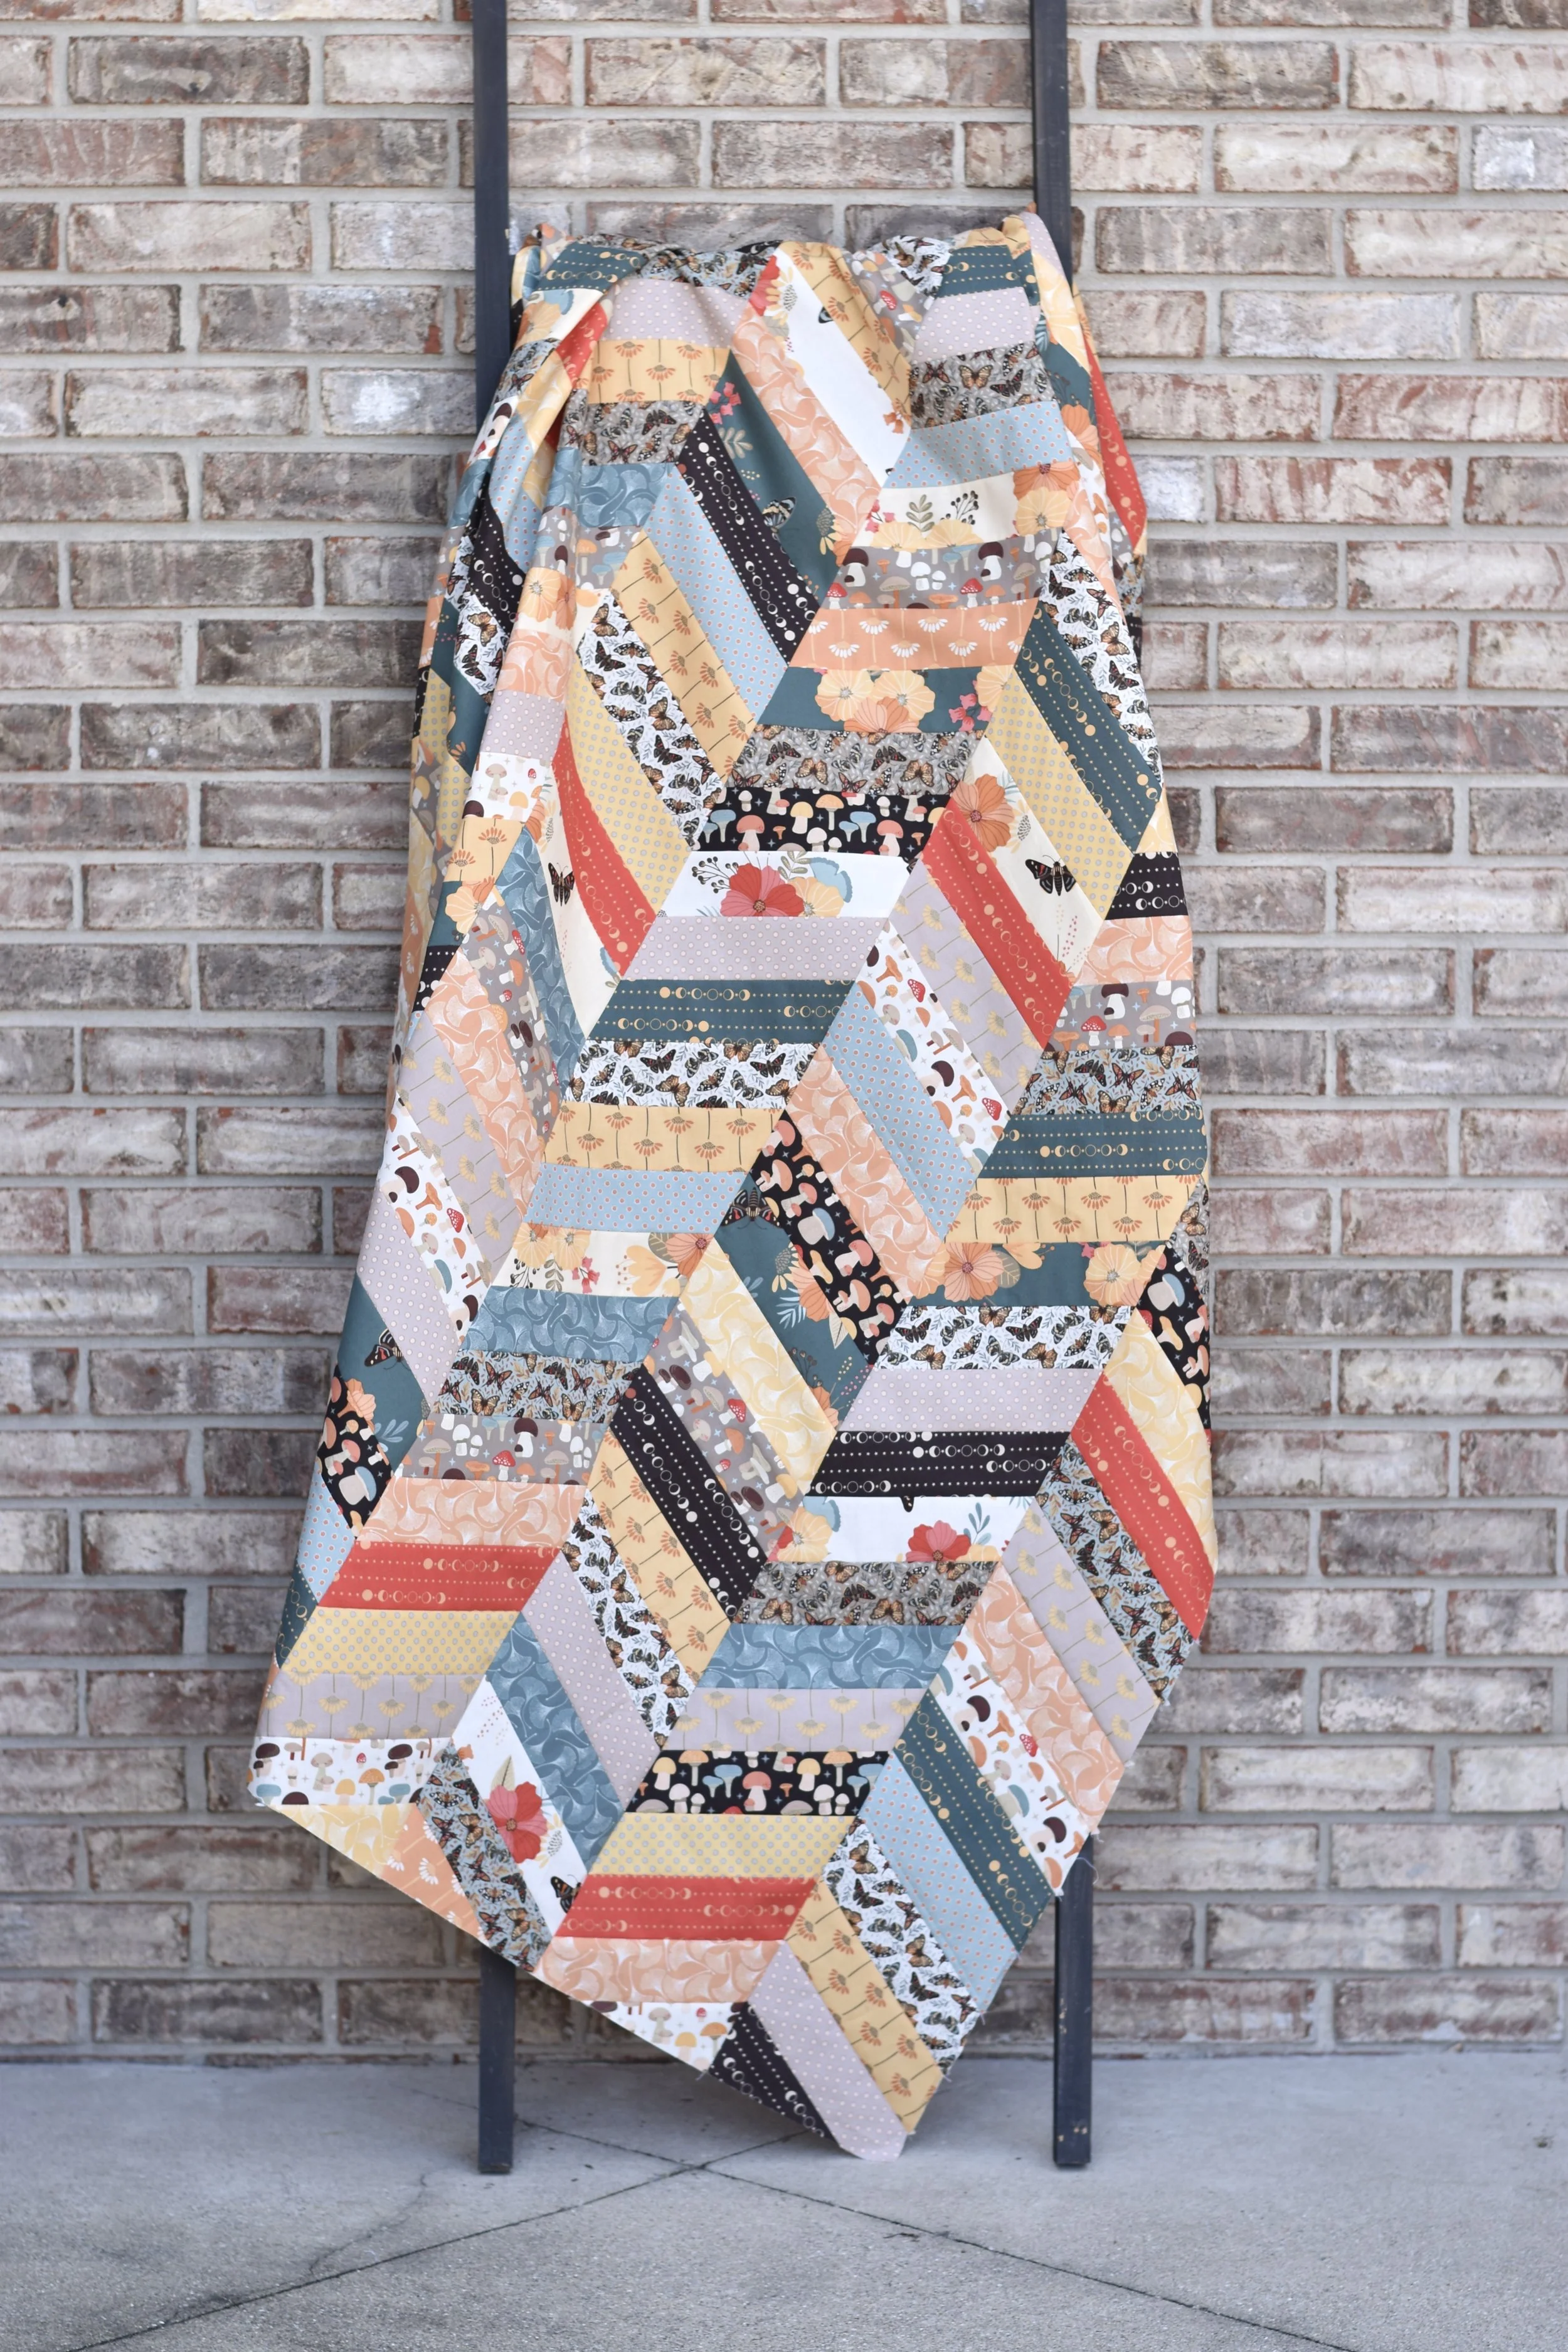
My Secret Garden yardage should arrive TOMORROW!! I can’t wait to open up those boxes and choose a backing fabric for this quilt and get it finished. I promise to share more photos once it is done.
If you are a member of Material Girl Sewciety, you can click here to access your PDF pattern for this quilt. If you aren’t a member, click here to learn more.
And don’t forget to check out the video tutorial below where I walk you through every step of the process for piecing this beautiful quilt (including tips for piecing those trapezoids!!).
Thanks for stopping by,