
Confetti Quilt {a fun leaders and enders quilt tutorial!}
Are you familiar with the quilting term leaders and enders? Maybe you’ve heard it before, but just weren’t sure what it meant. These terms refer to the use of a scrap piece of fabric that is placed under the foot of your machine to start (prior to chain piecing, sewing blocks or rows together, etc.) and end your sewing.
There are many benefits to using leaders and enders, including:
Save thread by eliminating a long tail of thread that needs to be cut off.
Prevent the thread from bunching up into a bird’s nest under the fabric as you start sewing.
Maintain a consistent stitching environment, especially at the beginning of a piece, which in turn helps to avoid fabric being drawn down into the needle hole of the thread plate.
Prevent your needle from unthreading.
They are an efficient use of your sewing time!

However what I think is the best benefit to leaders and enders is when you use pre-cut fabrics instead of scraps that you will throw away to create a new quilt! That is how I made the Confetti quilt :).

I started with a bunch of white and solid color 2 1/2” squares that I kept sitting next to my sewing machine. Each time I started sewing on another project, I would pick up two squares and sew them together to create a two patch. And I would sew another two patch at the end of my piecing.
After I pieced a total of 154 two patches, I then cut the same amount of 2 1/2” x 4 1/2” rectangles to sew onto one side of the two patch blocks. These were my next round of leaders and enders.
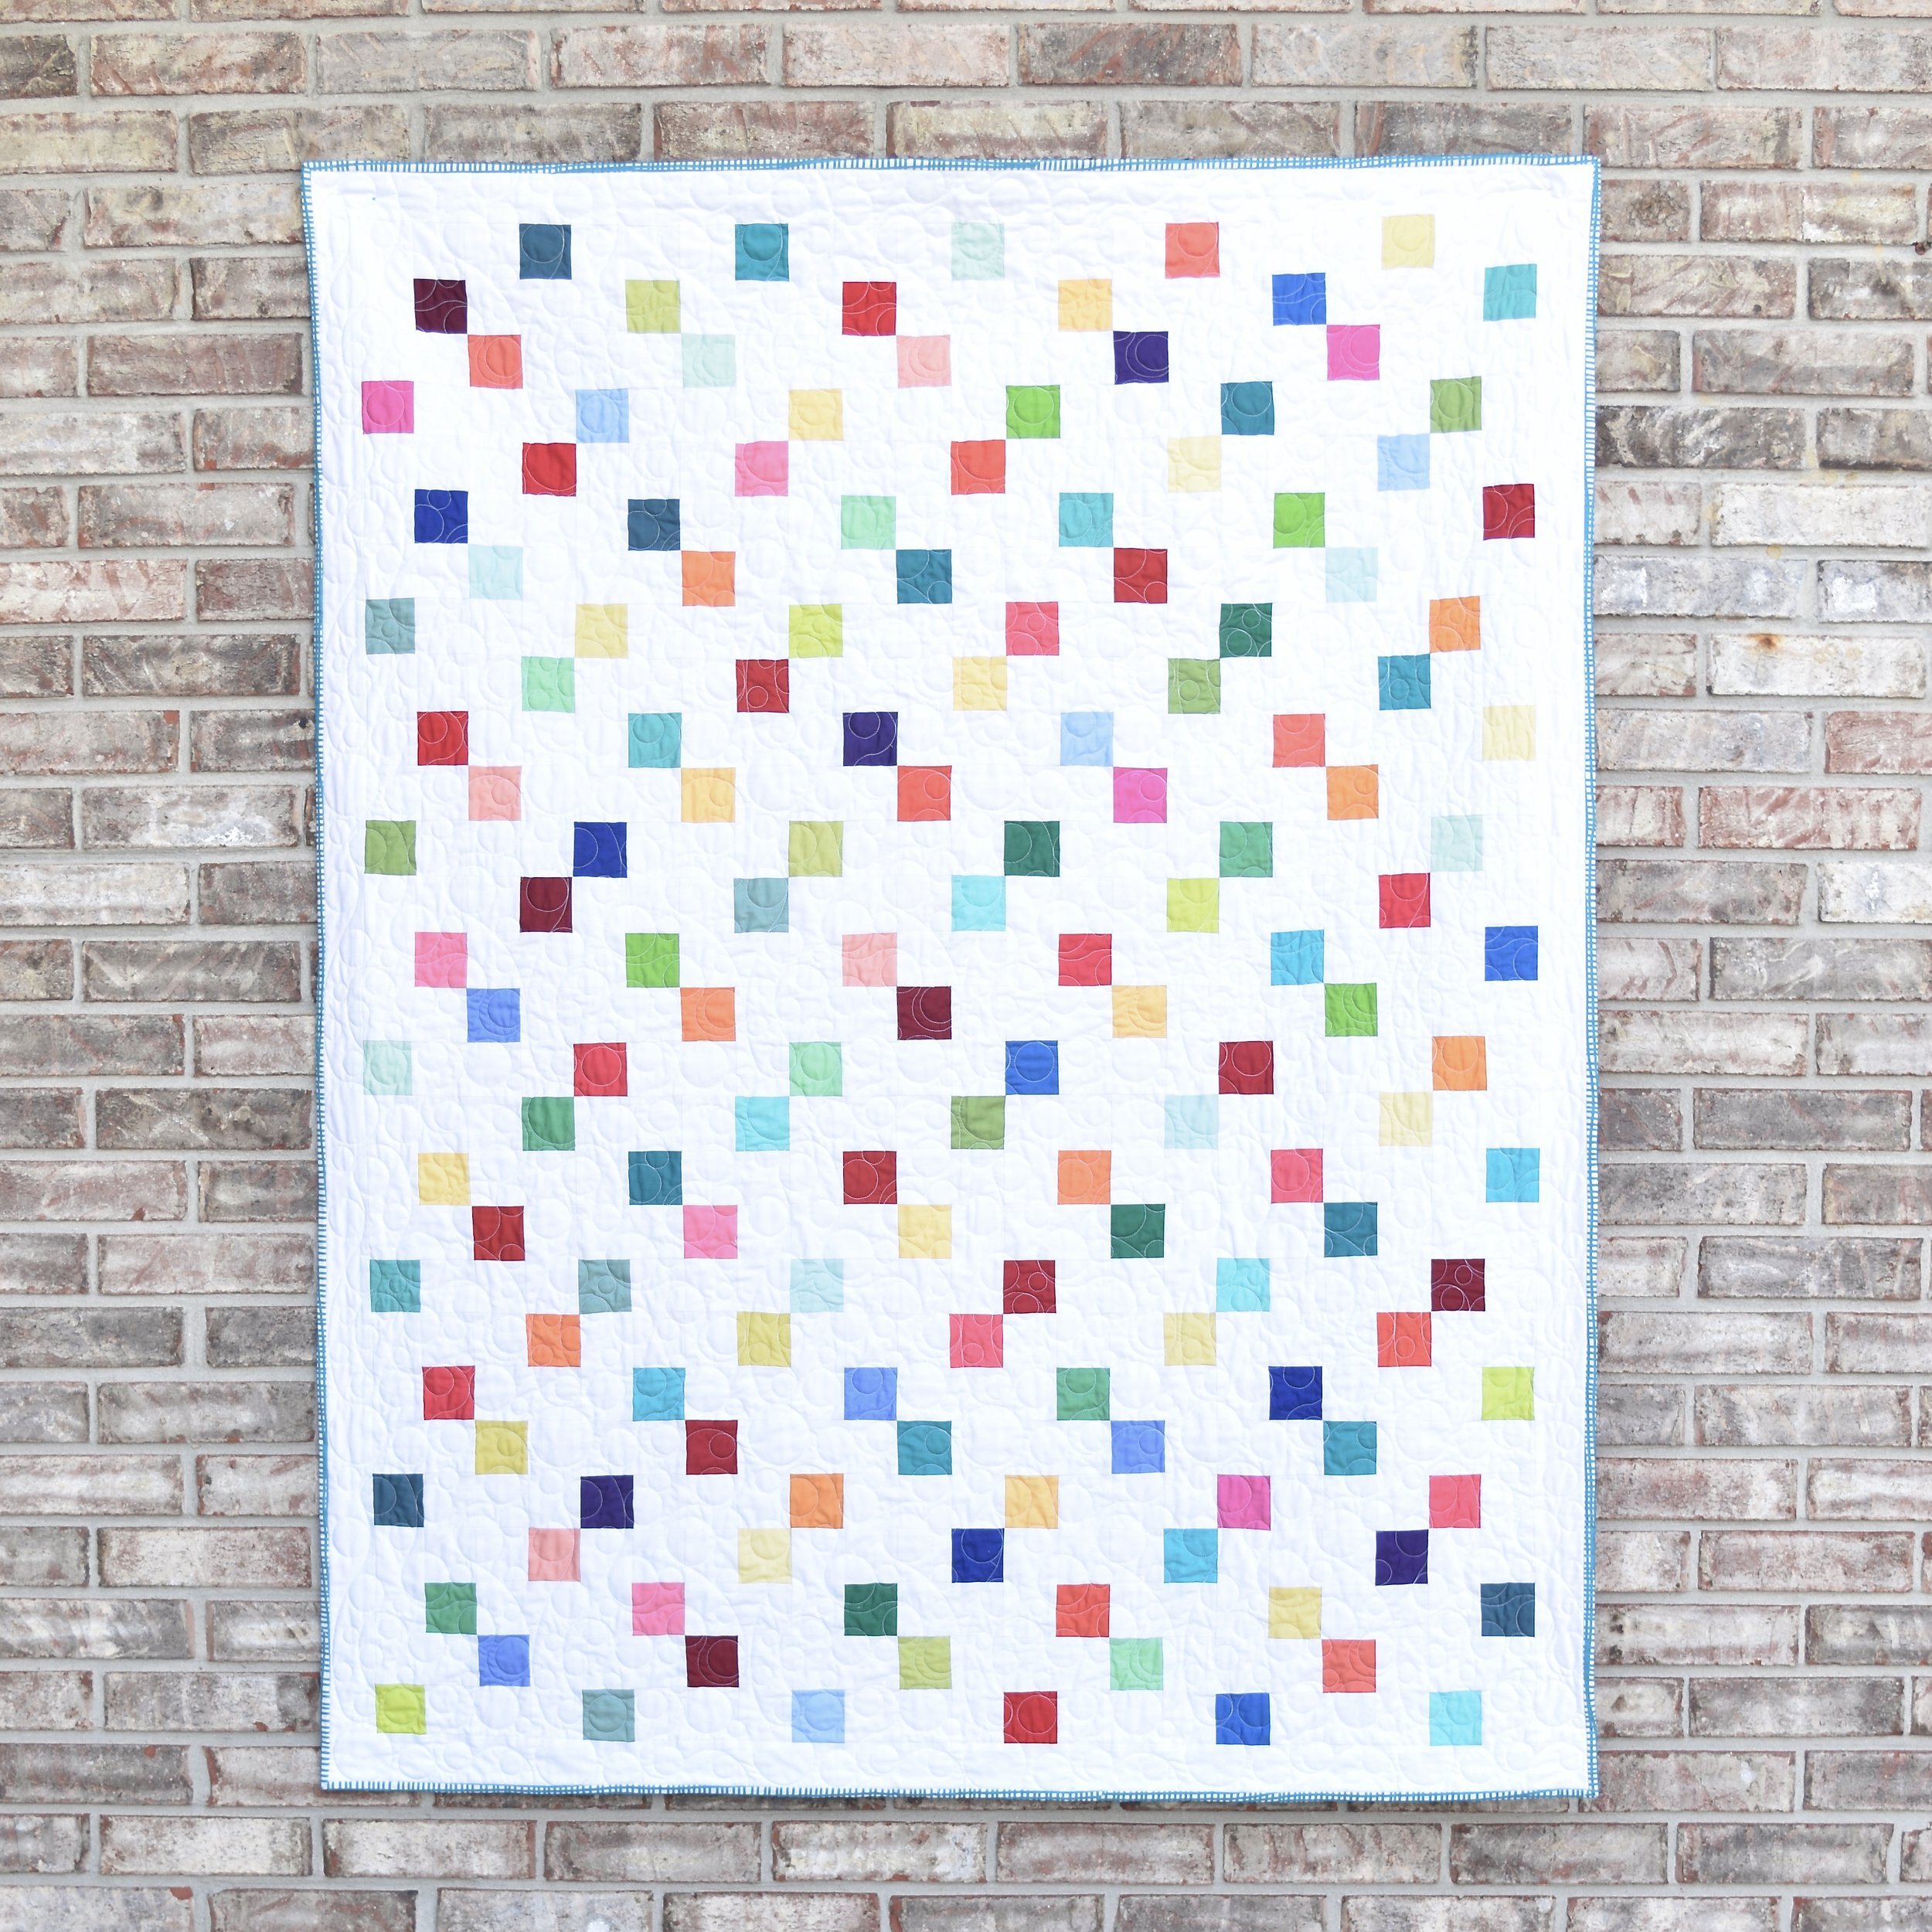
Once all 154 rectangles were sewn on, I had my completed blocks that measure 4 1/2”. I then pieced these blocks into 14 rows of 11 blocks each and finished the quilt off with a border that was cut at 2 1/2”. The finished quilt size is 48” x 60”.

Obviously, if you want to make your own Confetti leaders and enders quilt, you don’t have to stop at 154 blocks! You can make as many as you like to create as big of a quilt to suit your needs. Some suggested size options are listed below (all including the 2” finished border).
154 blocks = 48” x 60” lap quilt
238 blocks = 60” x 72” throw quilt
357 blocks = 72” x 88” twin quilt
400 blocks = 84” x 84” queen quilt

As you can tell, when I laid out my blocks, I alternated the direction between each block and row to add a bit more interest to the quilt (see layout diagram below).

You could also choose to lay out your blocks in a straight pattern with all of them facing the same direction as shown.

Either way looks great!

I’ve also shared a video tutorial on making this quilt that you can watch below.
Thanks for stopping by!
Amanda