
Gallery {a Charley Harper quilt and tutorial!}
I have loved the art of Charley Harper for years. His modern minimalist style of portraying wildlife and nature with bold colors and whimsy just speaks to me. When they started putting his art on fabric a number of years ago, I’ve had to use all my will power not to buy up every print!
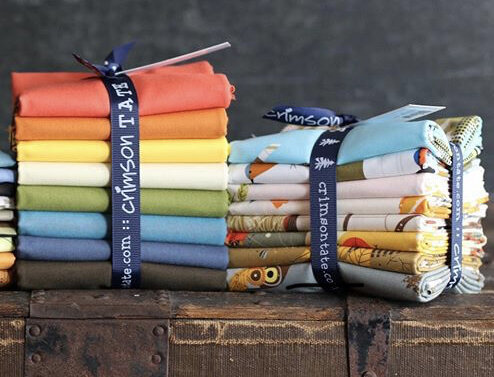
Even though I love all of the Charley Harper fabric, I have struggled with how to use it in a quilt without cutting it all up and losing his beautiful work. Inspiration finally hit me when my good friend, Heather Givans at Crimson Tate put together a coordinating solids fat quarter bundle to go with the Lakehouse 2 collection shown below.
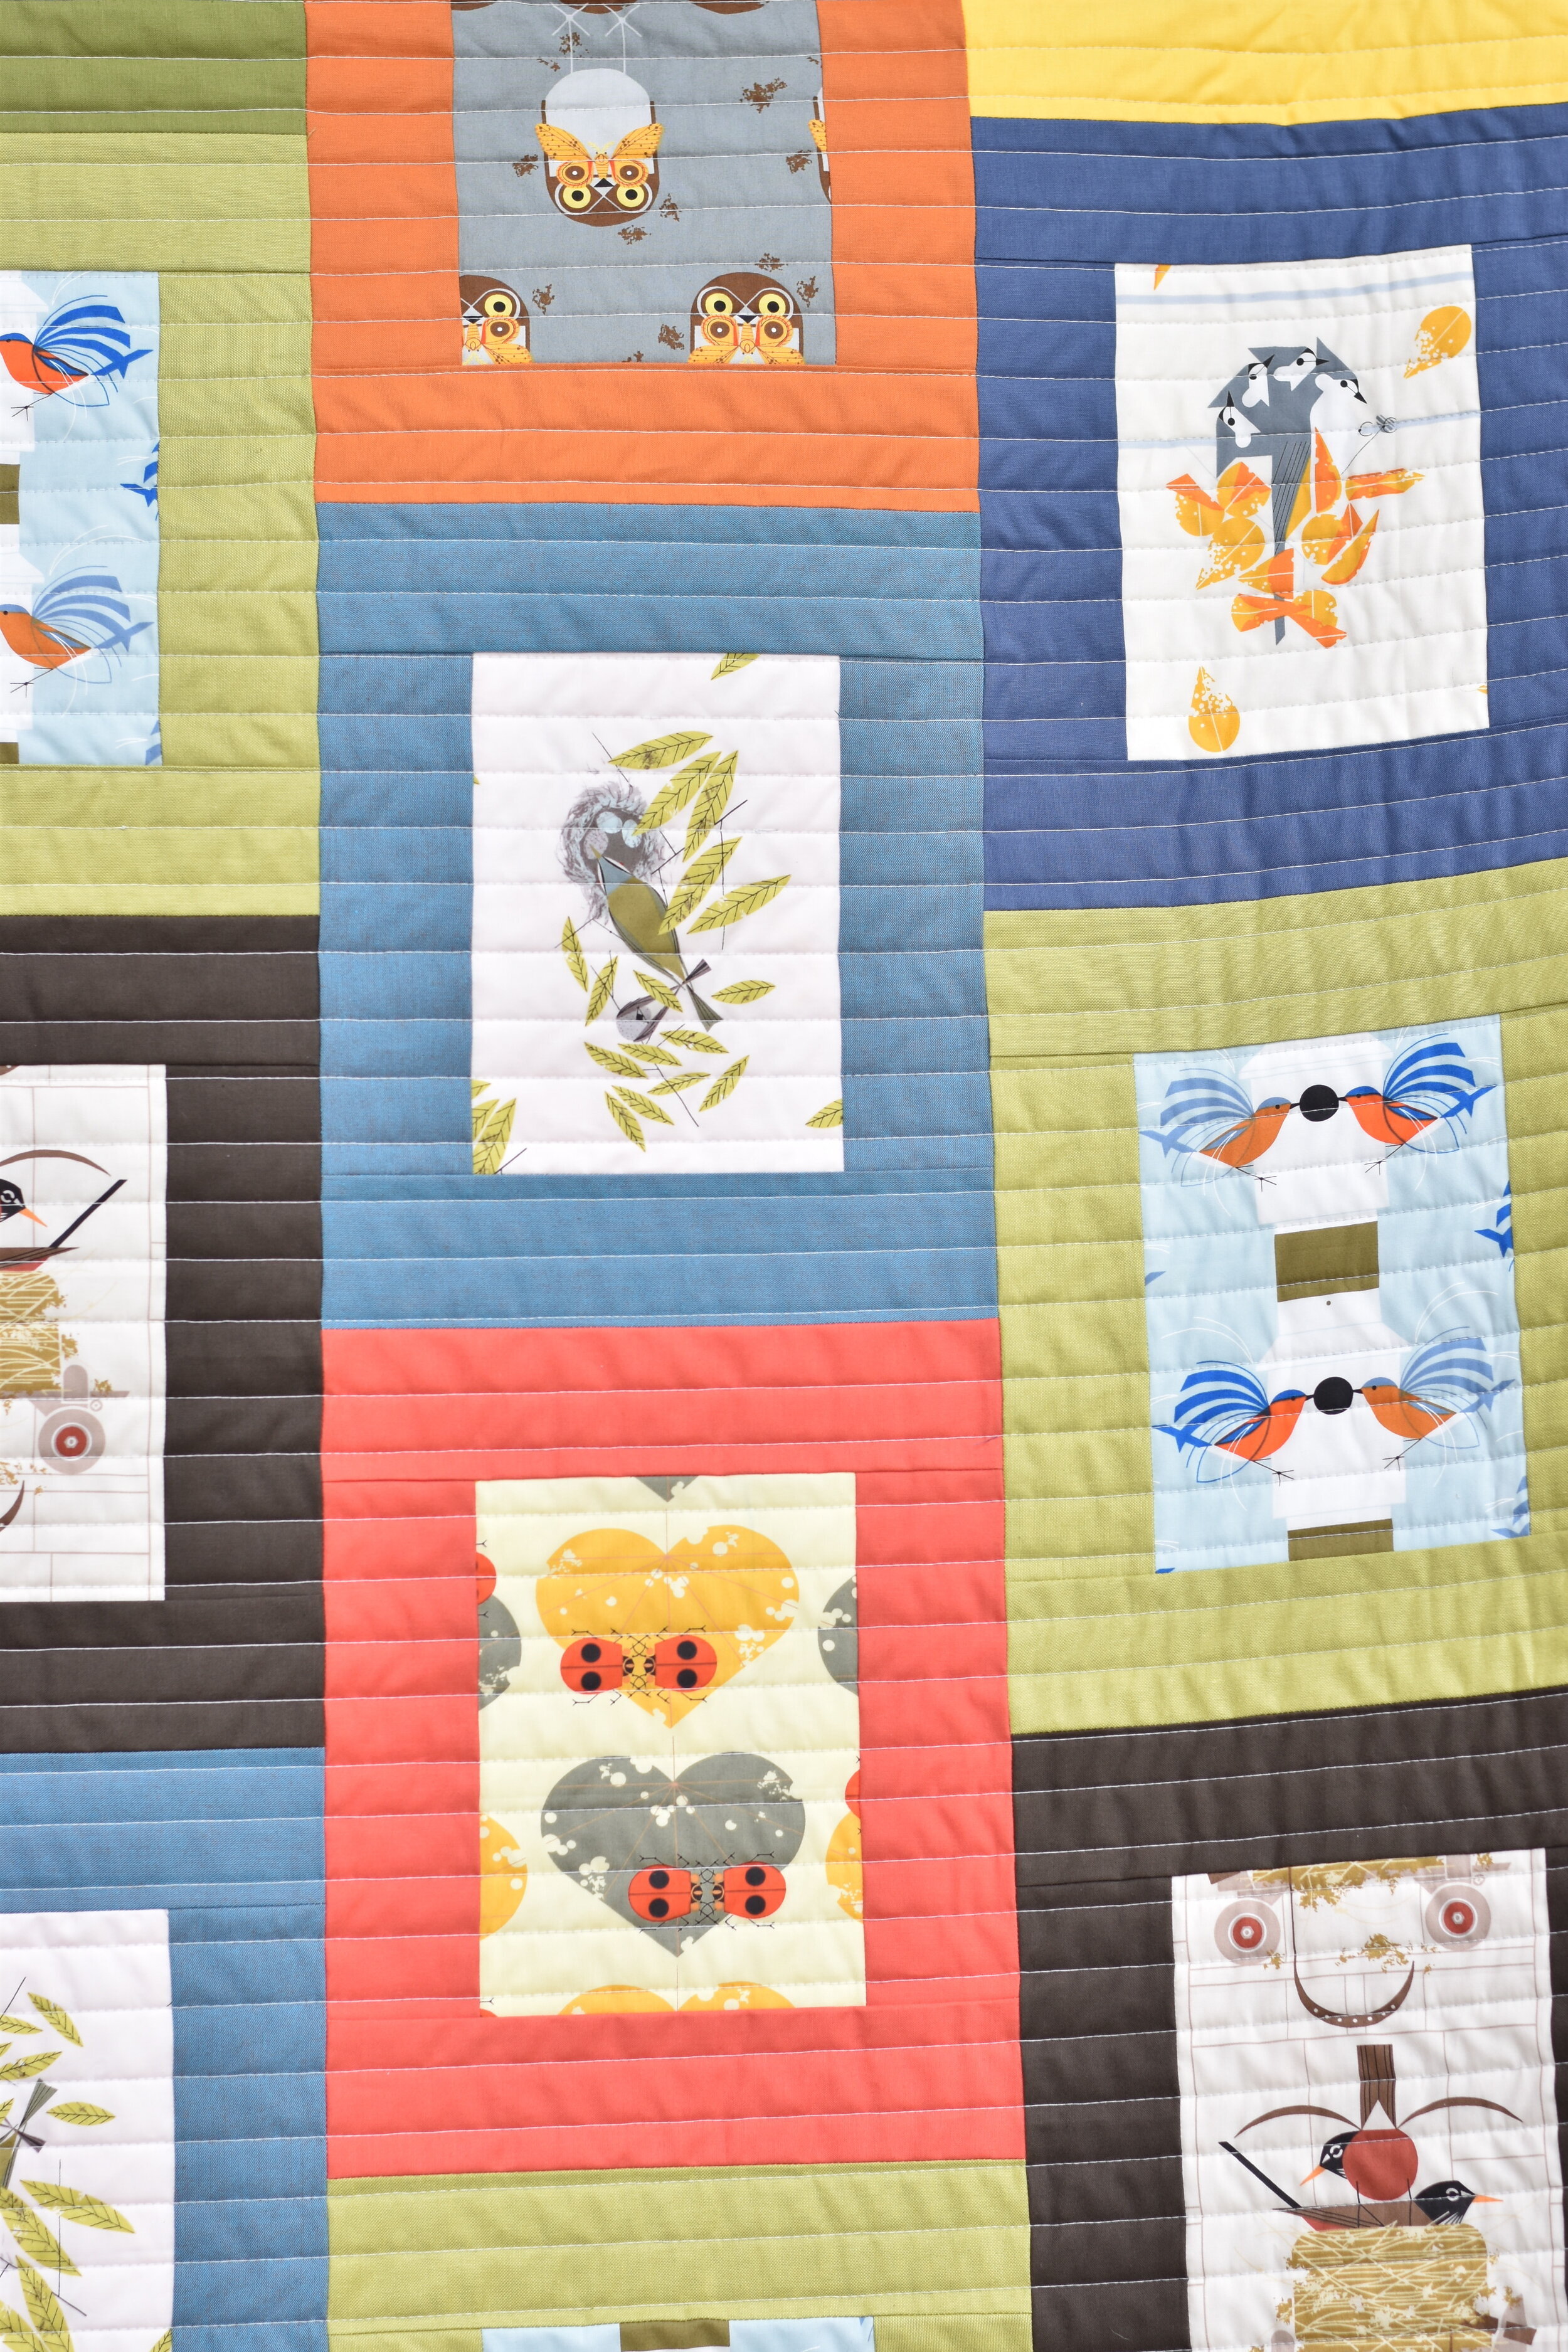
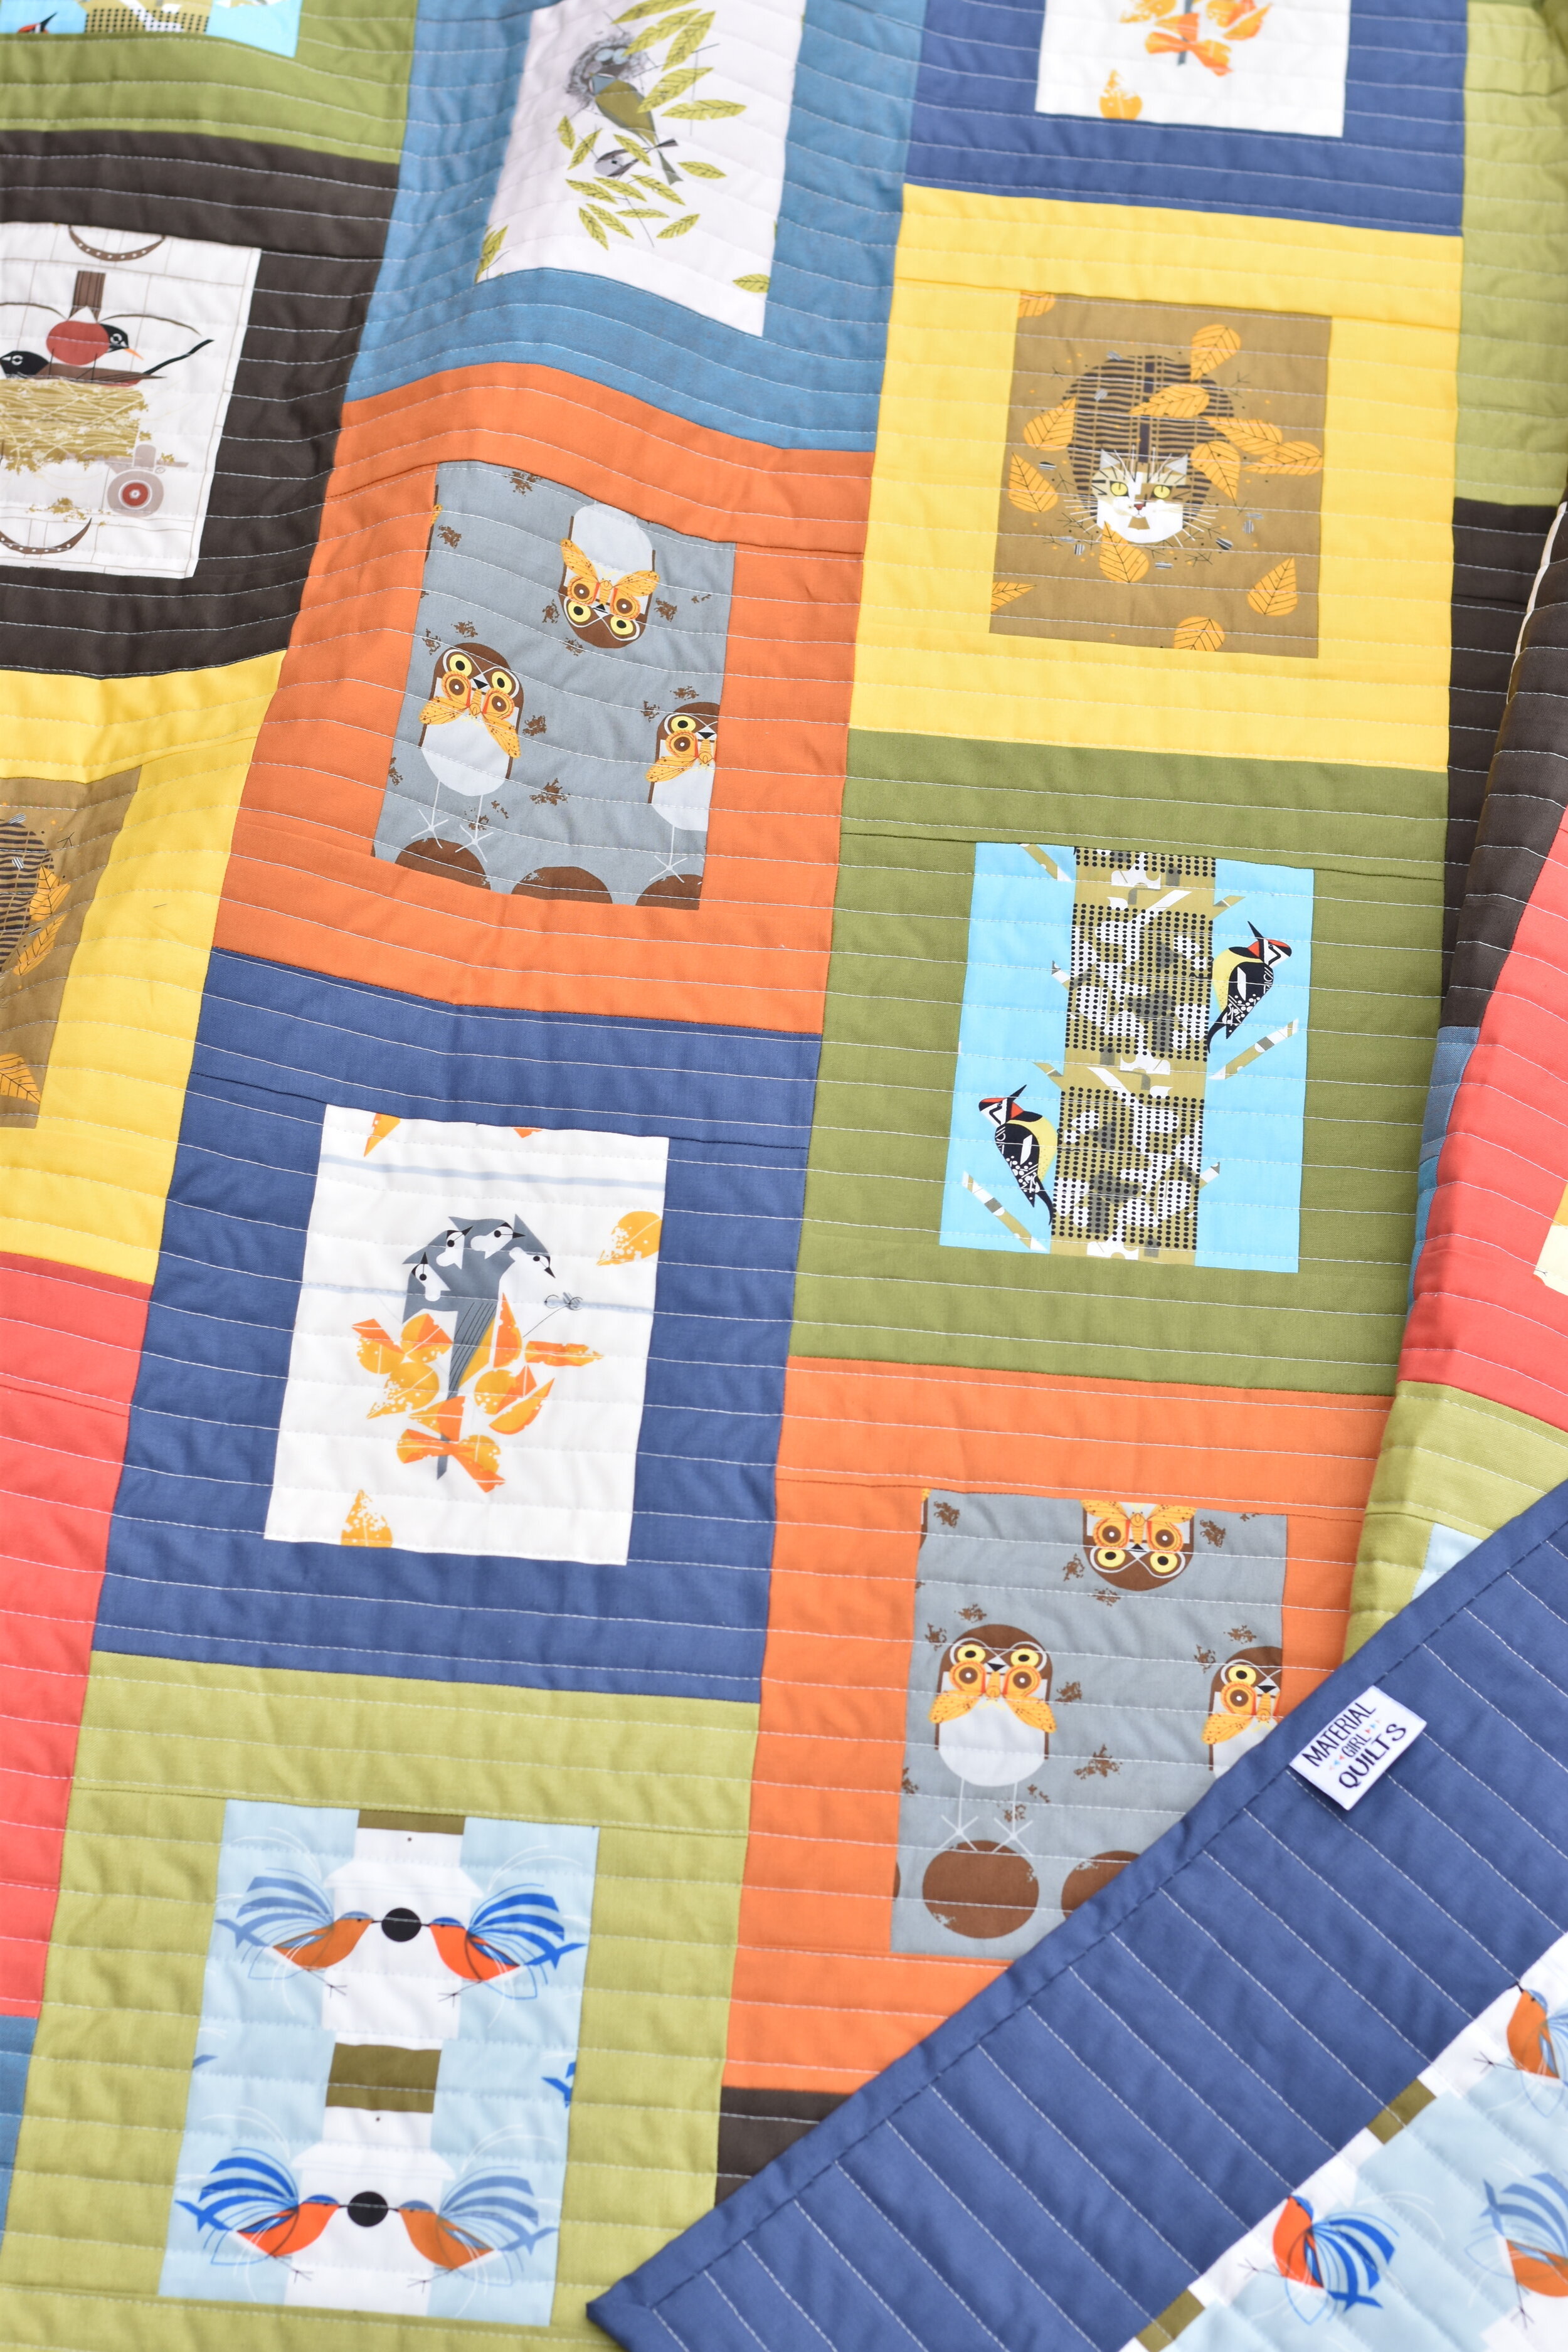
Following the cues from Charley’s minimalist design, I knew that simple would be best. The end result is my own “Gallery” of art prints surrounded by colorful frames that I can actually snuggle with :)

With eight Charley Harper fat quarters and eight solid fat quarters, I decided to pair one of each and keep the frames consistent throughout the quilt. I knew if I mixed up the frame colors with the prints, I’d struggle with the block layout and keeping it random and the prints balanced when it came time to sew the quilt top together.
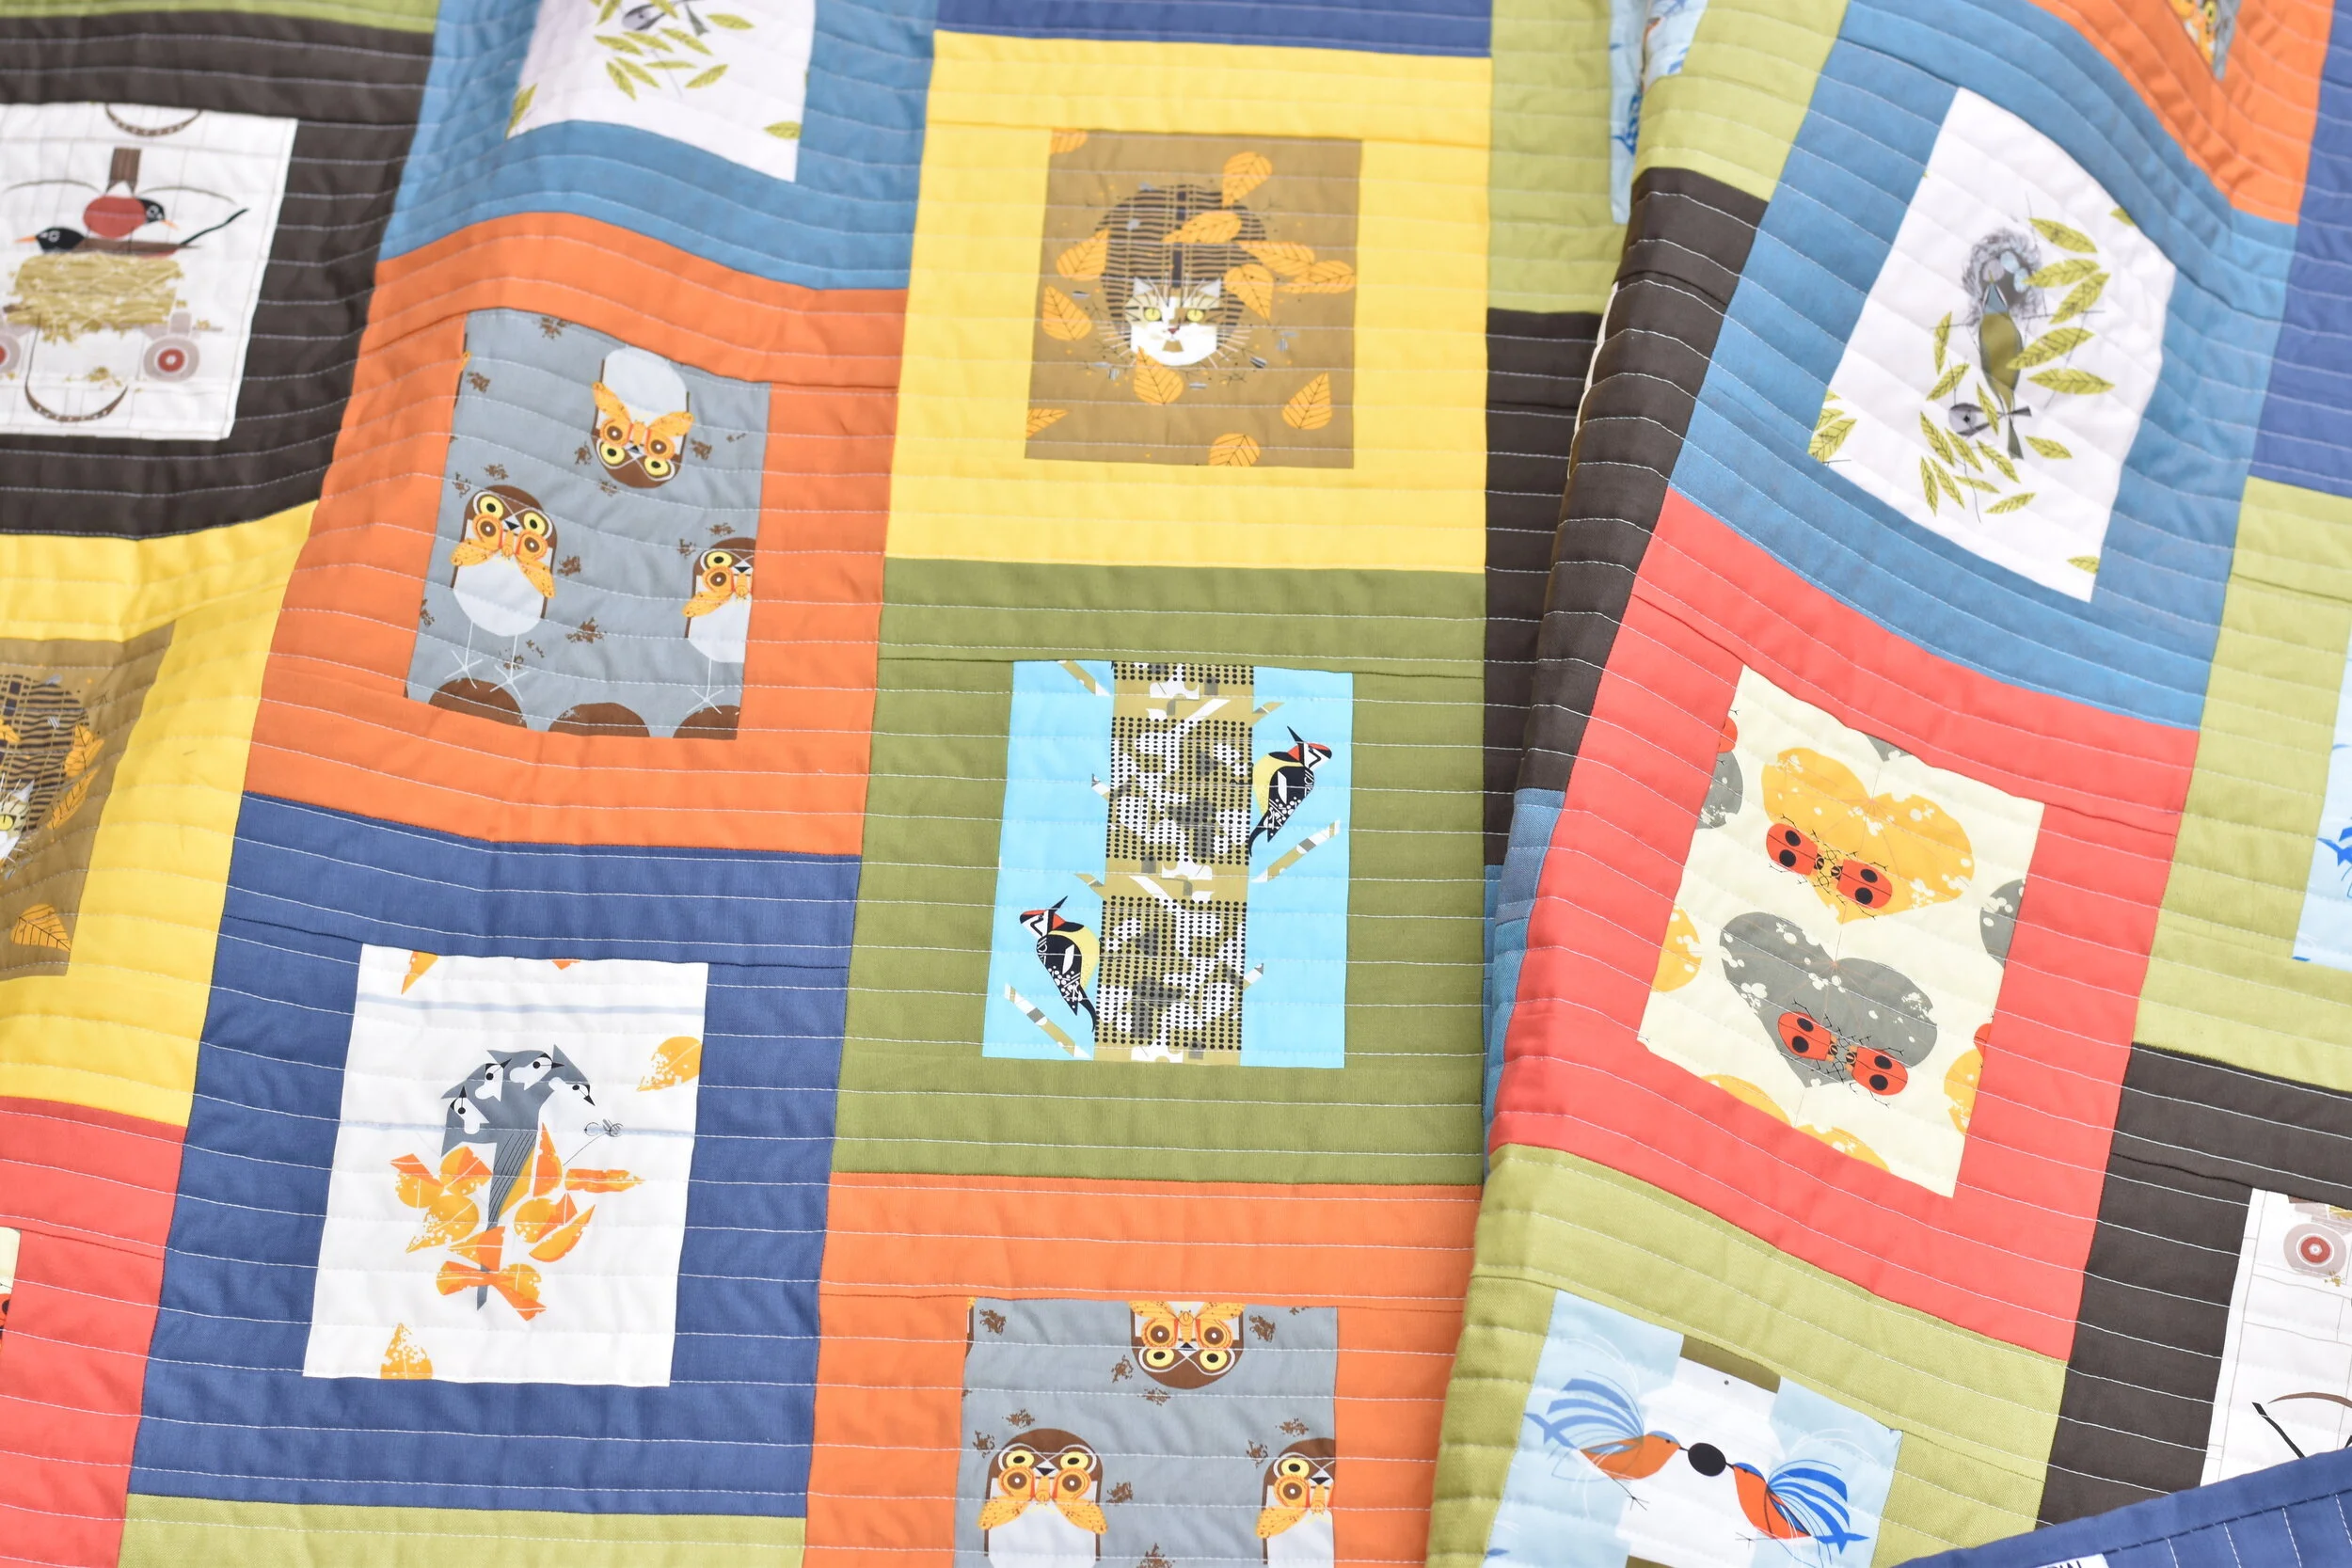
It’s impossible to choose a favorite print from this collection, they are all gorgeous!
It almost seems like that cat is on the prowl as he watches the birds in the quilt ;-)

I chose the Homecoming print for the back paired with the dark blue from the front that was also used as binding.
If you’d like to make a gallery of your own Charley Harper prints, below are details on how I made the blocks.
Full blocks - fussy cut one 5 1/2” x 7 1/2” rectangle from the print fabric and two - 2 1/2” x 7 1/2” rectangles and two 2 1/2” x 9 1/2” rectangles from the solid fabric.
Half blocks - fussy cut a 4” x 5 1/2” rectangle from the print fabric and two - 2 1/2” x 4” rectangles and one - 2 1/2” x 9 1/2” rectangle from the solid fabric.
If you are cutting from fat quarters like I did, follow the below cutting diagram for the solid fabric so that you are able to get frames for 4 prints.

Full Blocks: Sew the 2 1/2” x 7 1/2” rectangles to each side of the Charley Harper print and then sew the 2 1/2” x 9 1/2” rectangles onto the top and bottom. Your block should now measure 9 1/2” x 11 1/2”.

Half Blocks: Sew the 2 1/2” x 4” rectangles to each side of the Charley Harper print and then sew the 2 1/2” x 9 1/2” rectangle to the top or bottom (depending on if it will be on the top or bottom of your quilt). Your block should now measure 9 1/2” x 6”.

For my quilt, I made a total of 27 full blocks and 6 half blocks and my finished quilt measures 54” x 55”.
If you make your own Gallery quilt, please tag me so that I can see it and use hashtag #galleryquilt. I think this design would also be awesome for a photo memory quilt. What other ideas do you have for this design?
Amanda